
1986 325es (E30) Suspension Refresh
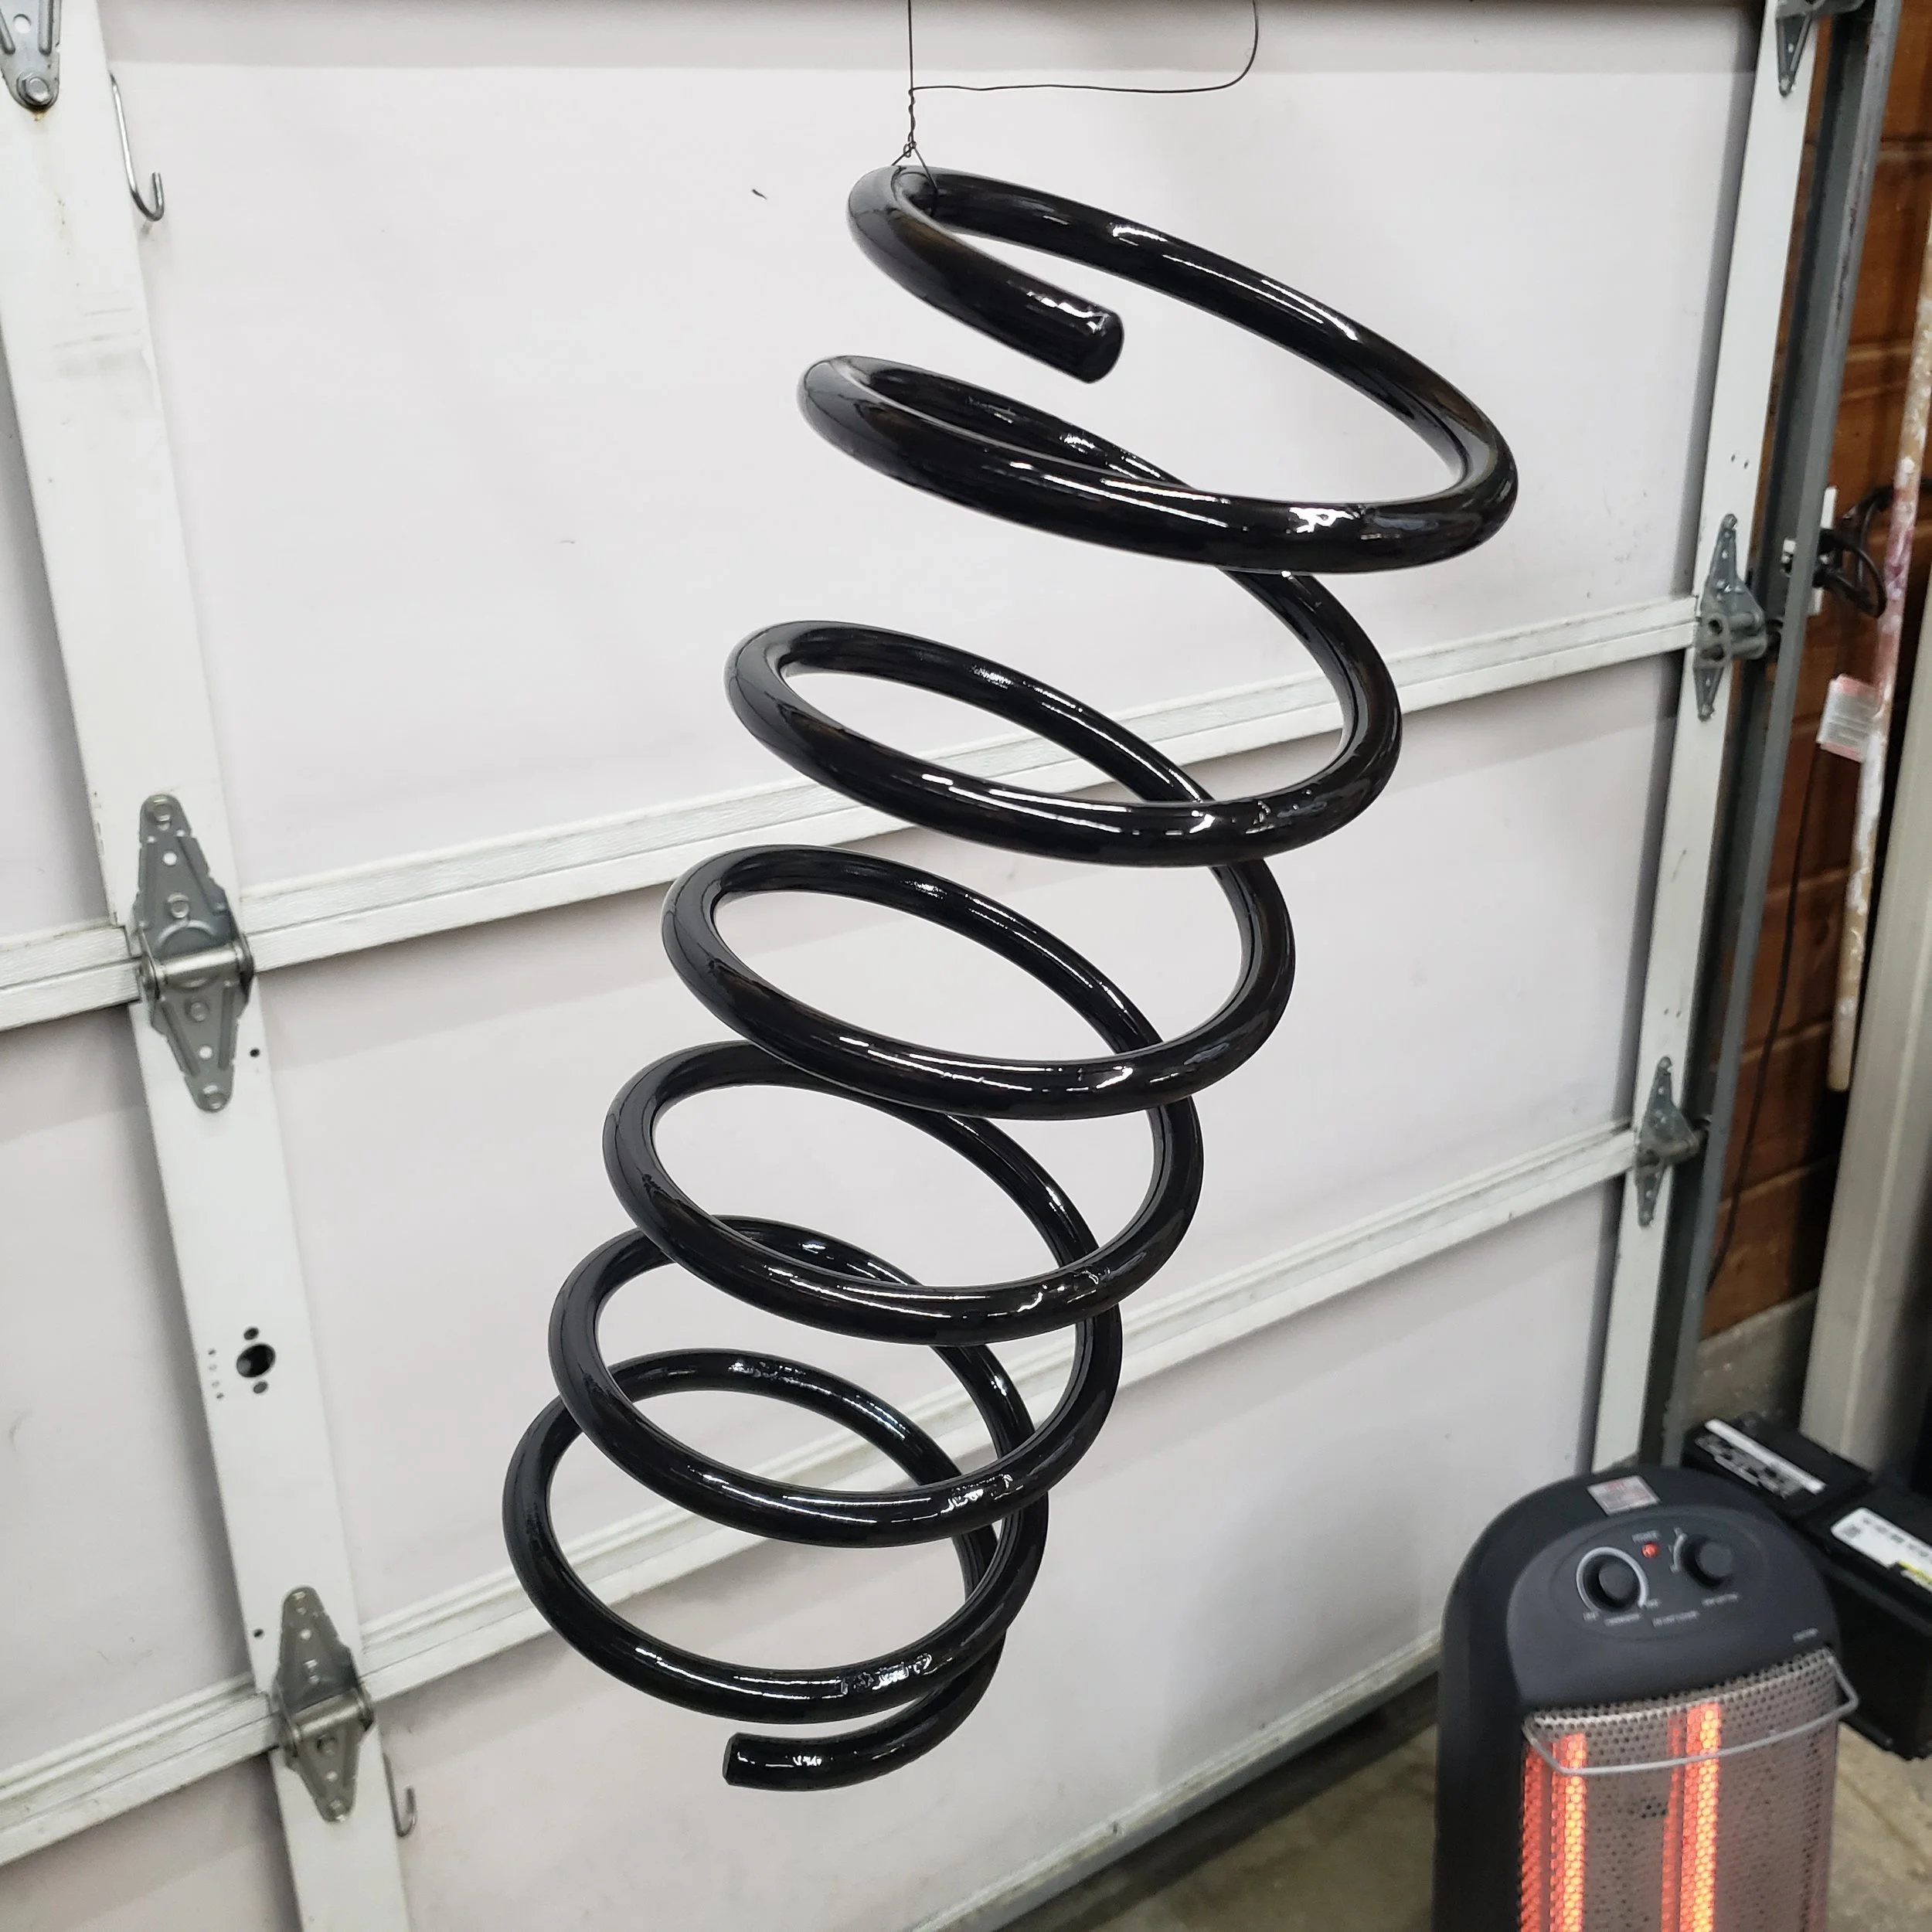
Welcome to my first blog post. I had the idea to document this project about half way though so I didn’t take as many photos as I would’ve liked to. Naturally I like to take pictures of what I’m working on. So I did end up with a few. This was one of those projects that started out to be a quick one or two day job that turned into multiple weeks for a couple of different reasons. We’ll get more into that shortly. Without further a due, Let’s jump in.

Introduction:
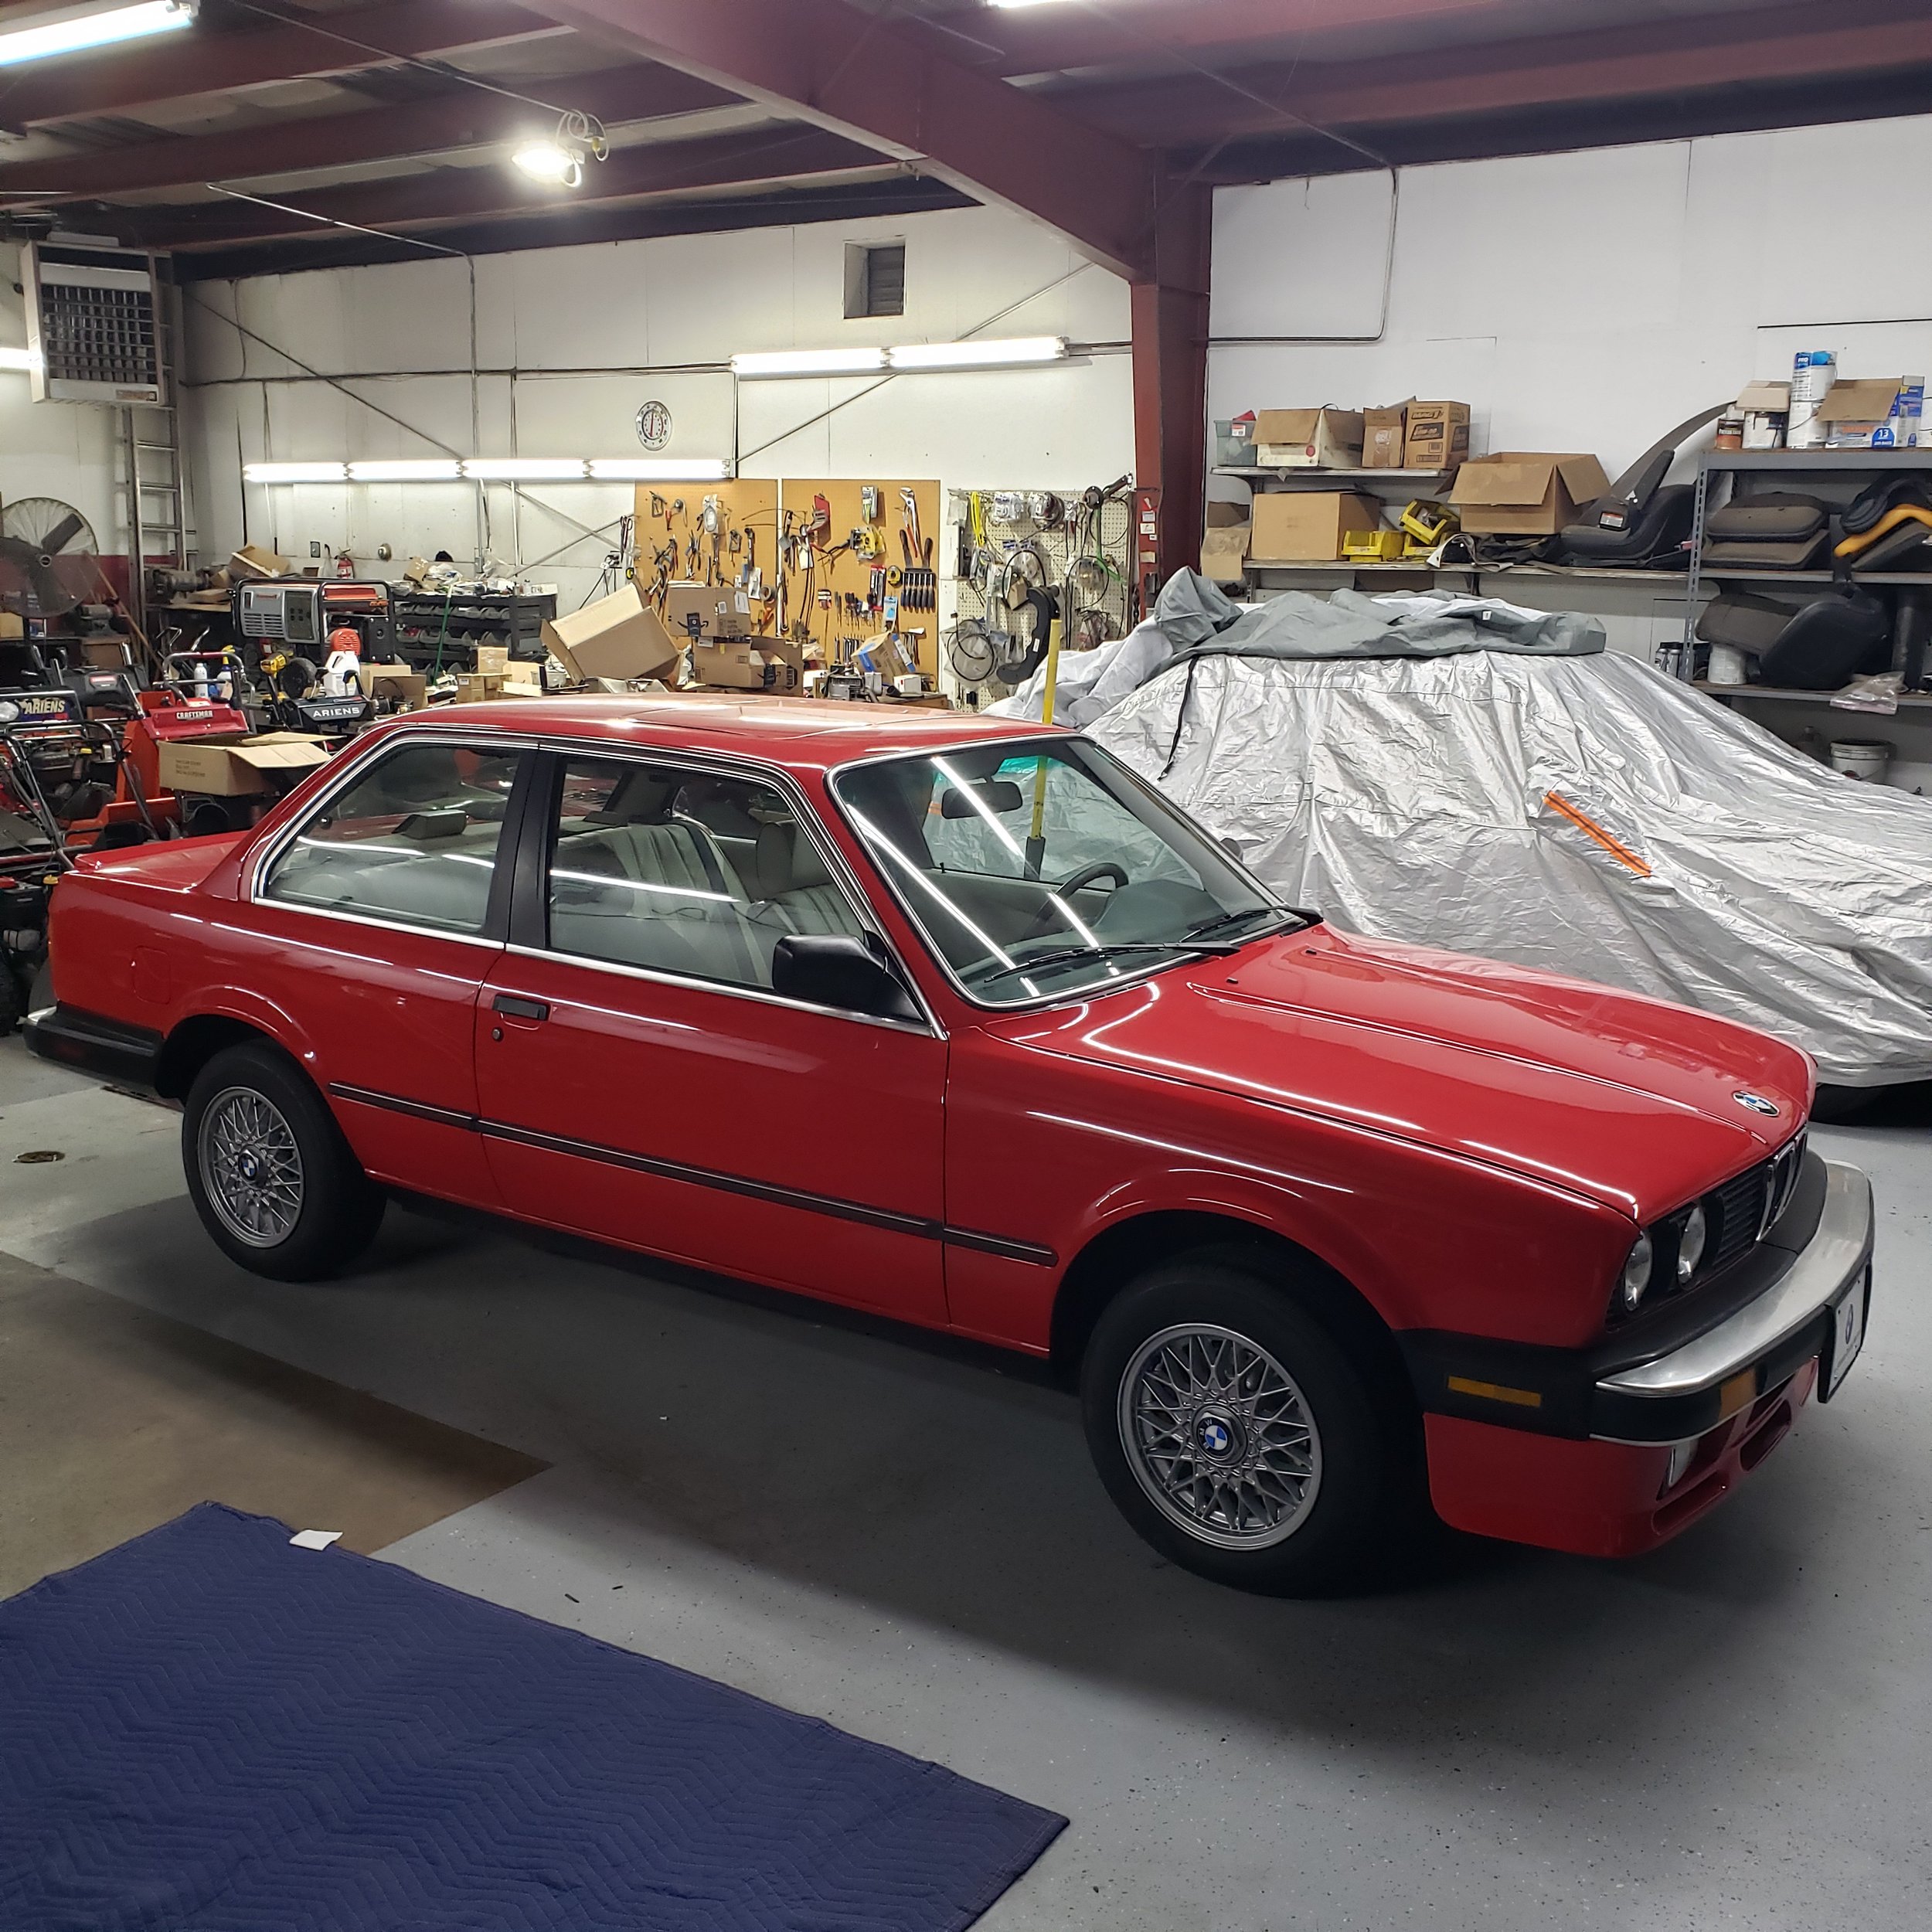
Let me introduce the car — a stunning Zinnoberrot red 1986 BMW 325es (E30) that belongs to a client of mine who has since become a dear friend and is an E30 collector. Our goal was a quick refresh by replacing a few suspension parts such as front and rear struts, lower control arms, tie rod ends, sway bar links, and control arm bushings. For all of the suspension overhauls and cars I have dismantled in my life, I totally dropped the ball by not planning ahead and ordering everything we needed. A few additional parts that should have been on that first order were: bump stops and protection tubes for the struts, steering rack bellows, and sway bar bushings — all of which needed to be replaced. As we were placing that order, we decided it would be a good time to do the front wheel bearings as well.
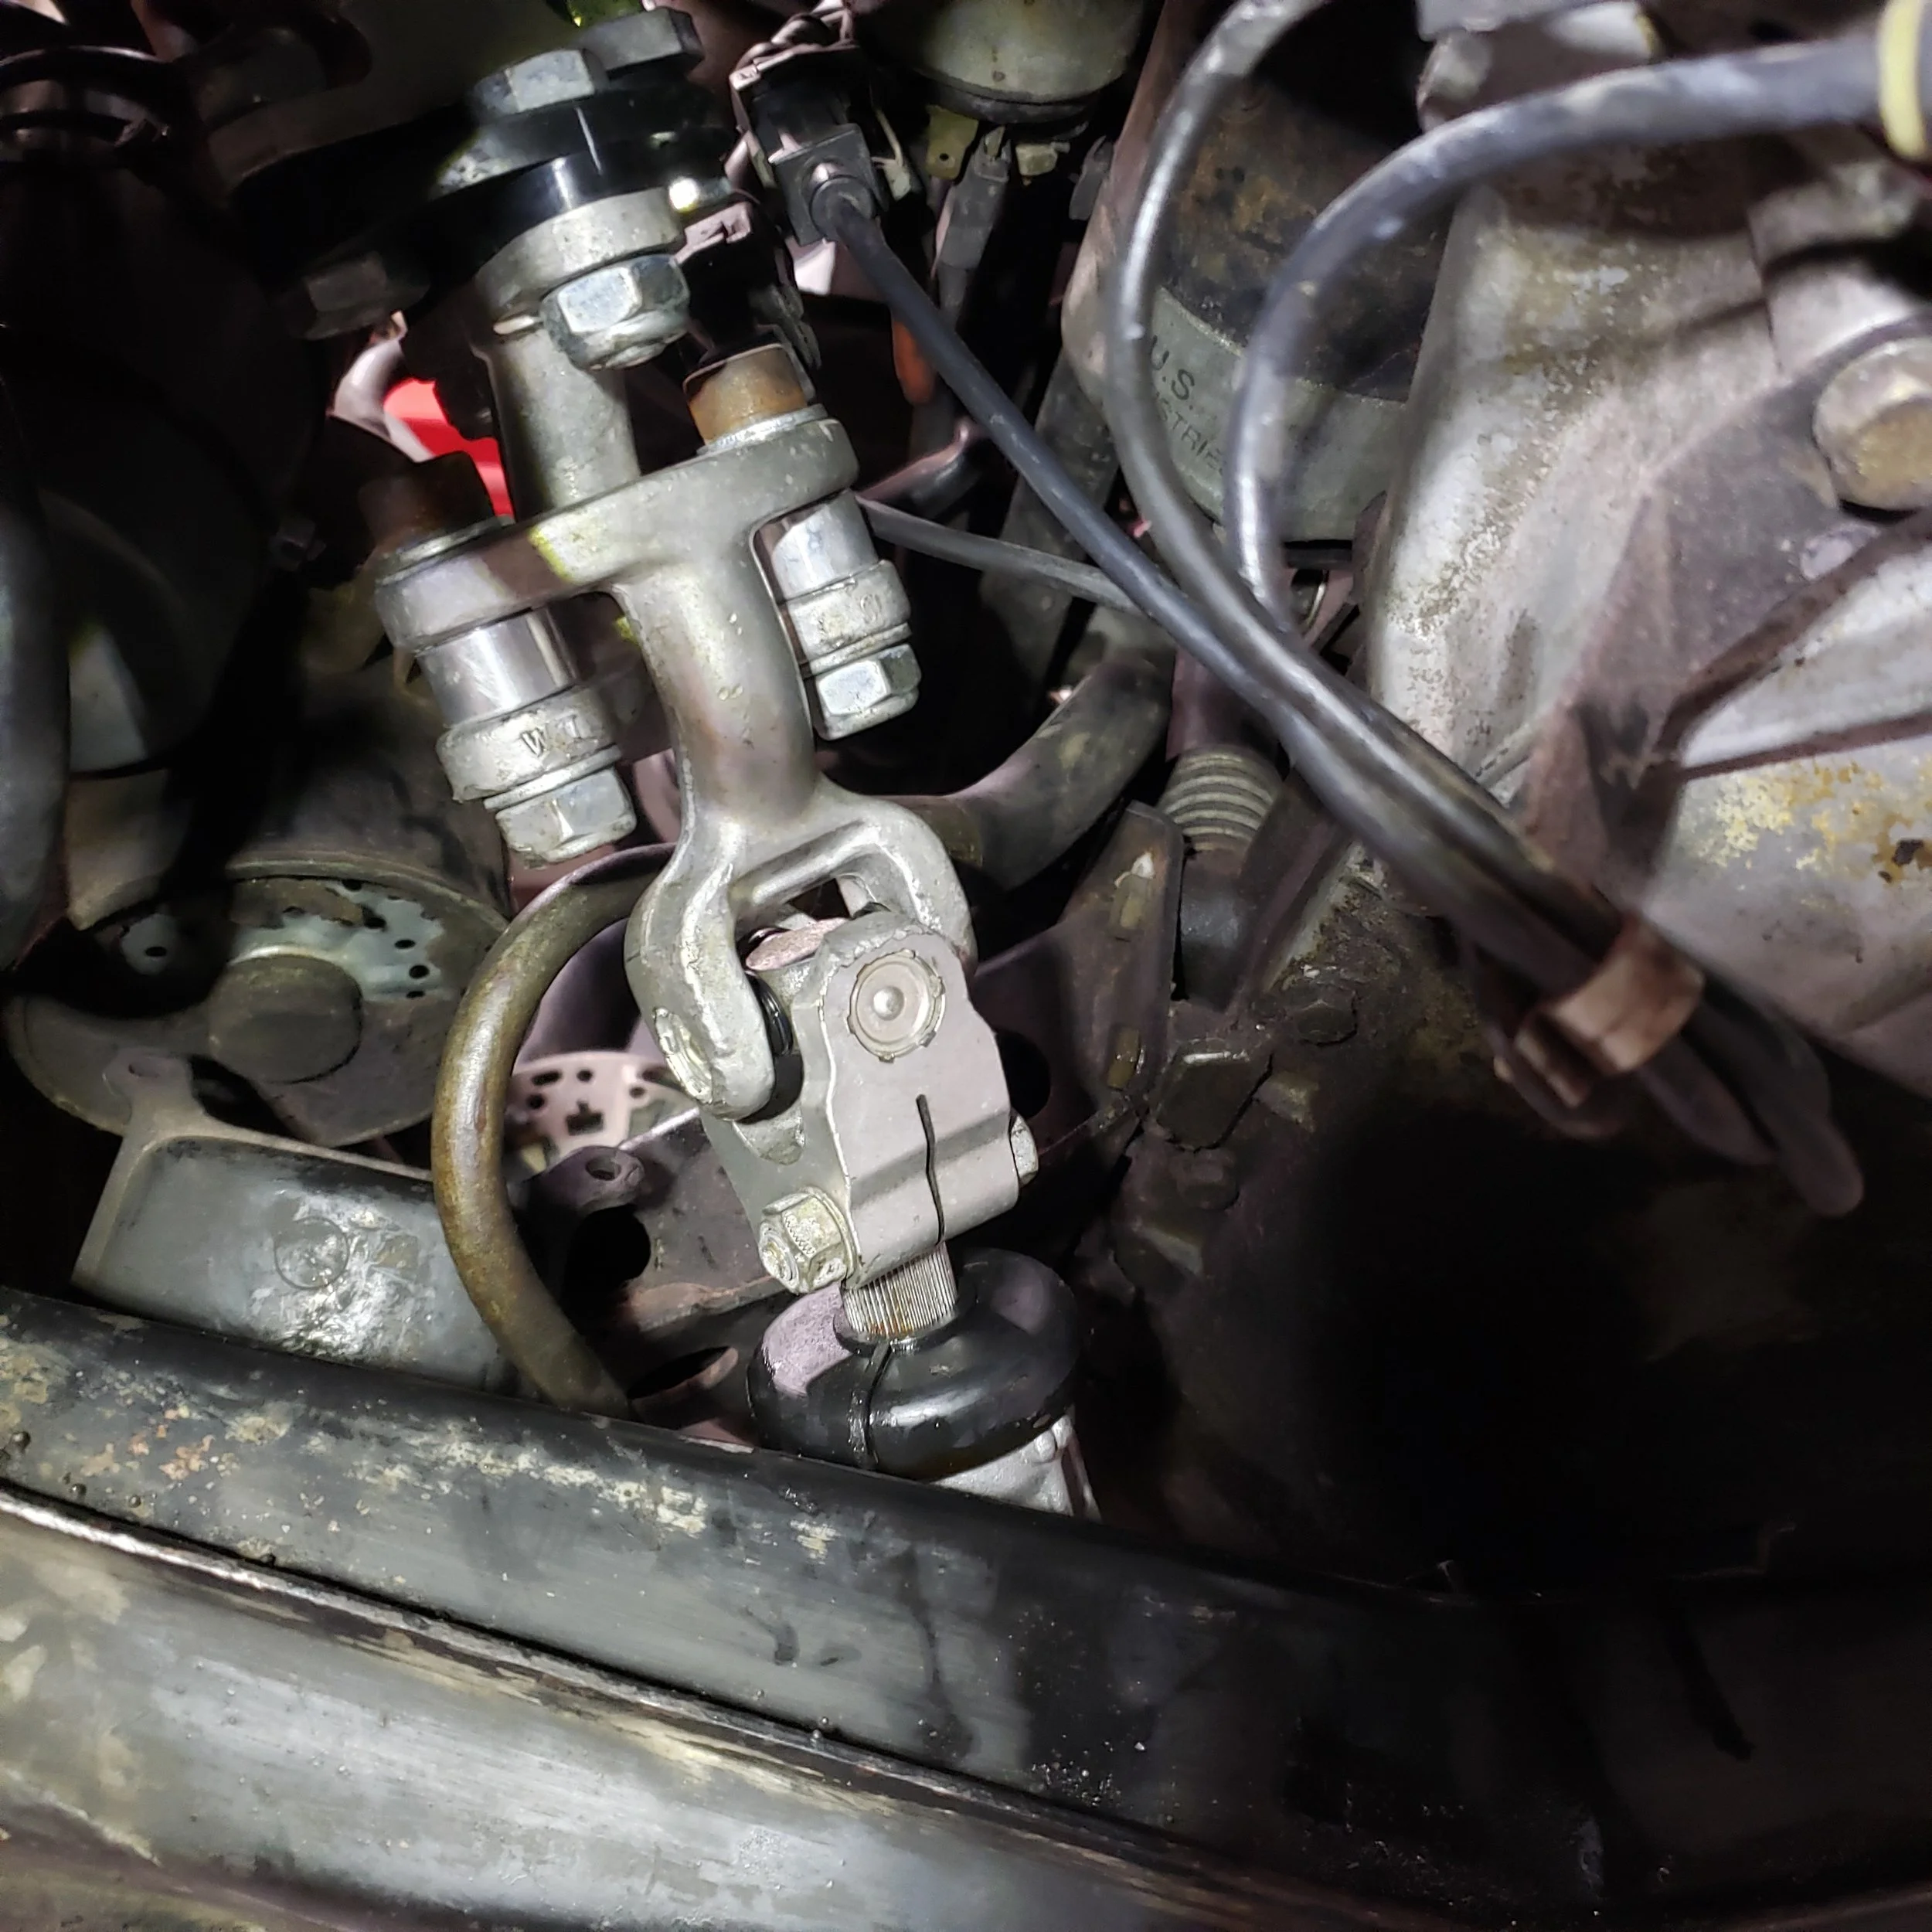
Steering Rack:
Once I had just about everything apart, I moved on to removing the tie rods. When I pulled the bellows off the steering rack, a waterfall of ATF rained down. The steering was in dire need of new seals. During this project, I was in the midst of parting out a 1987 325e with a very clean undercarriage and lots of new suspension parts. There was a good chance it had a steering rack we could use. So it was worth a shot to see what I had out in the yard before ordering a new or remanufactured replacement. Lo and behold, I did have a rack. And to my surprise, it was better than I had anticipated — a new or almost-new Z3 power steering rack with a Garagistic swap kit for the conversion. This included the spacers for mounting and the swivel joint modification parts. Because the rack included the necessary hardware for installation and the swivel joint modification was already done, it was essentially plug-and-play for me. I’ll take it.
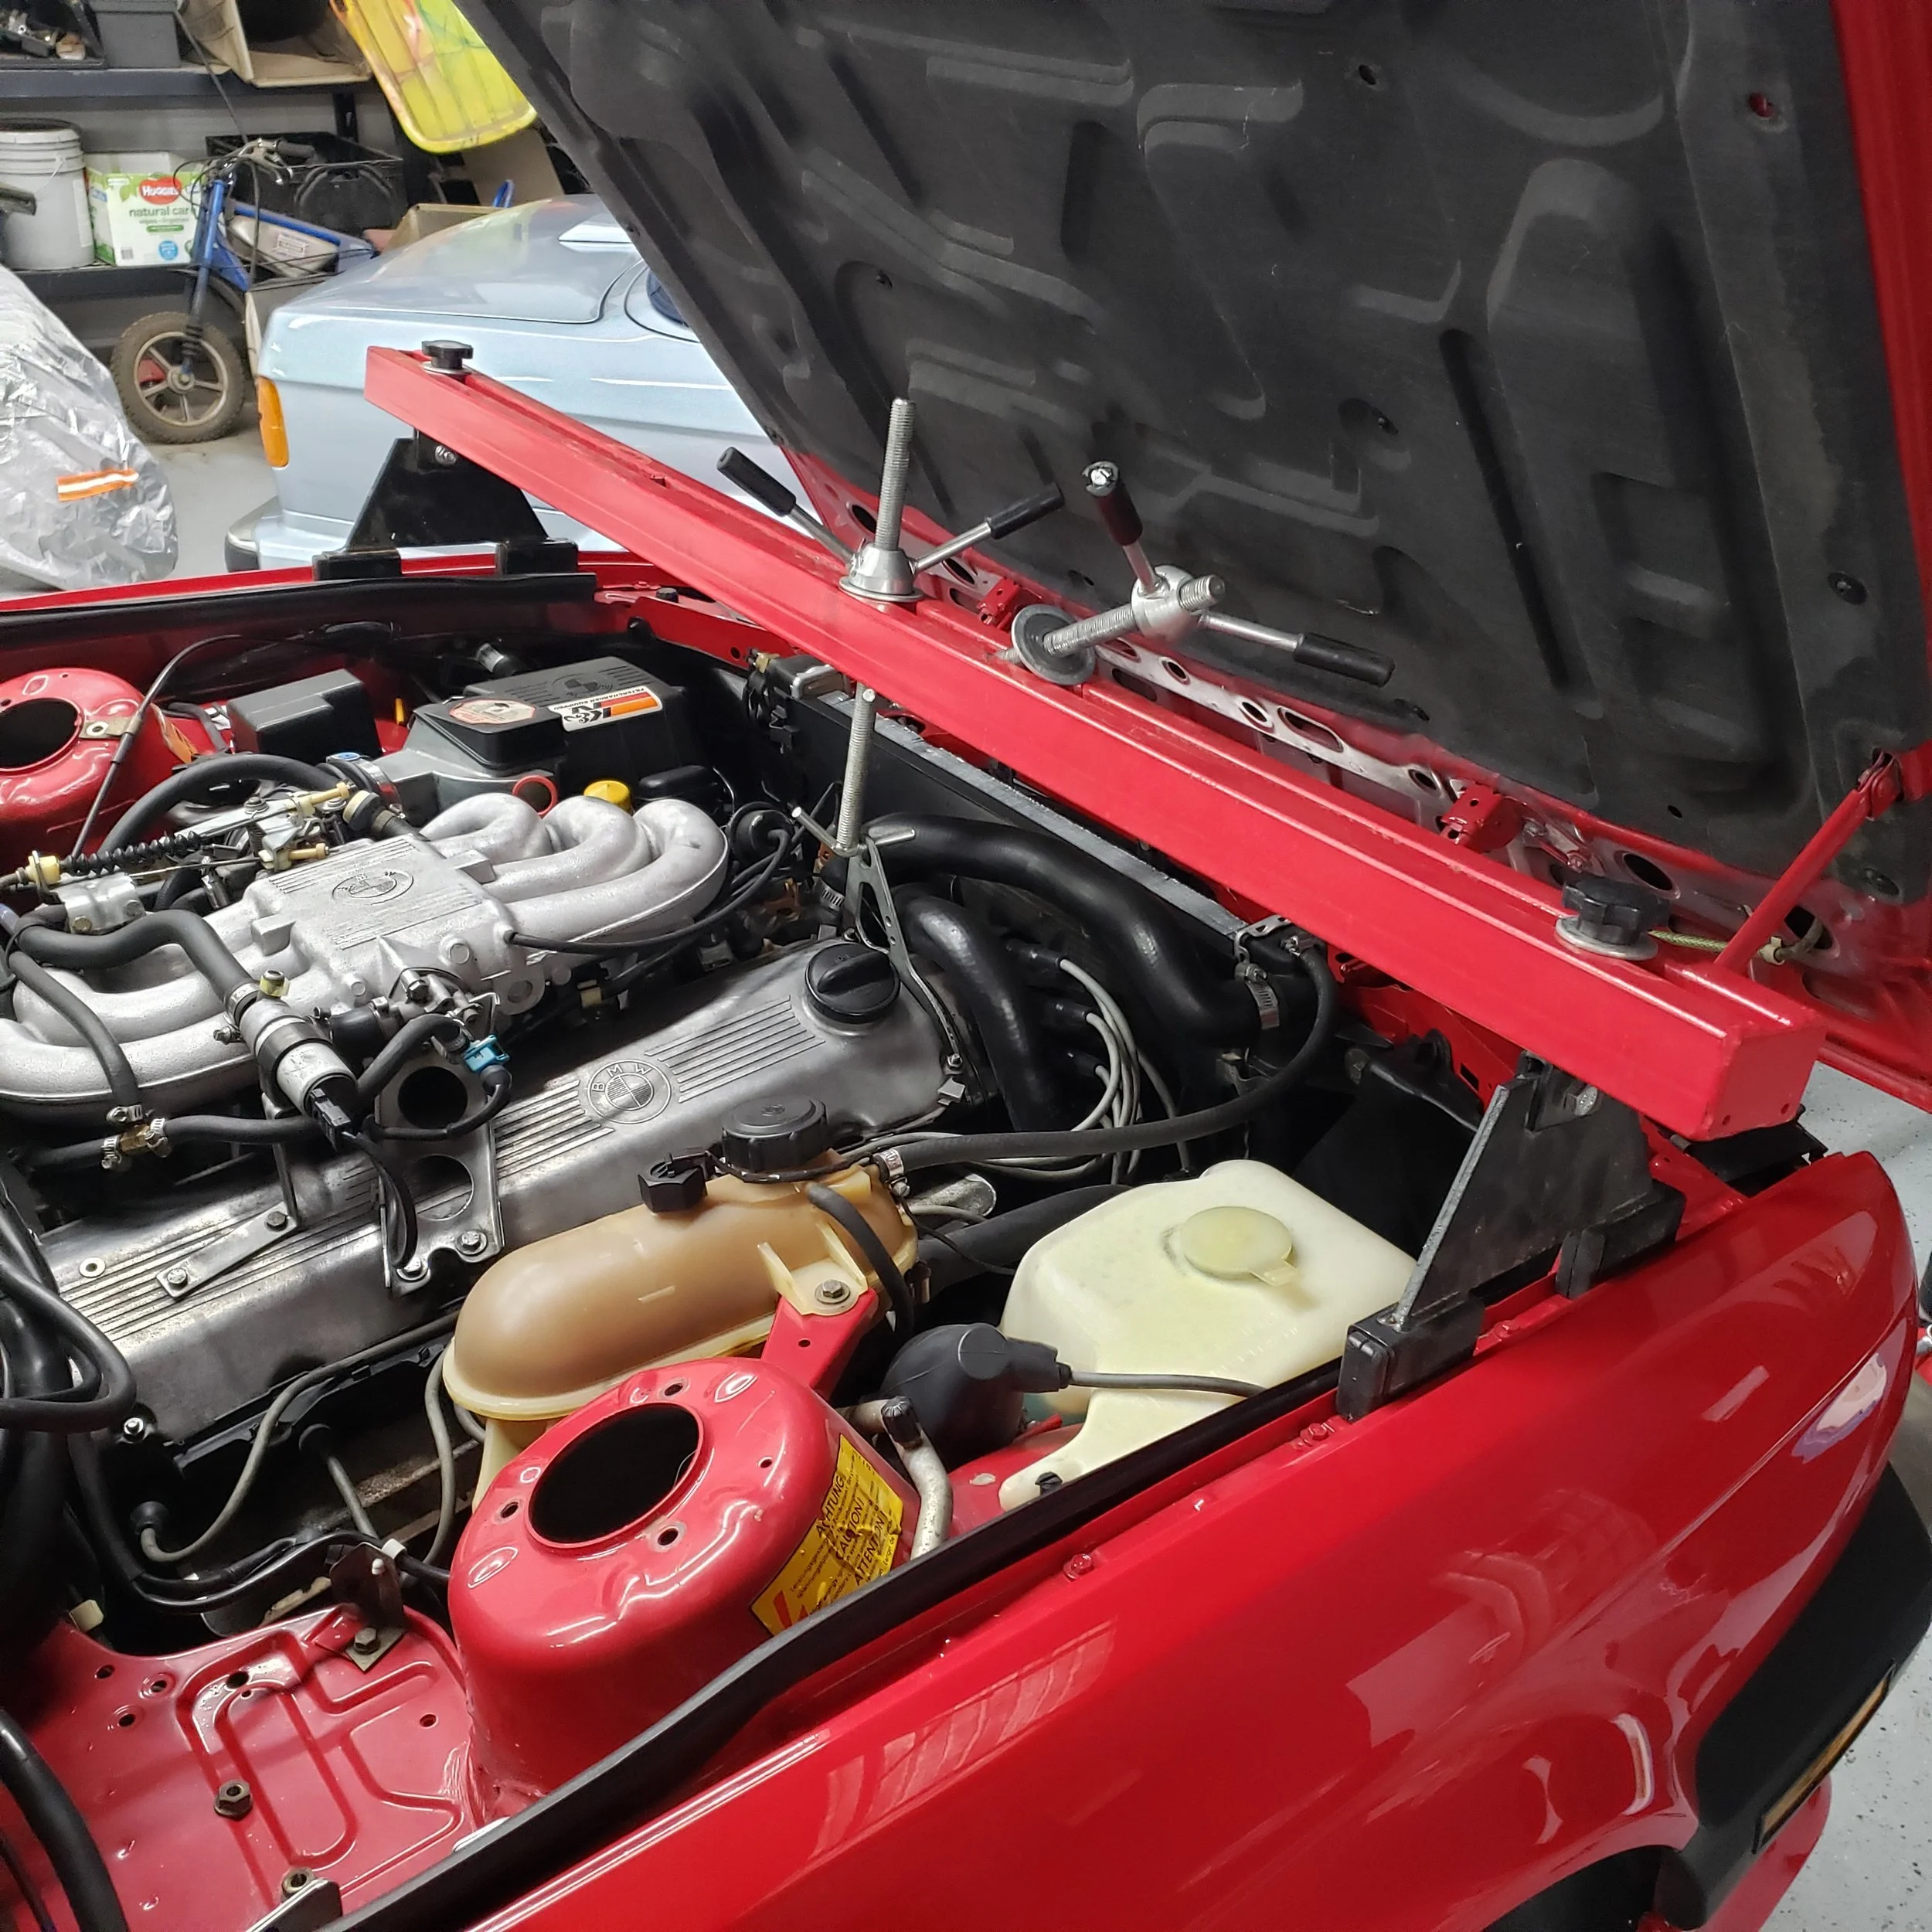
In my opinion it’s better to drop the subframe rather than bending the mounting tabs to slide out the rack. So I supported the engine up top and dropped the subframe. I don’t like the idea of bending the tabs possibly creating fatigue in the metal that may lead to problems in the future.. Also, this way it’s much easier to give the subframe a good scrub down.
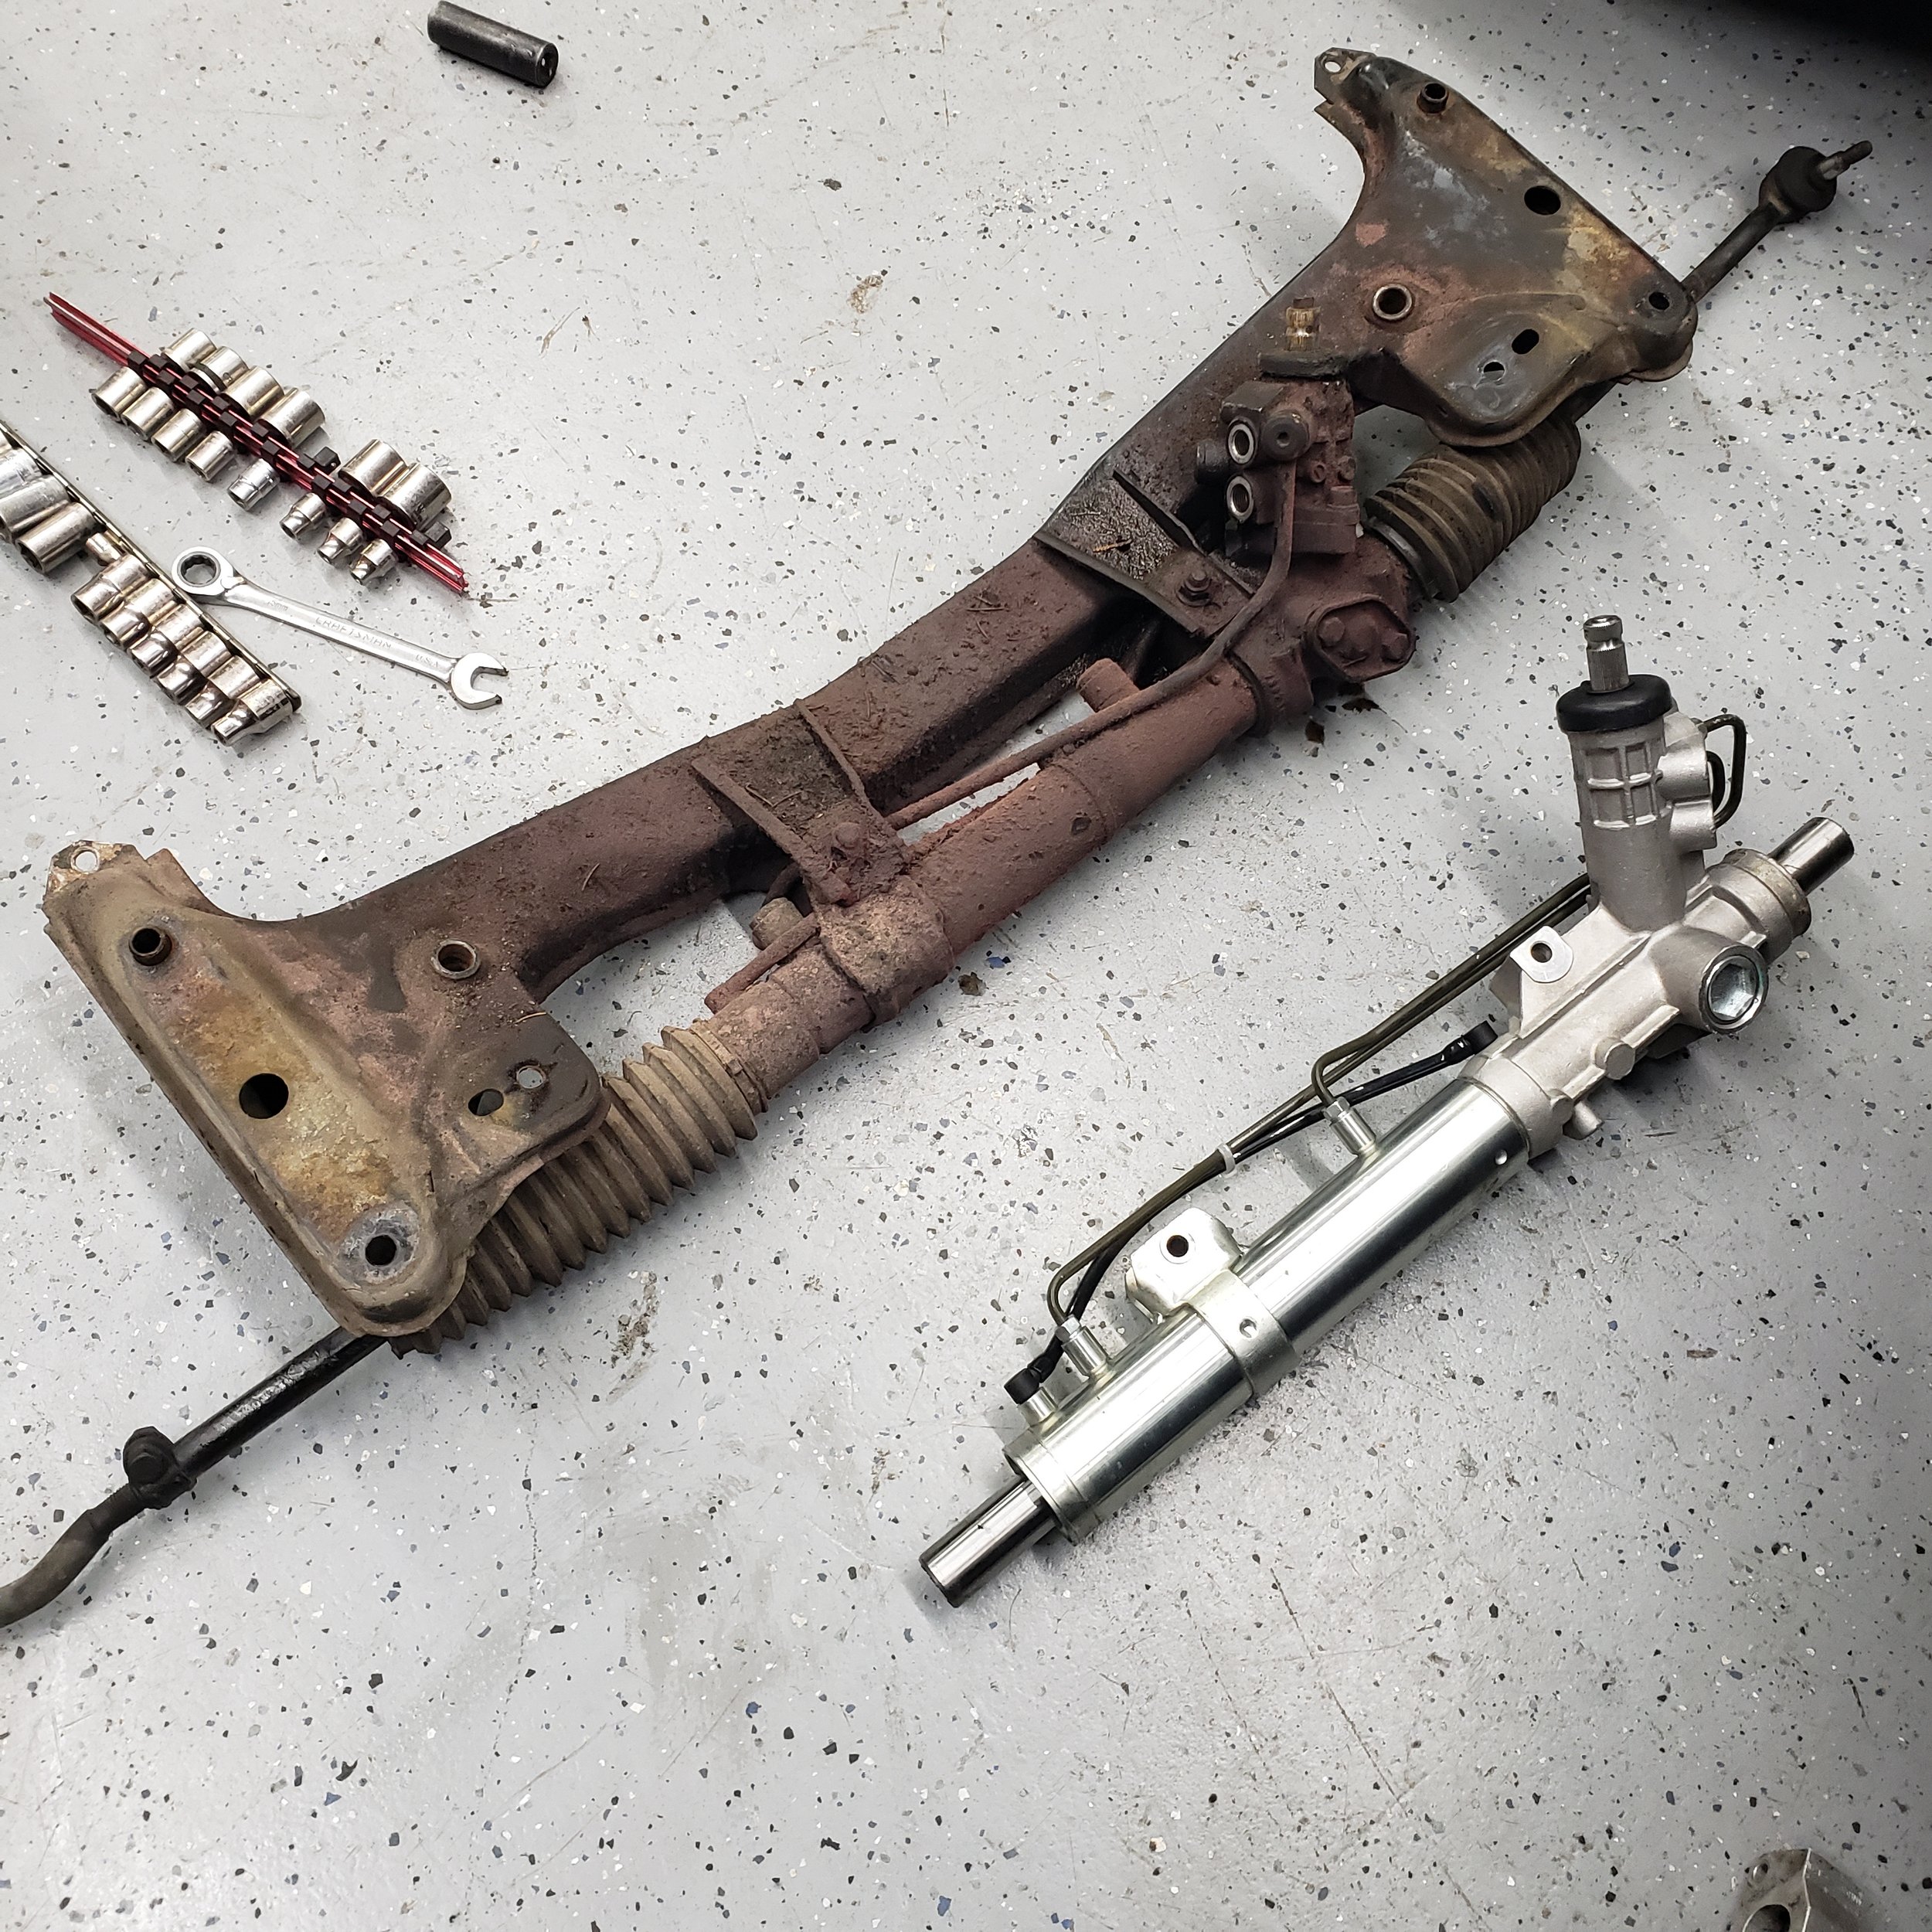
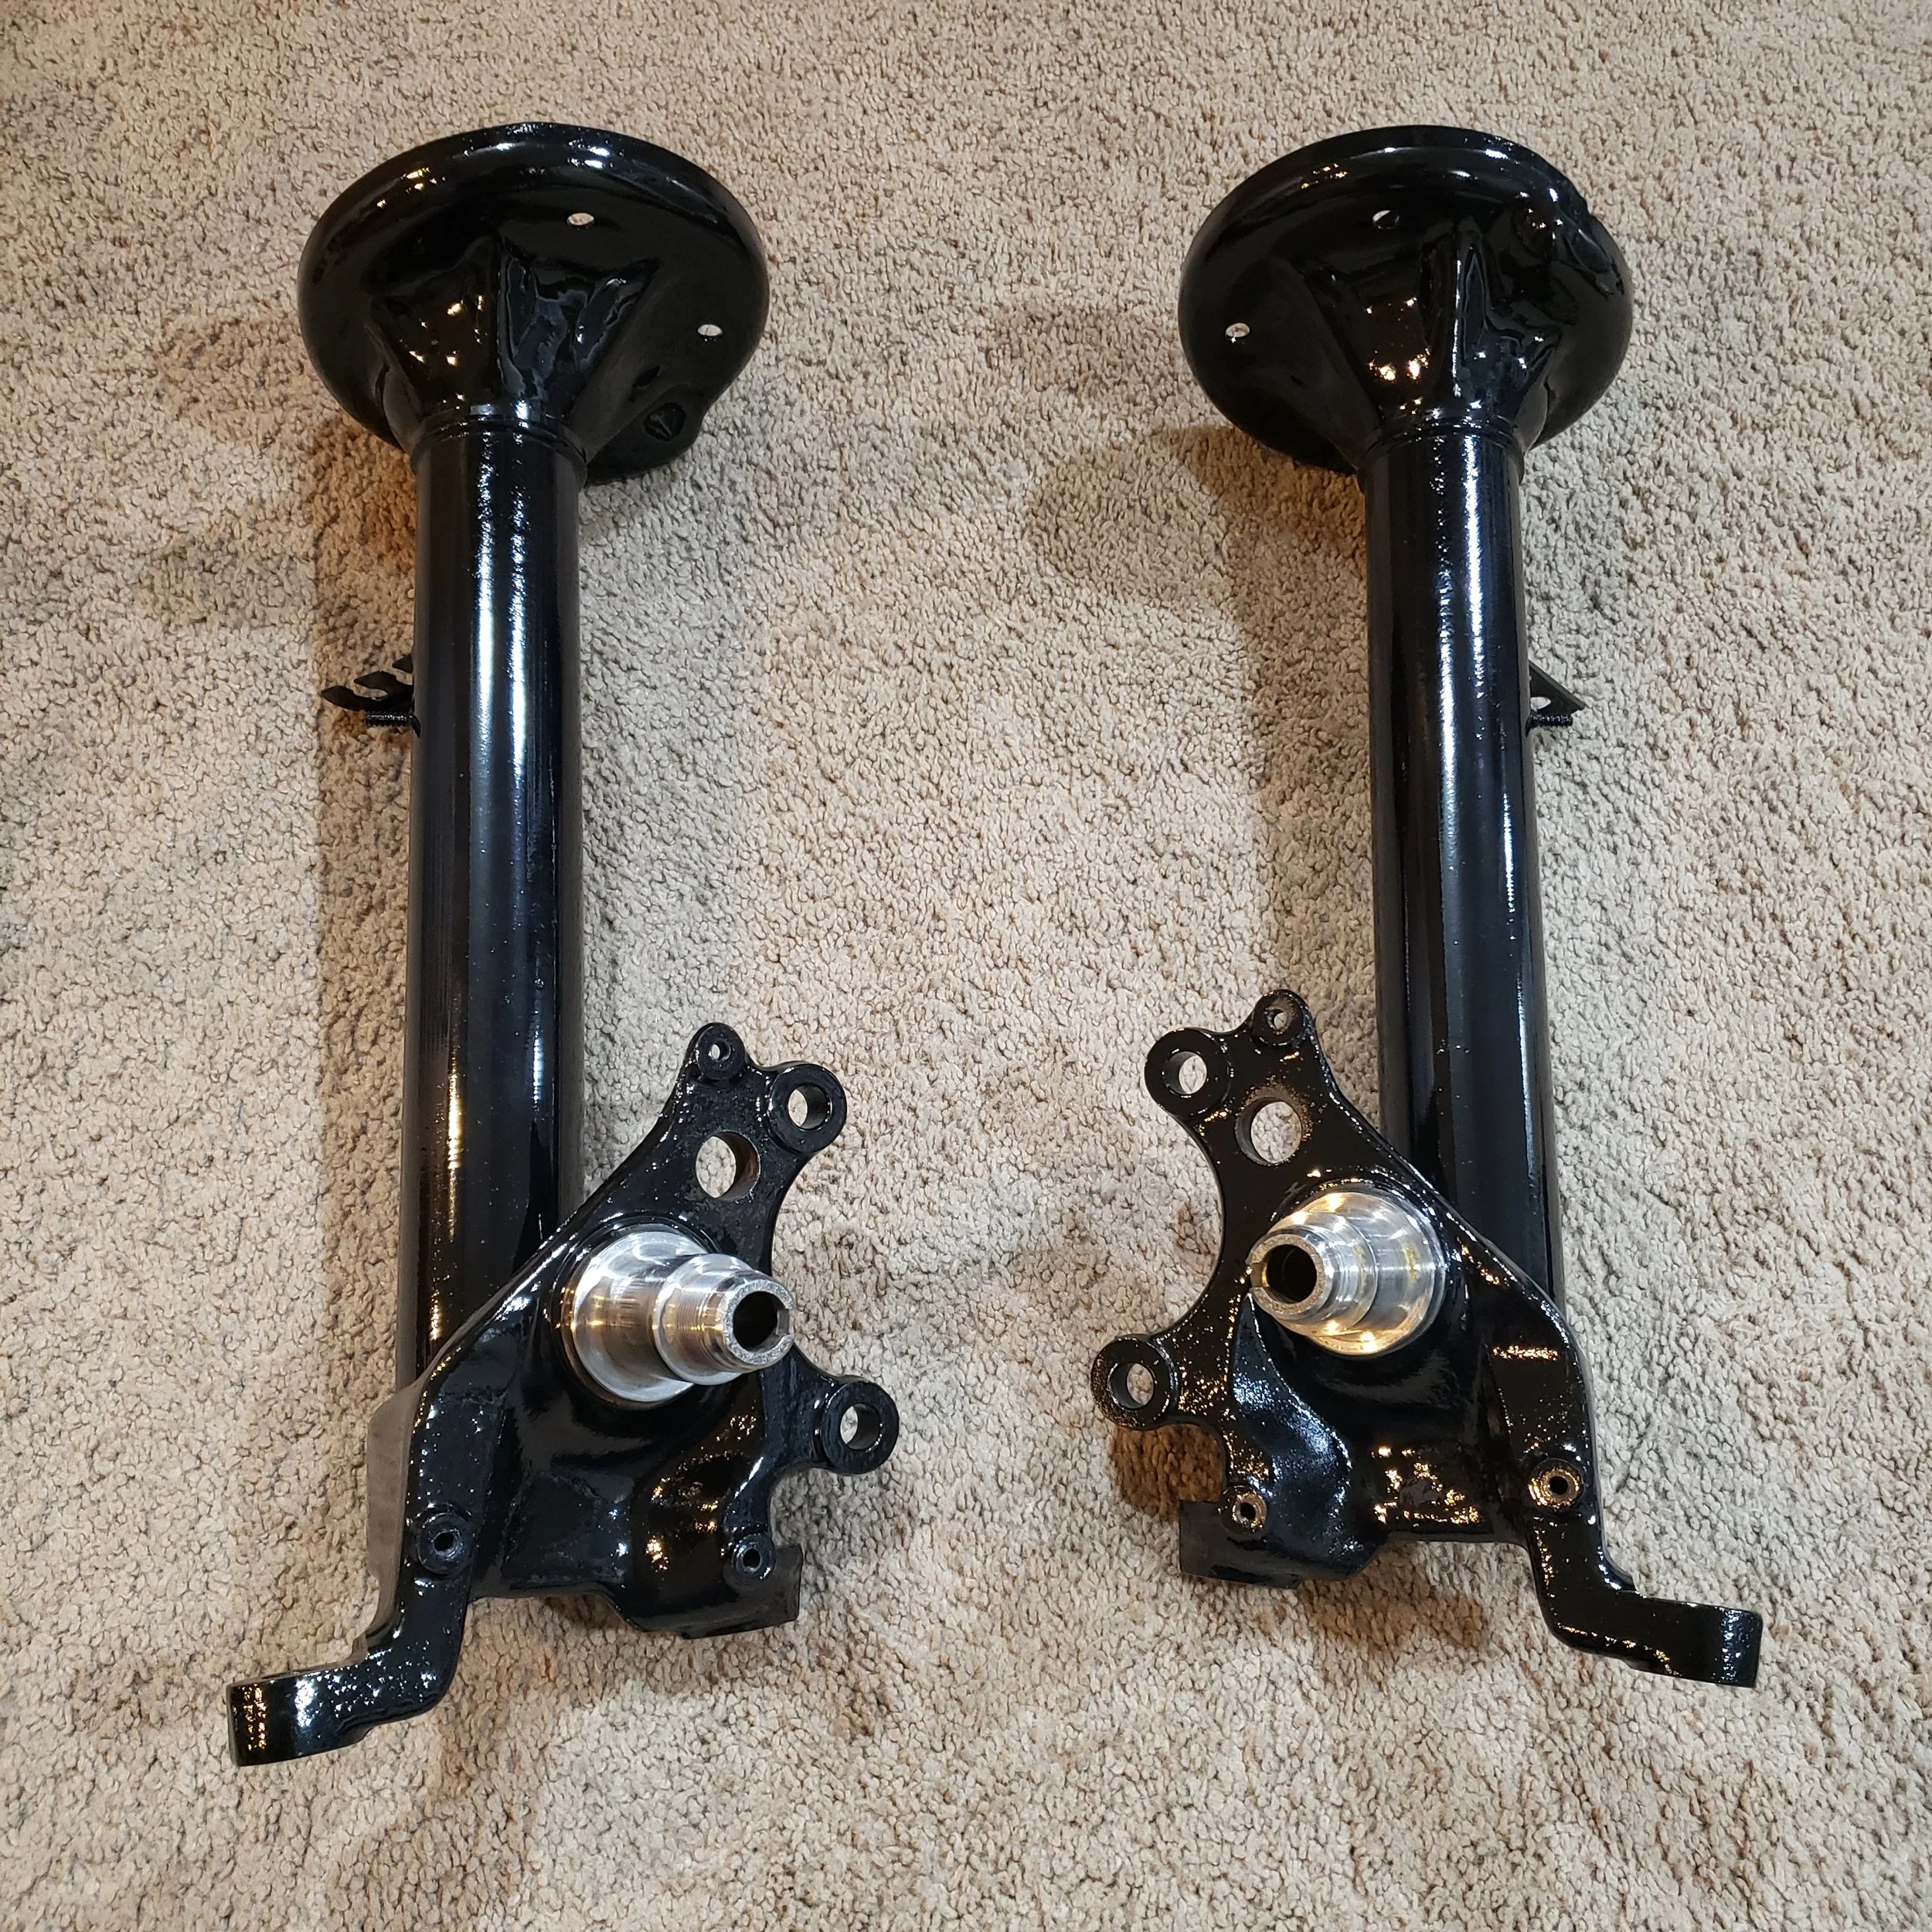
Here is a side by side comparison of the new and old rack.
With a little bit of elbow grease, a wire brush, a can of carb cleaner, and a shop towel (what I had on hand at the time of installation) — voilà!
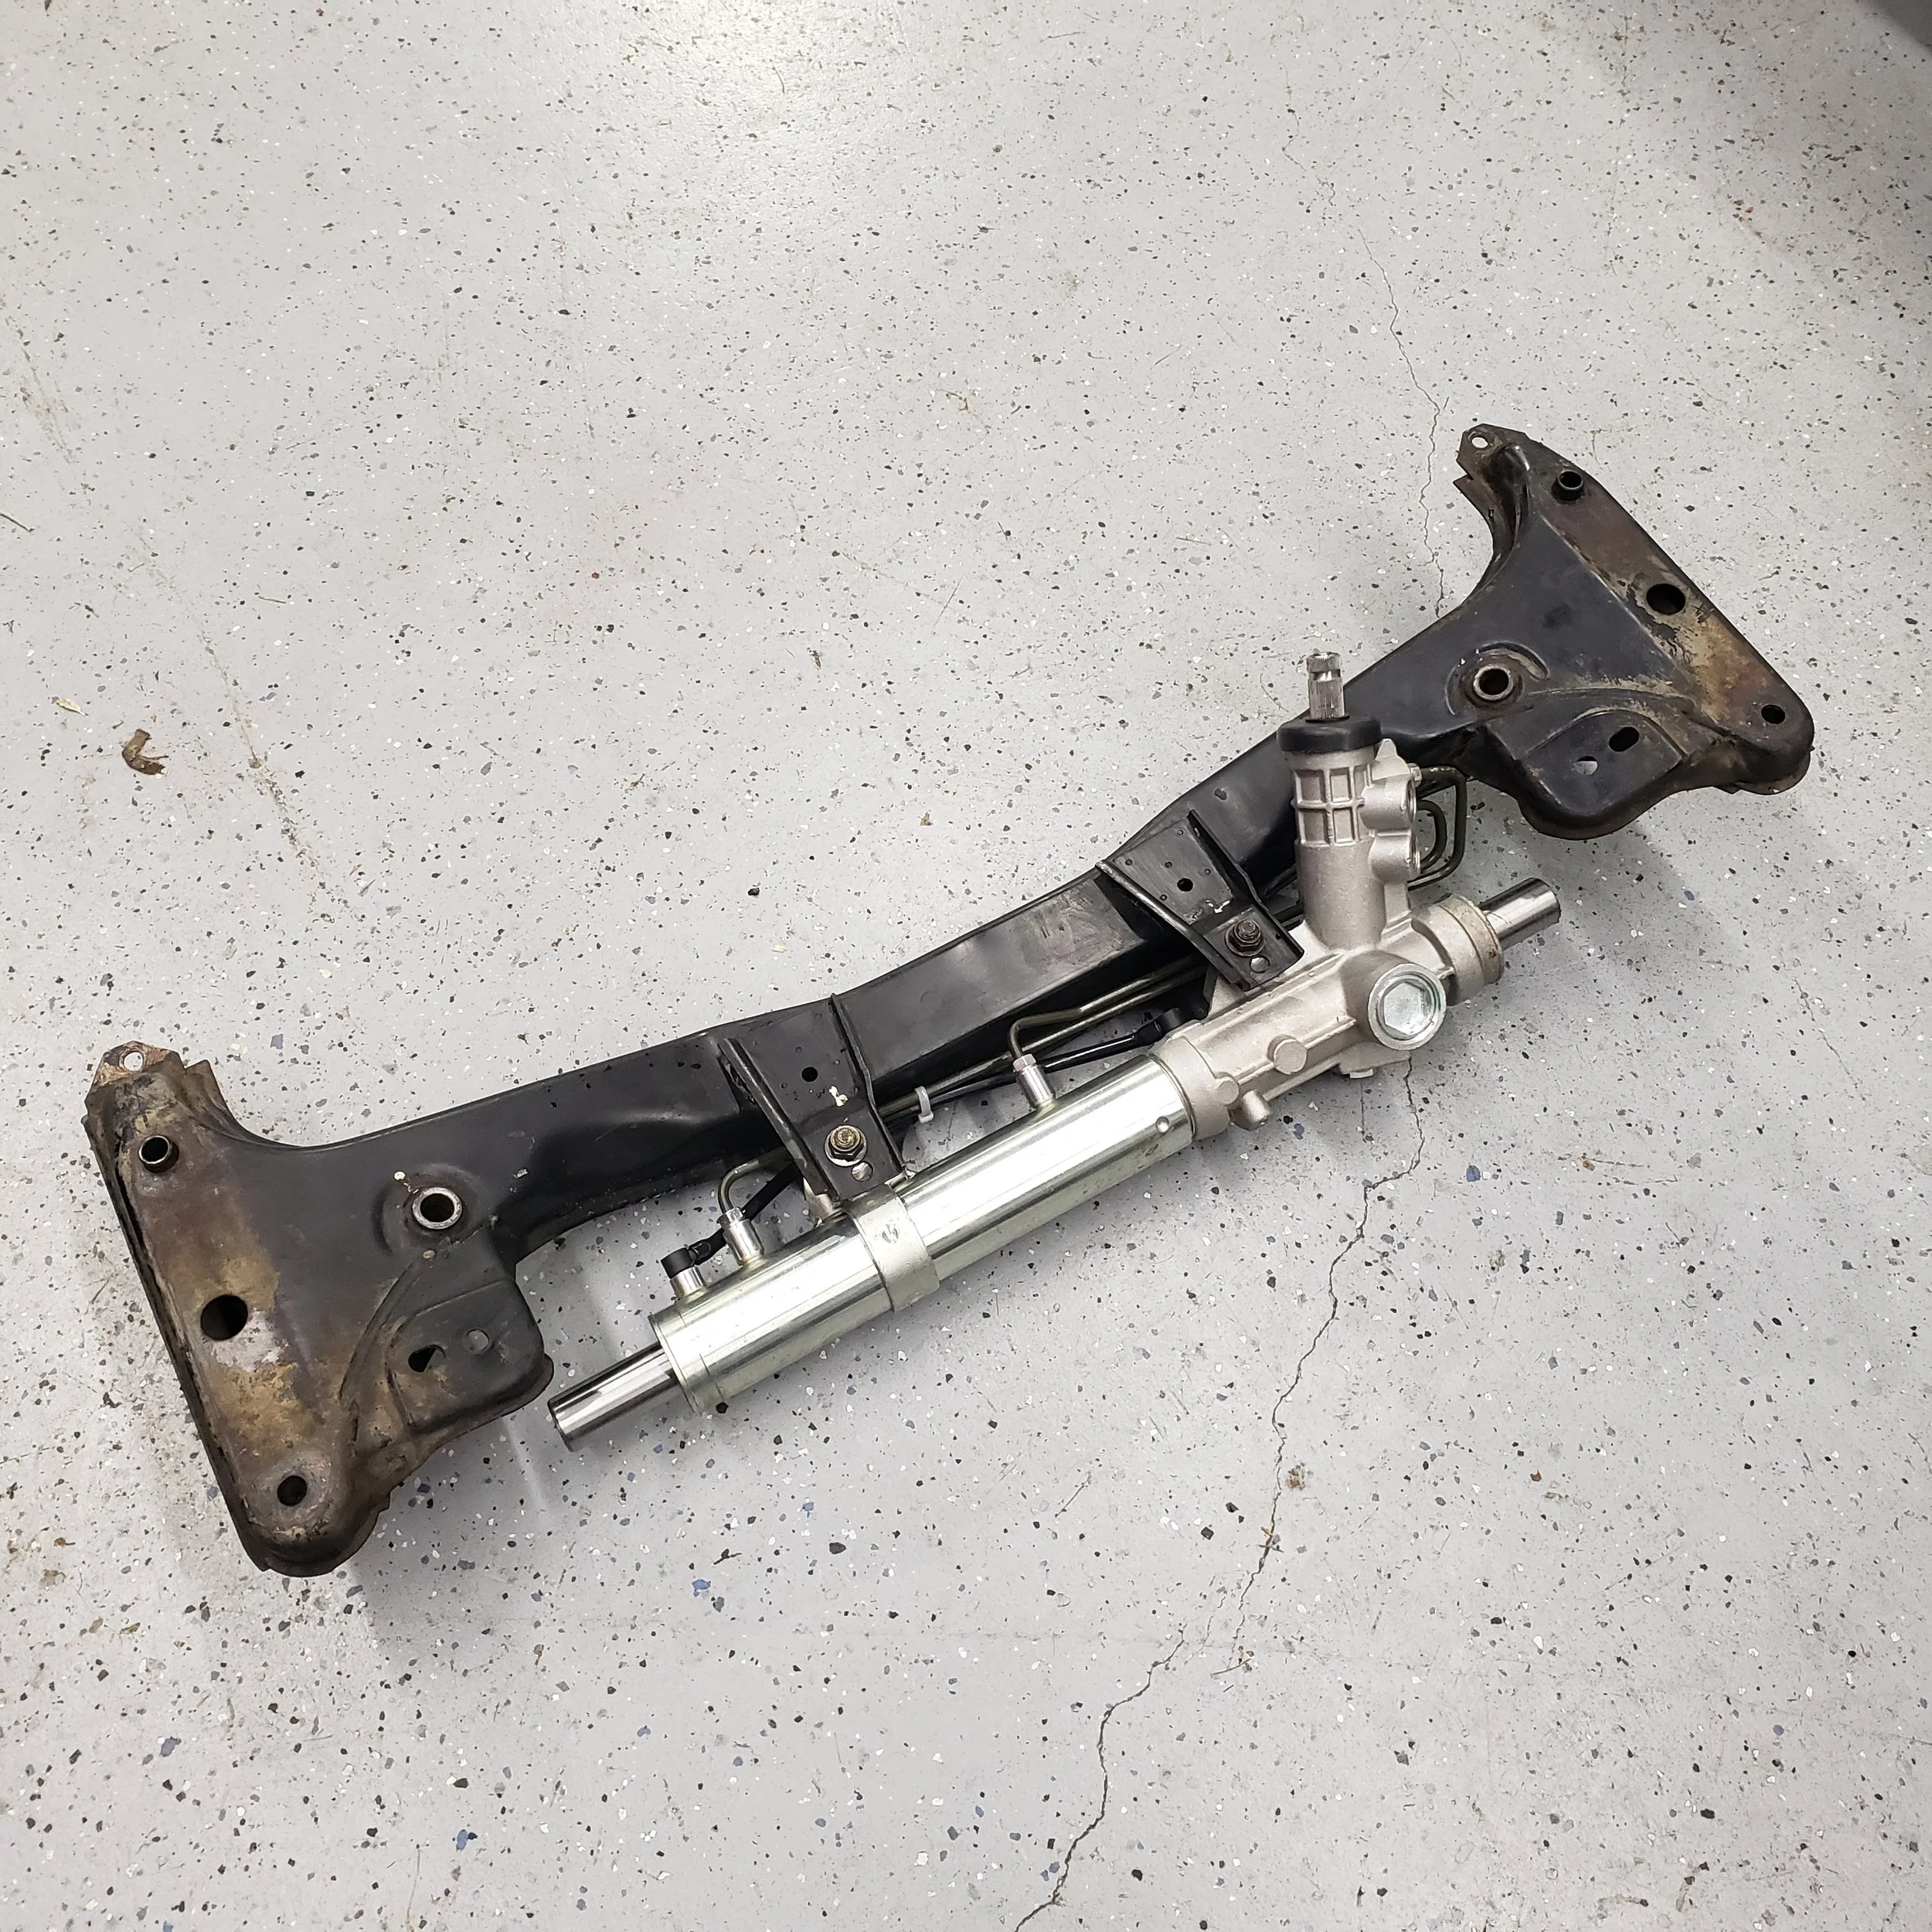
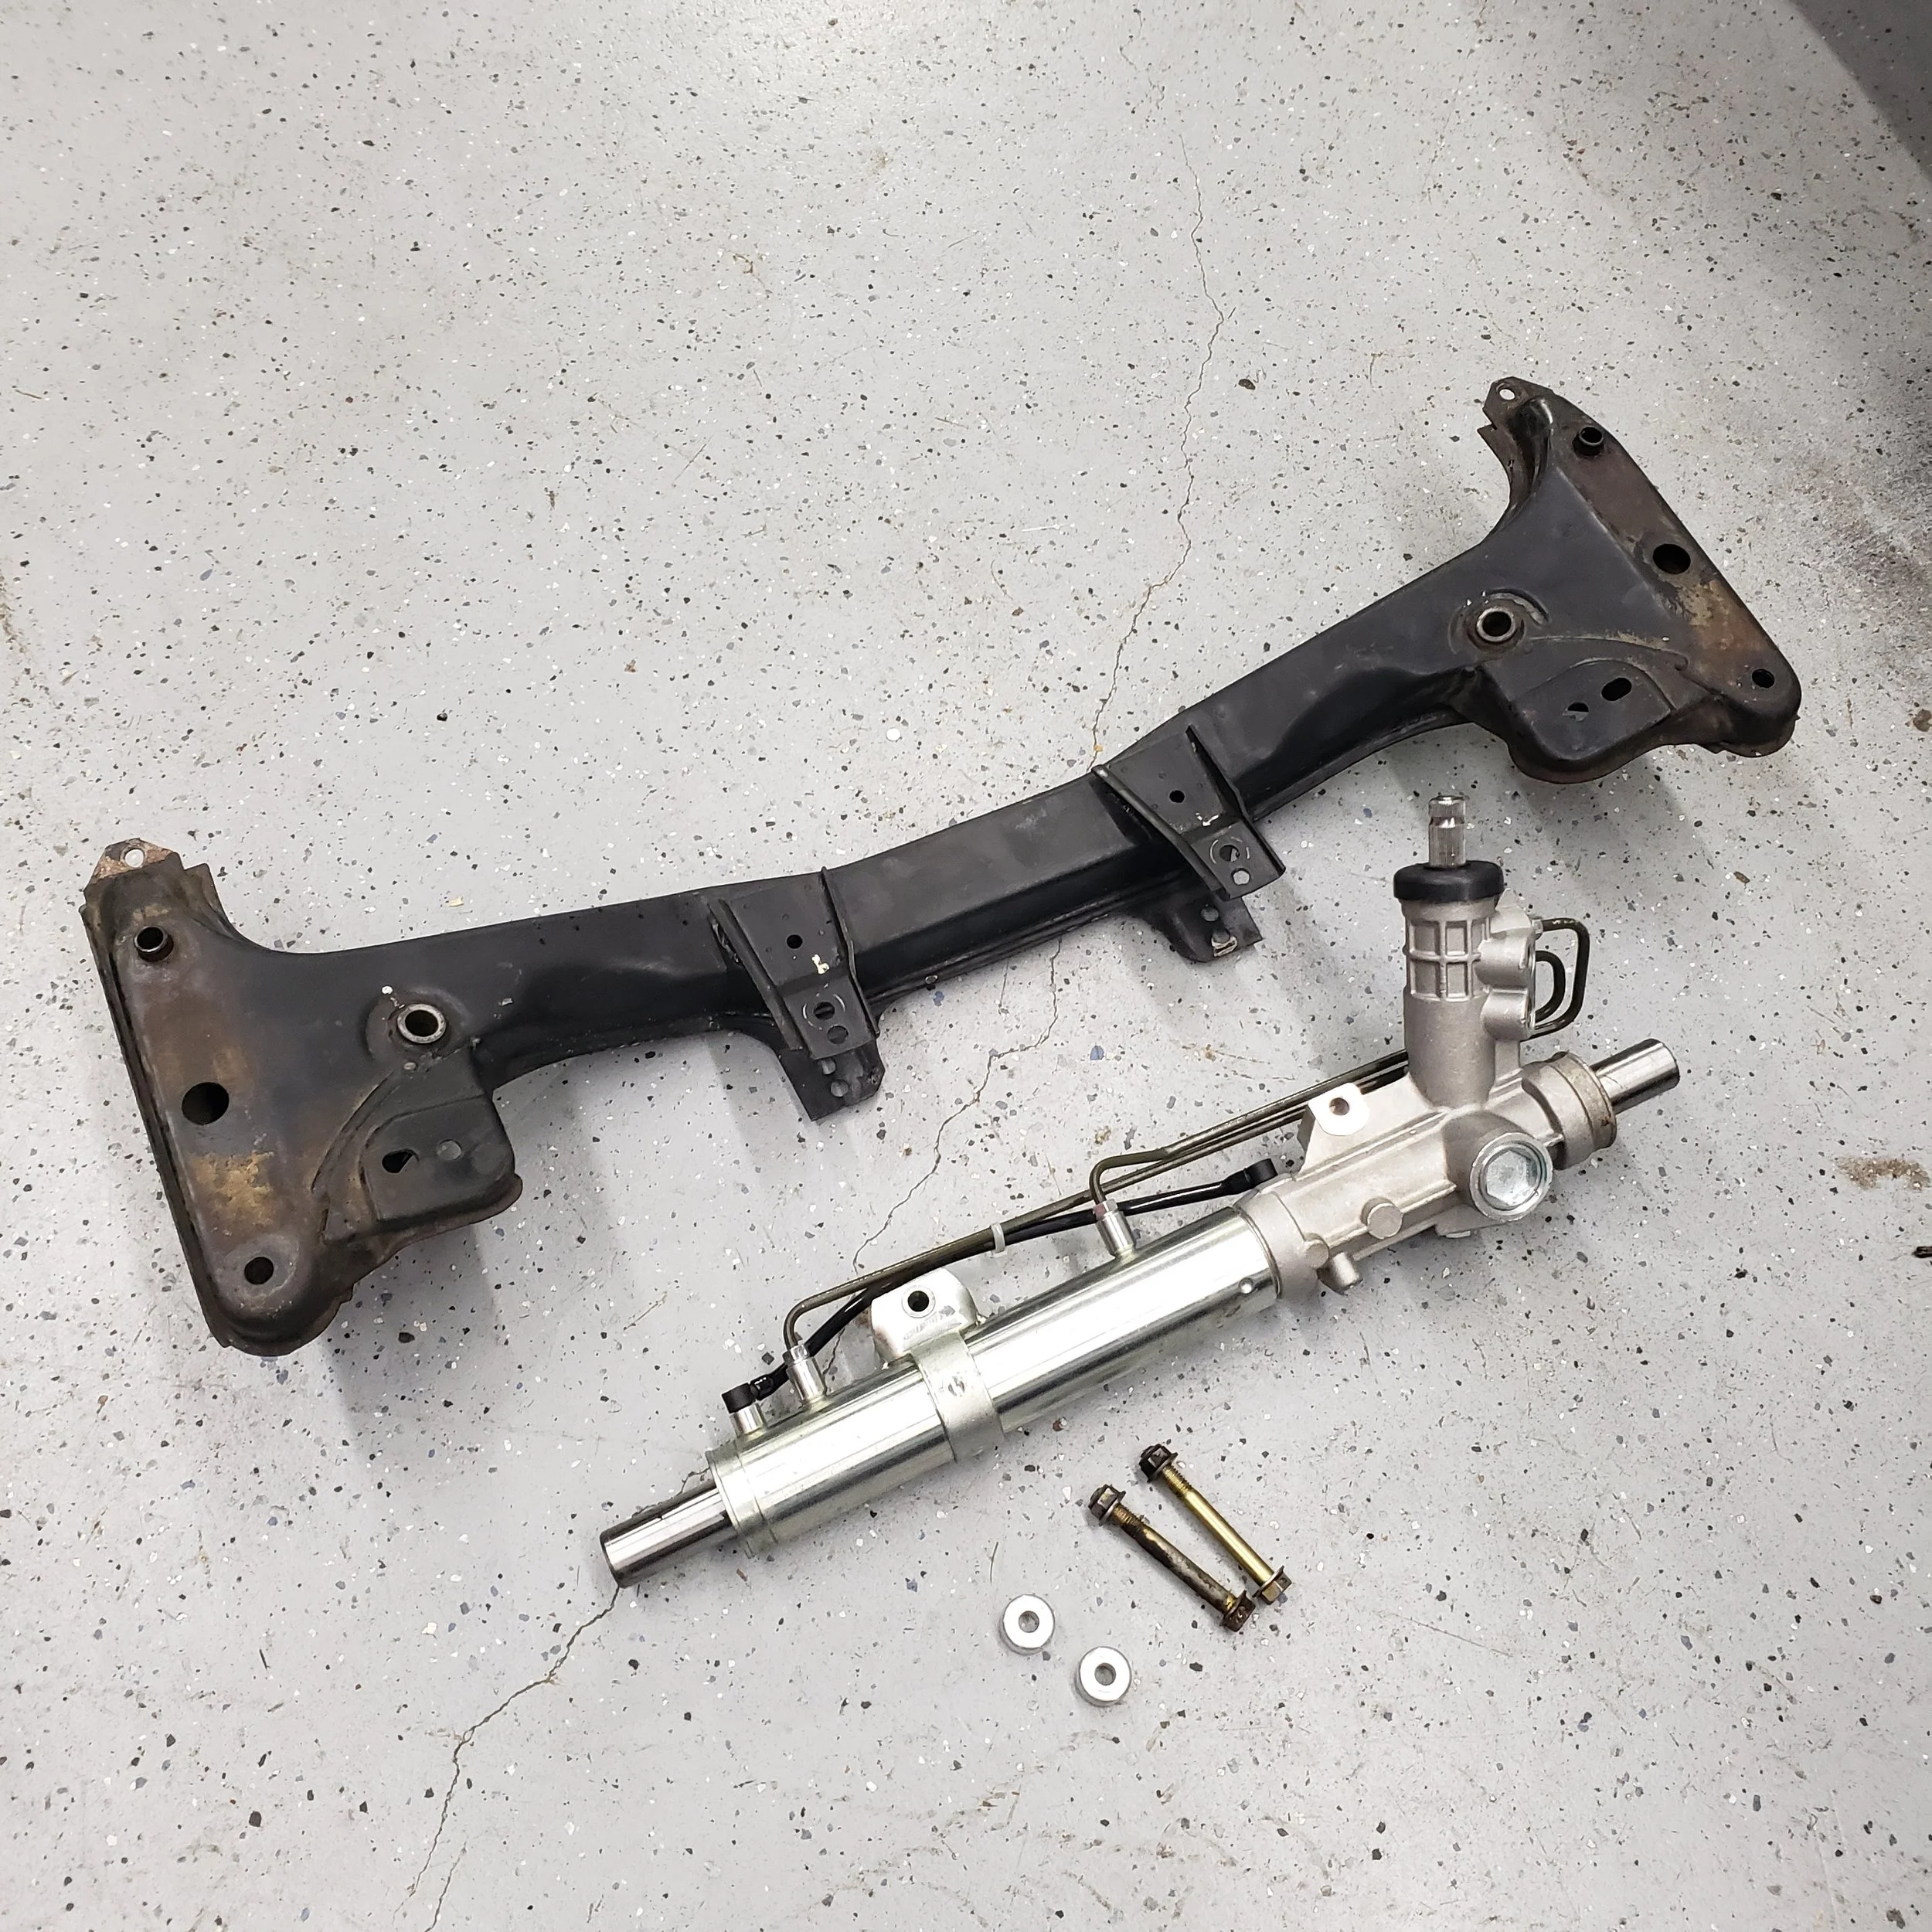
All cleaned up and mated to the subframe. It’s ready to go back in.

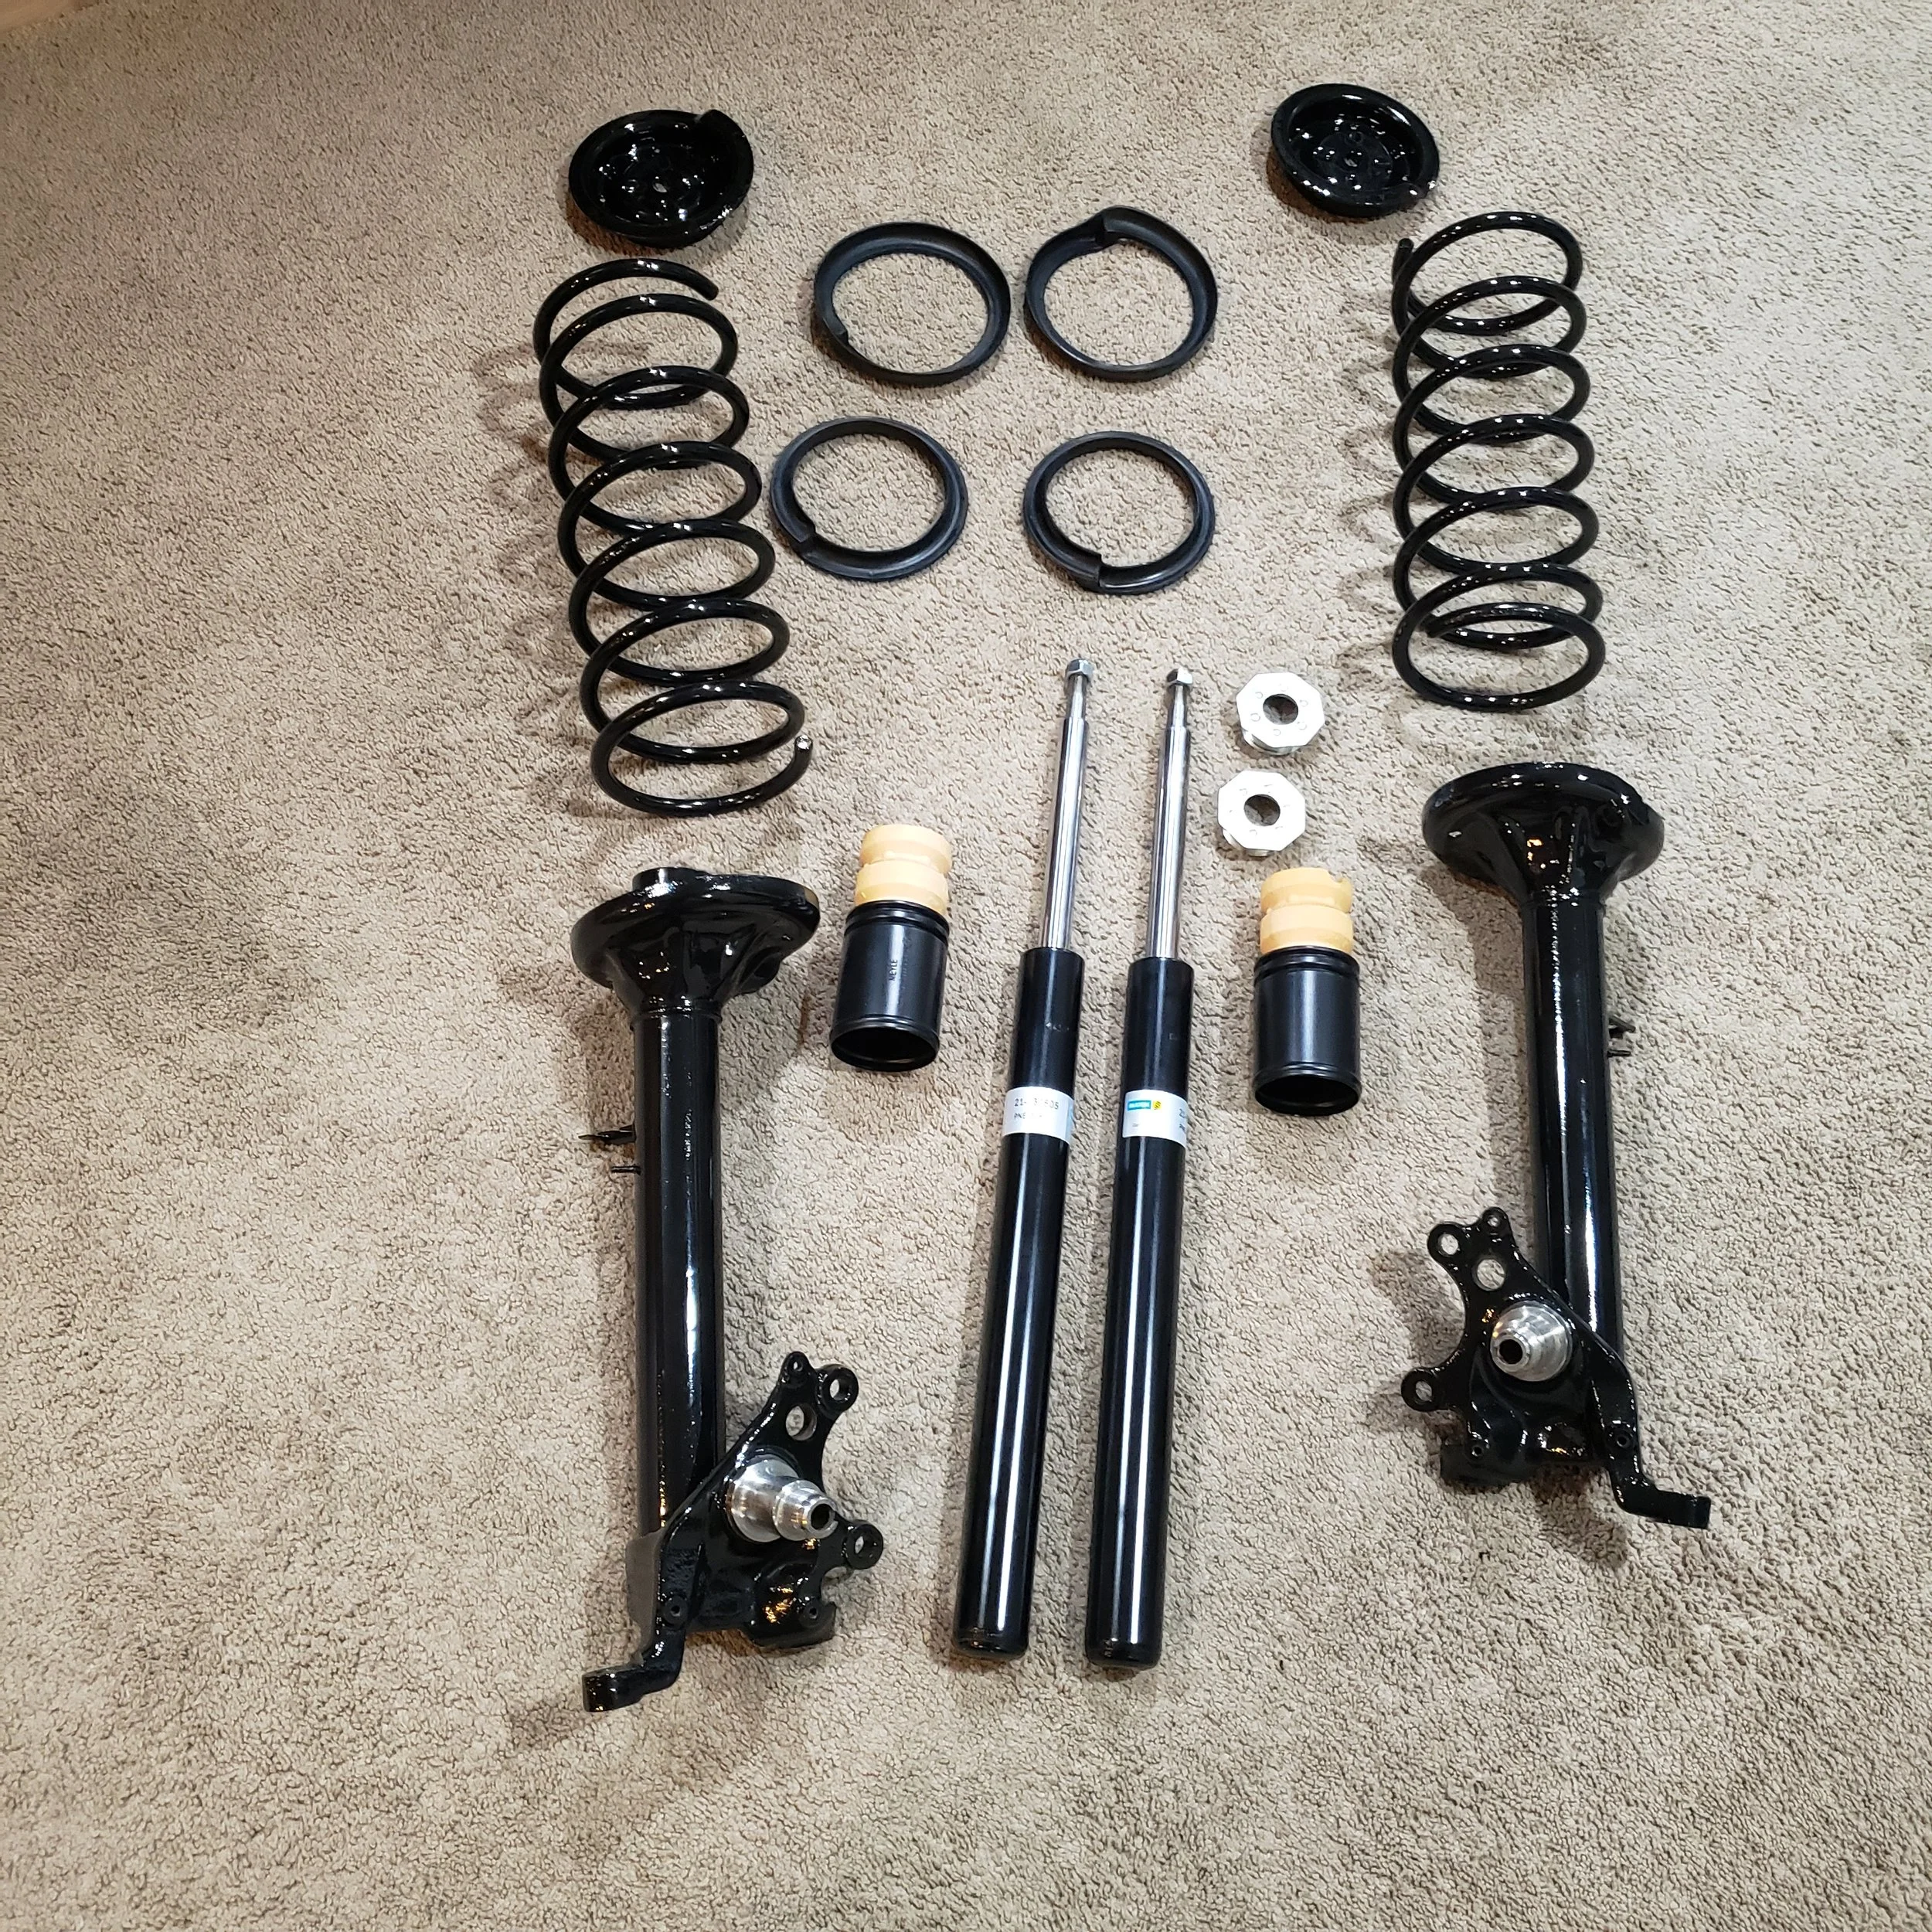
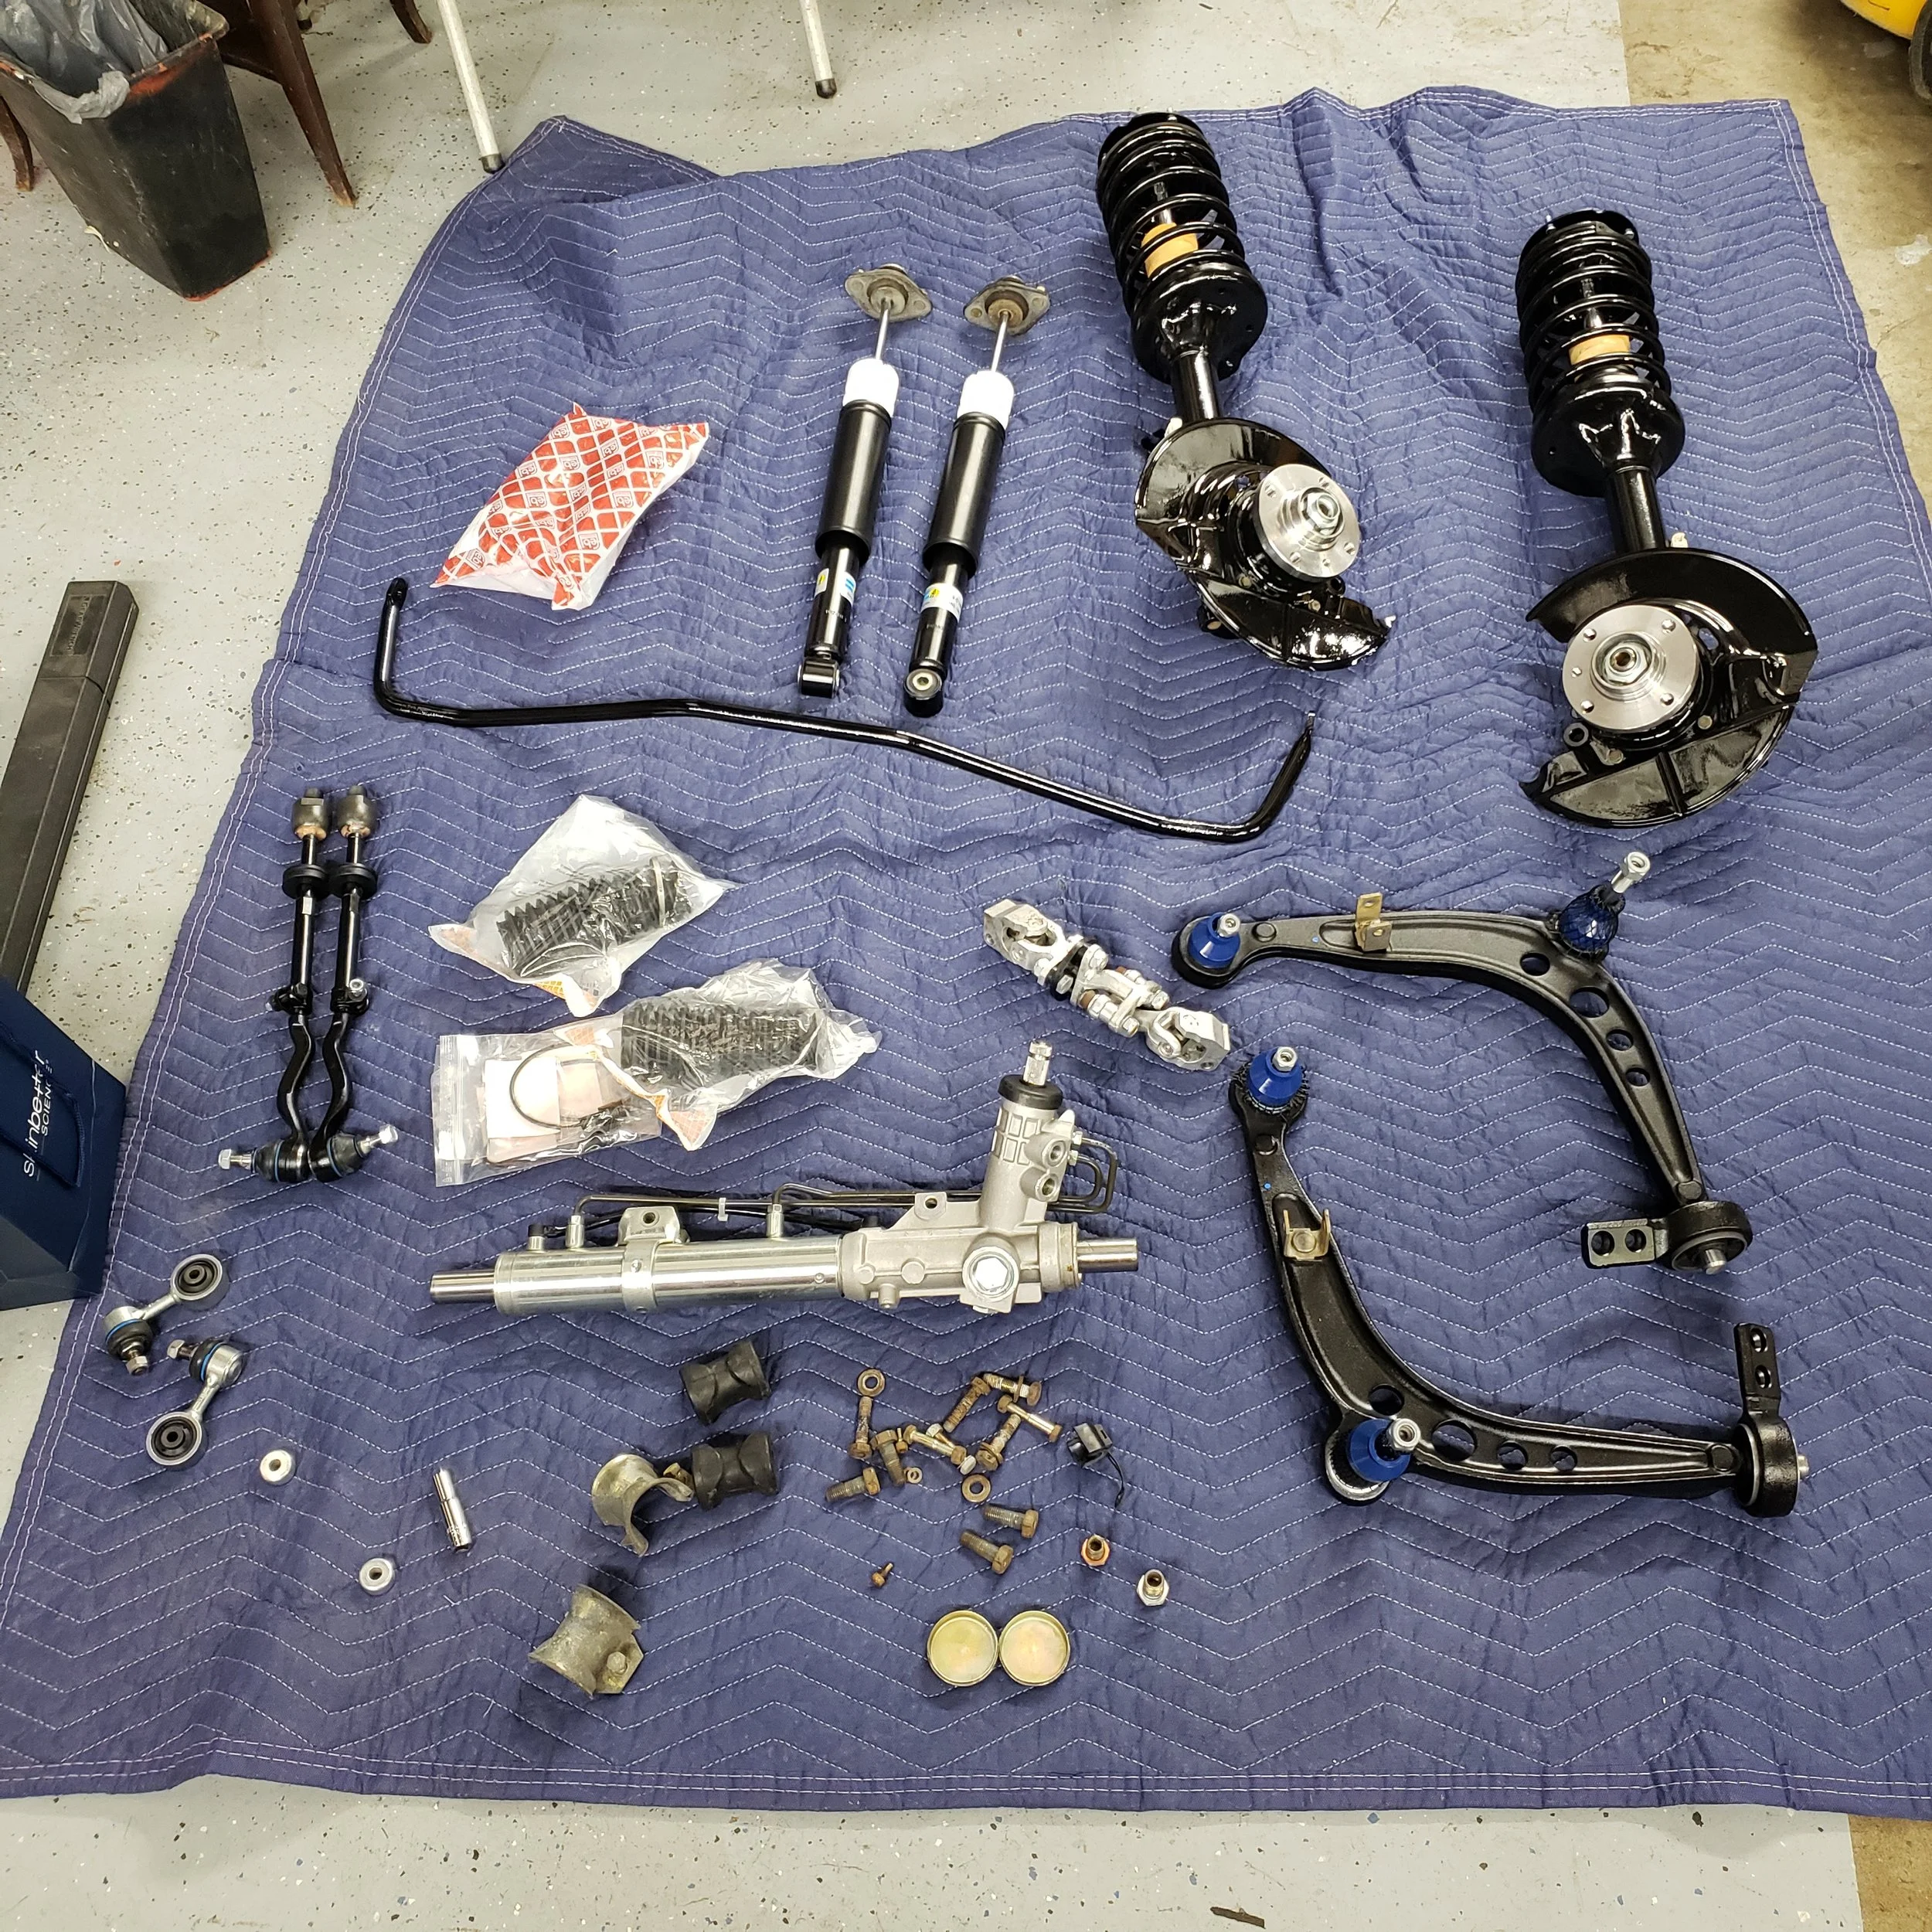
A look at all the new steering components.
After wrestling with the subframe, the swivel joint and a floor jack for the better part of an hour. I managed to get everything lined up and torqued down.
Painting:
Before we got this far, we need to back up to a phone call where we were going over the parts order. That’s when the idea came up to paint all the front-end components — and of course I agreed. If any car deserves that extra bit of love and respect, it’s this one. Plus, I never turn down a fun painting project. And really, who doesn’t love freshly painted suspension parts? This way everything goes back together looking clean and pretty much like new.
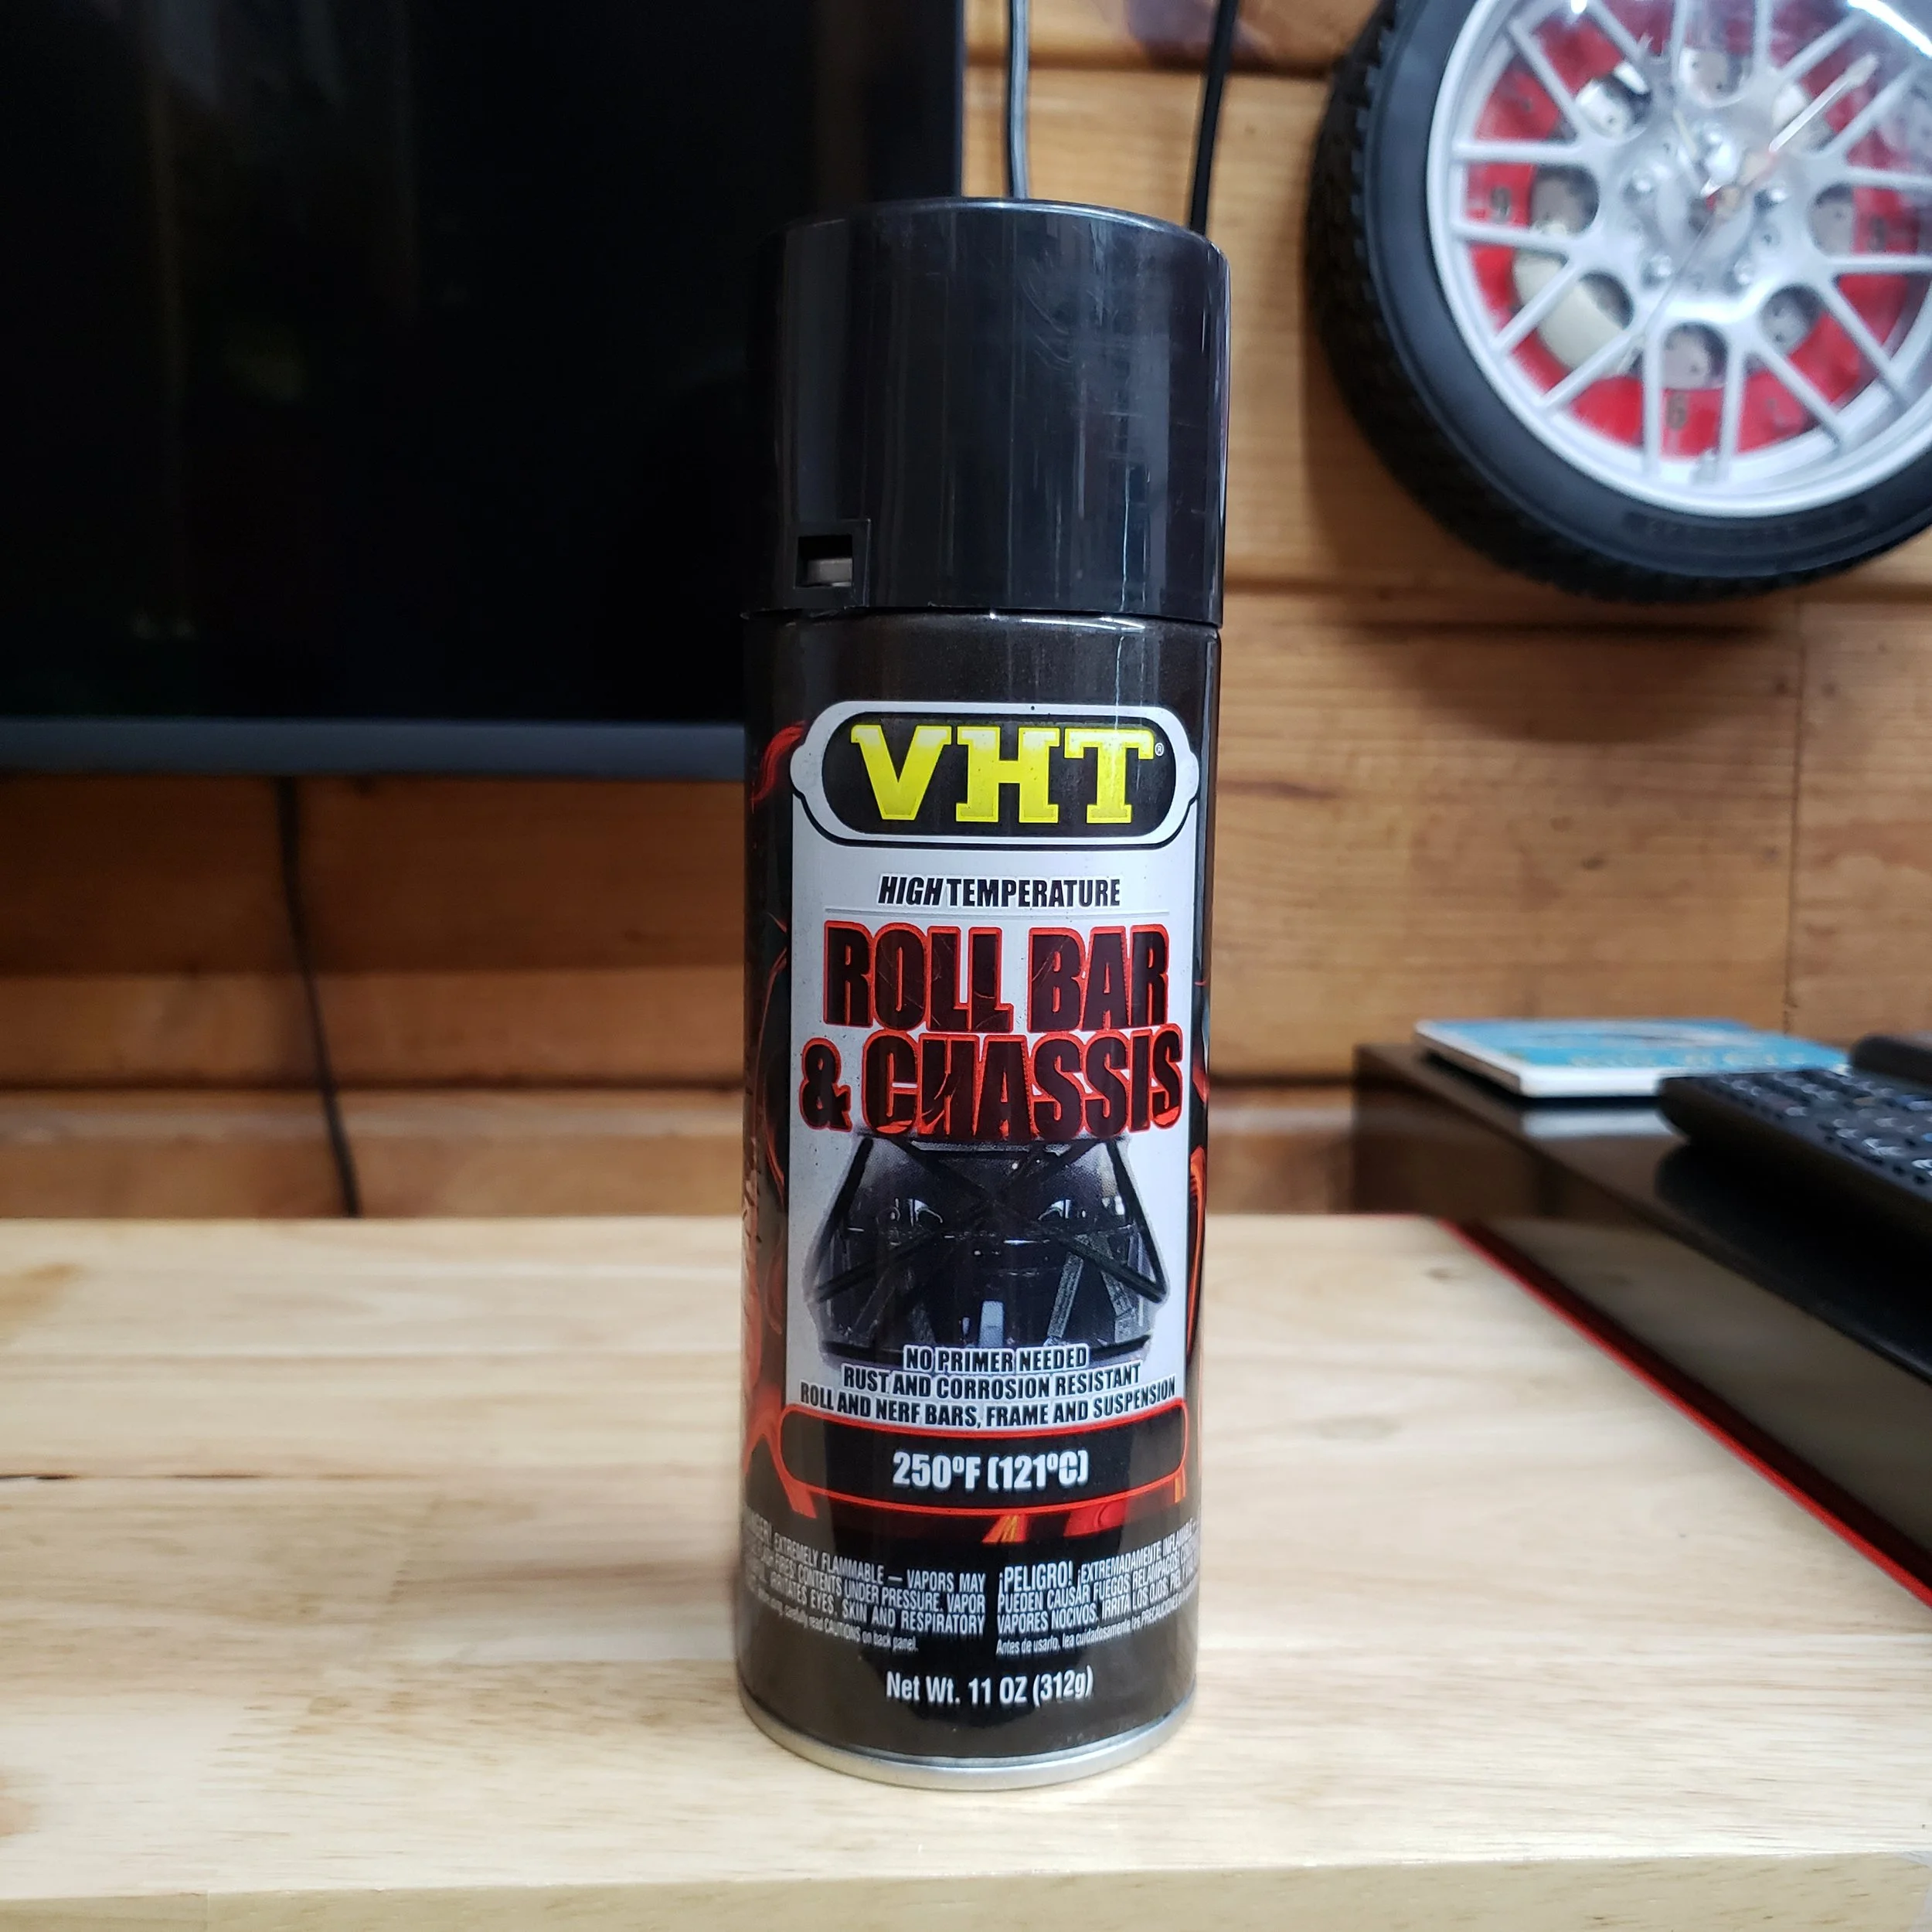
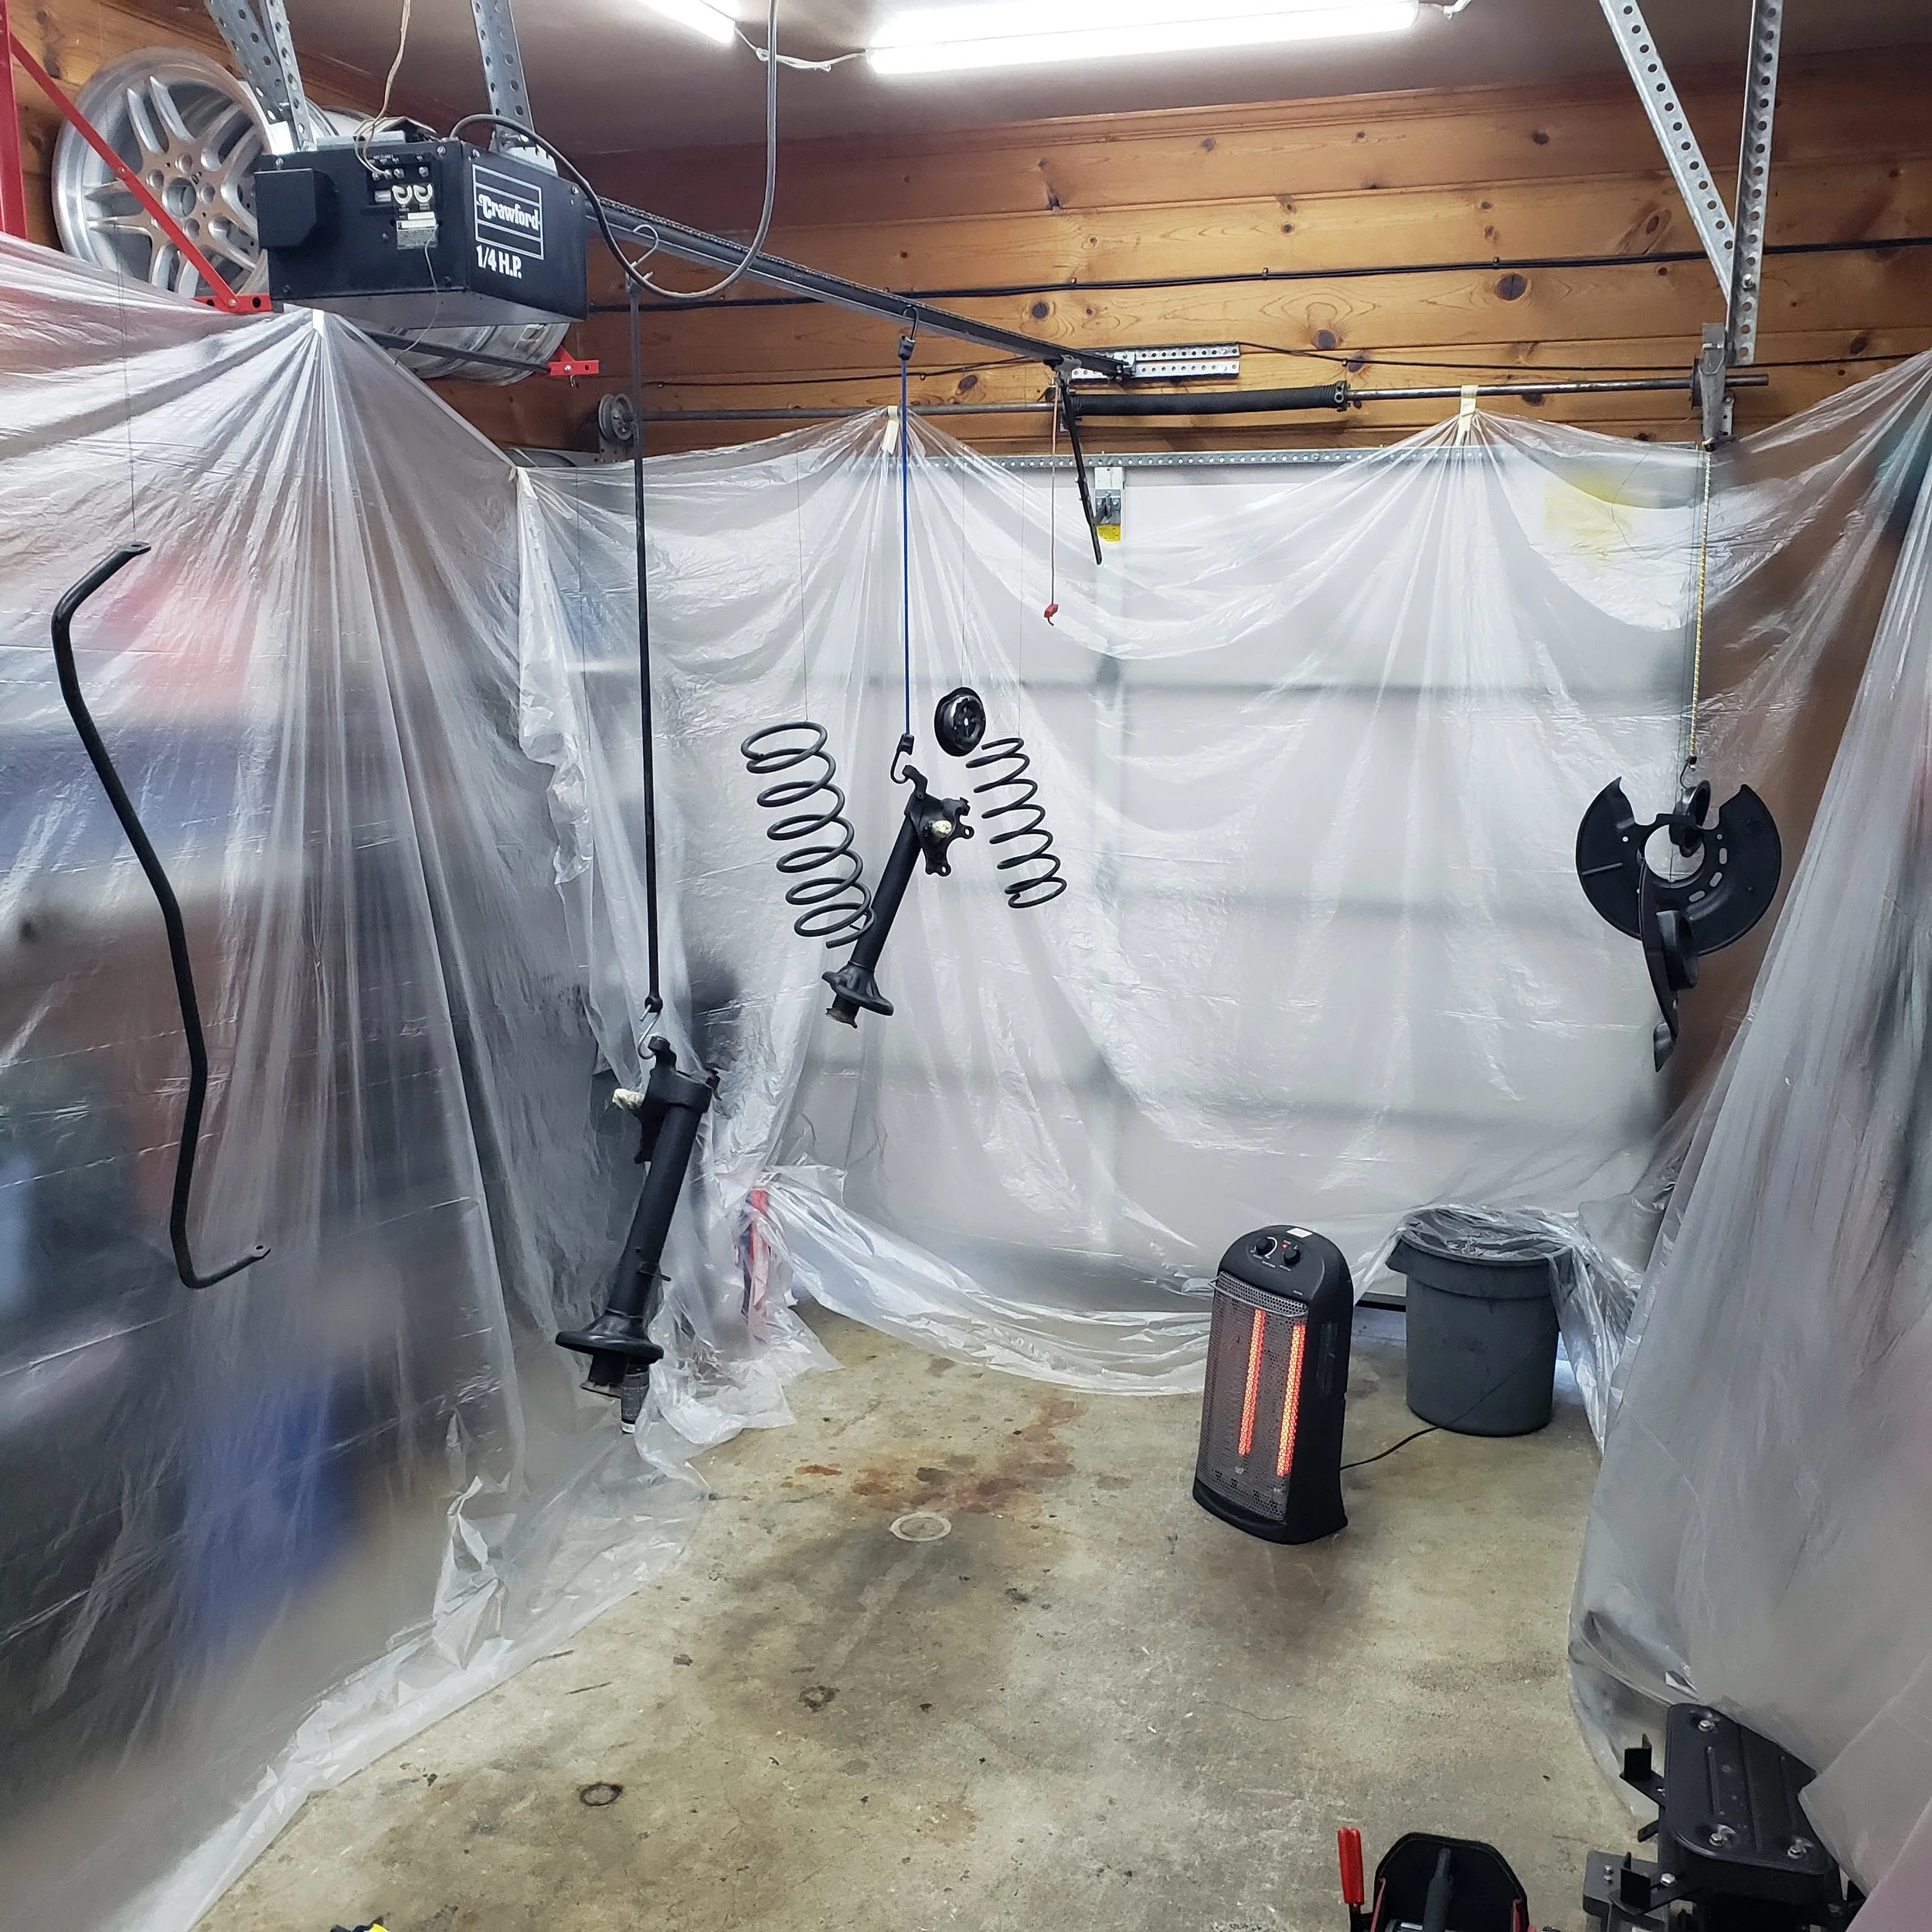
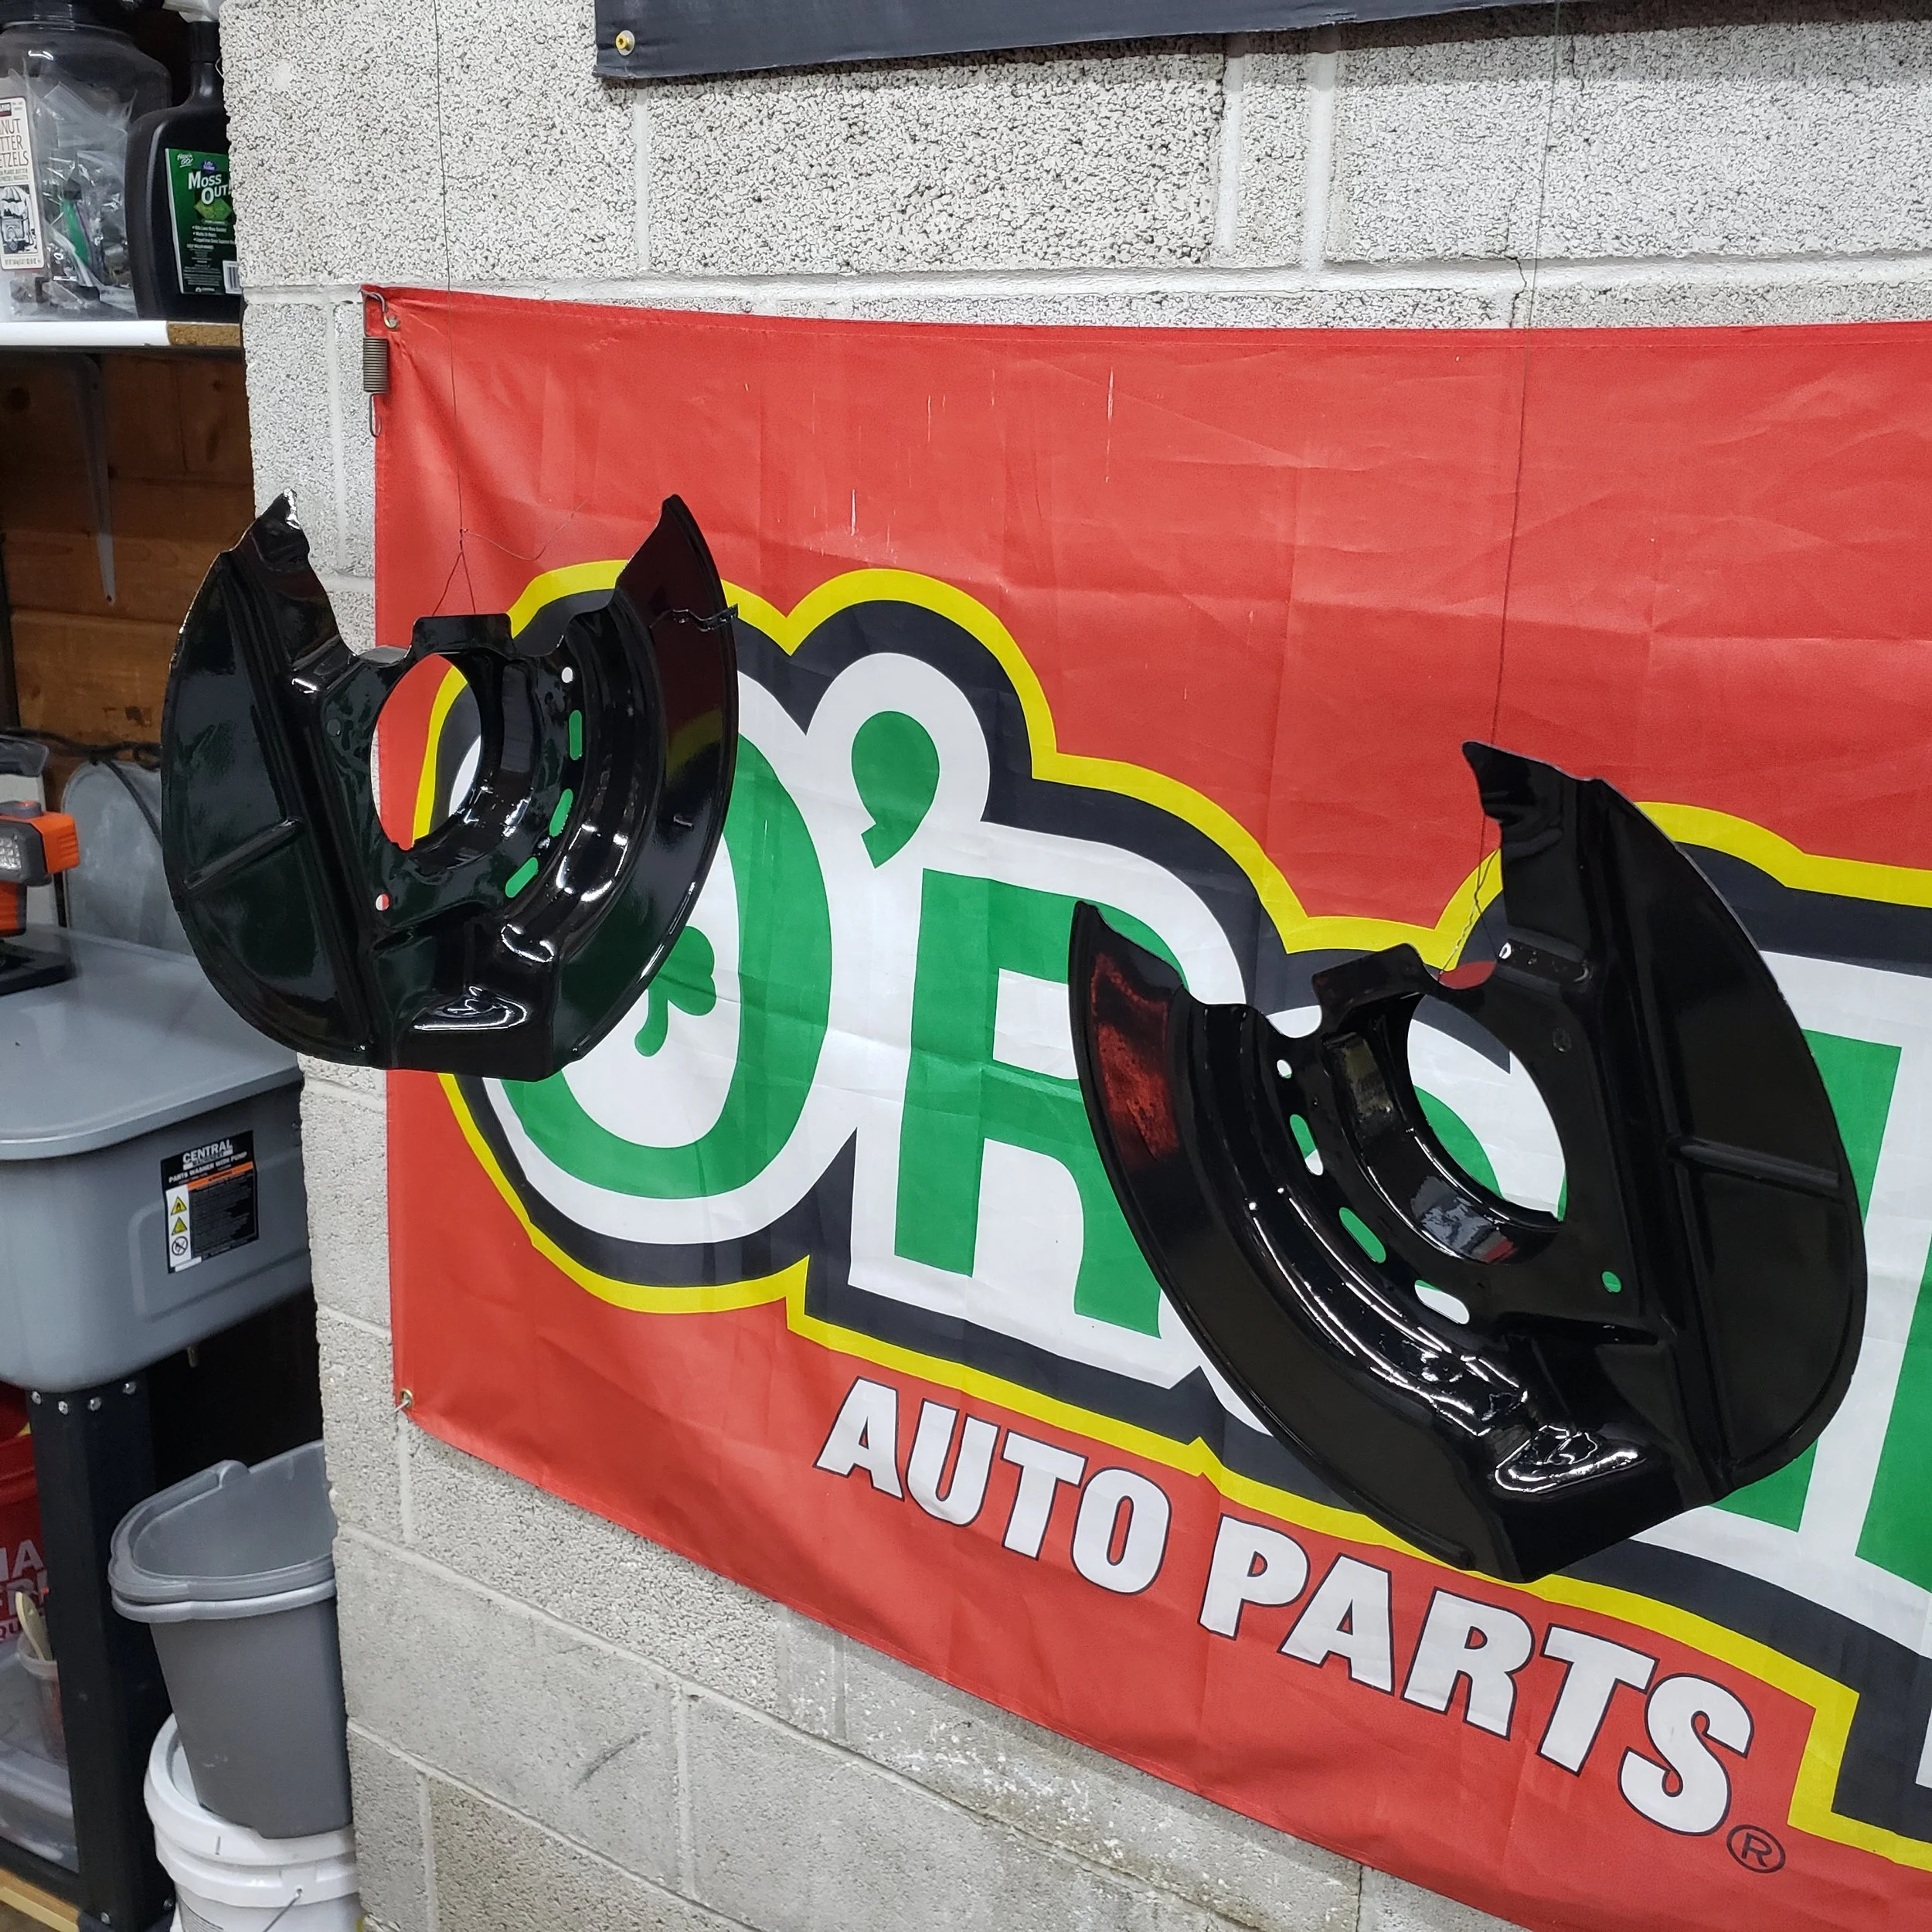
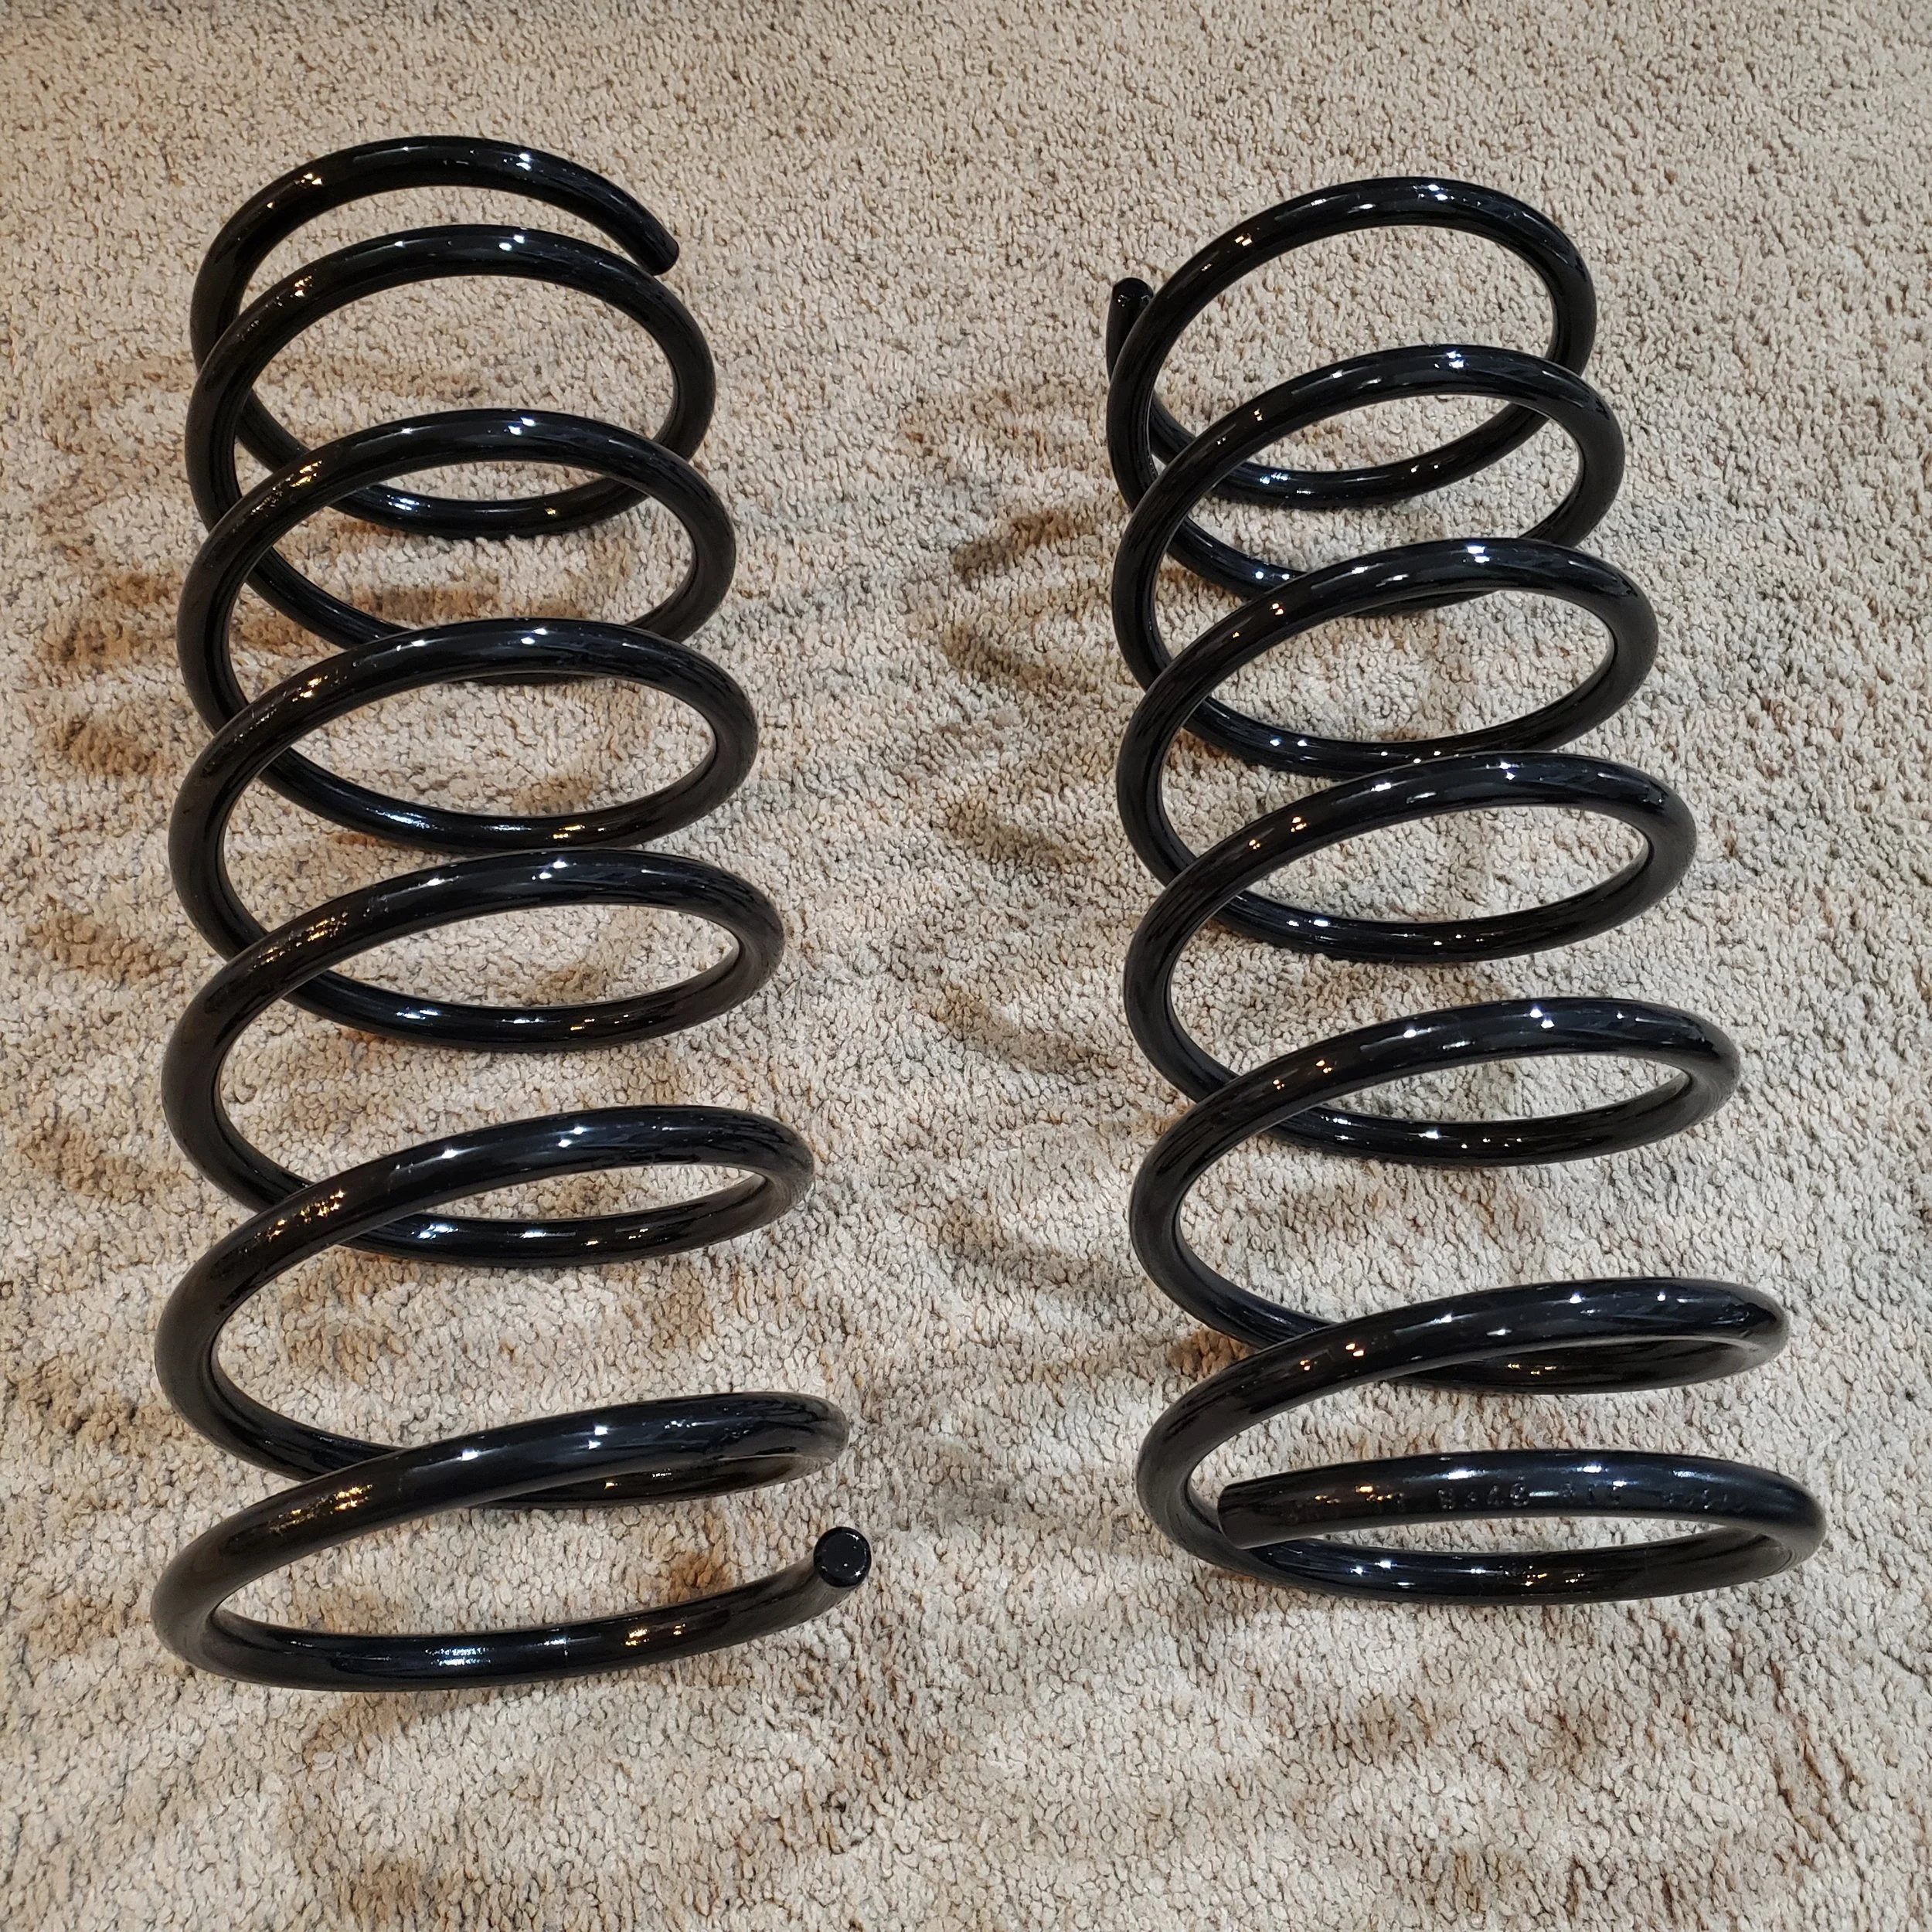
I took all the parts back to my house and got to work. First, I hit them with the pressure washer to remove the bulk of the grease and dirt. Then I scrubbed and scrubbed, and then I scrubbed some more... Let me tell you what, four-decade-old car parts have a different kind of grime buildup. Once they were 100% free of any dirt and oils, I gave them a good scuff with 320 grit, and then they were ready for paint. After getting everything masked and hung in the garage, I laid down 2 light coats followed by 2 heavy coats of VHT roll bar and chassis paint. It is a durable epoxy paint designed for roll bars, chassis, and suspension. This finish turned out awesome. The parts looked as if they were powder coated. Though not quite as durable as powder coating, it was the next best option without the hefty powder coating bill and the wait time(even though we still had the let them cure).

Reassembly:
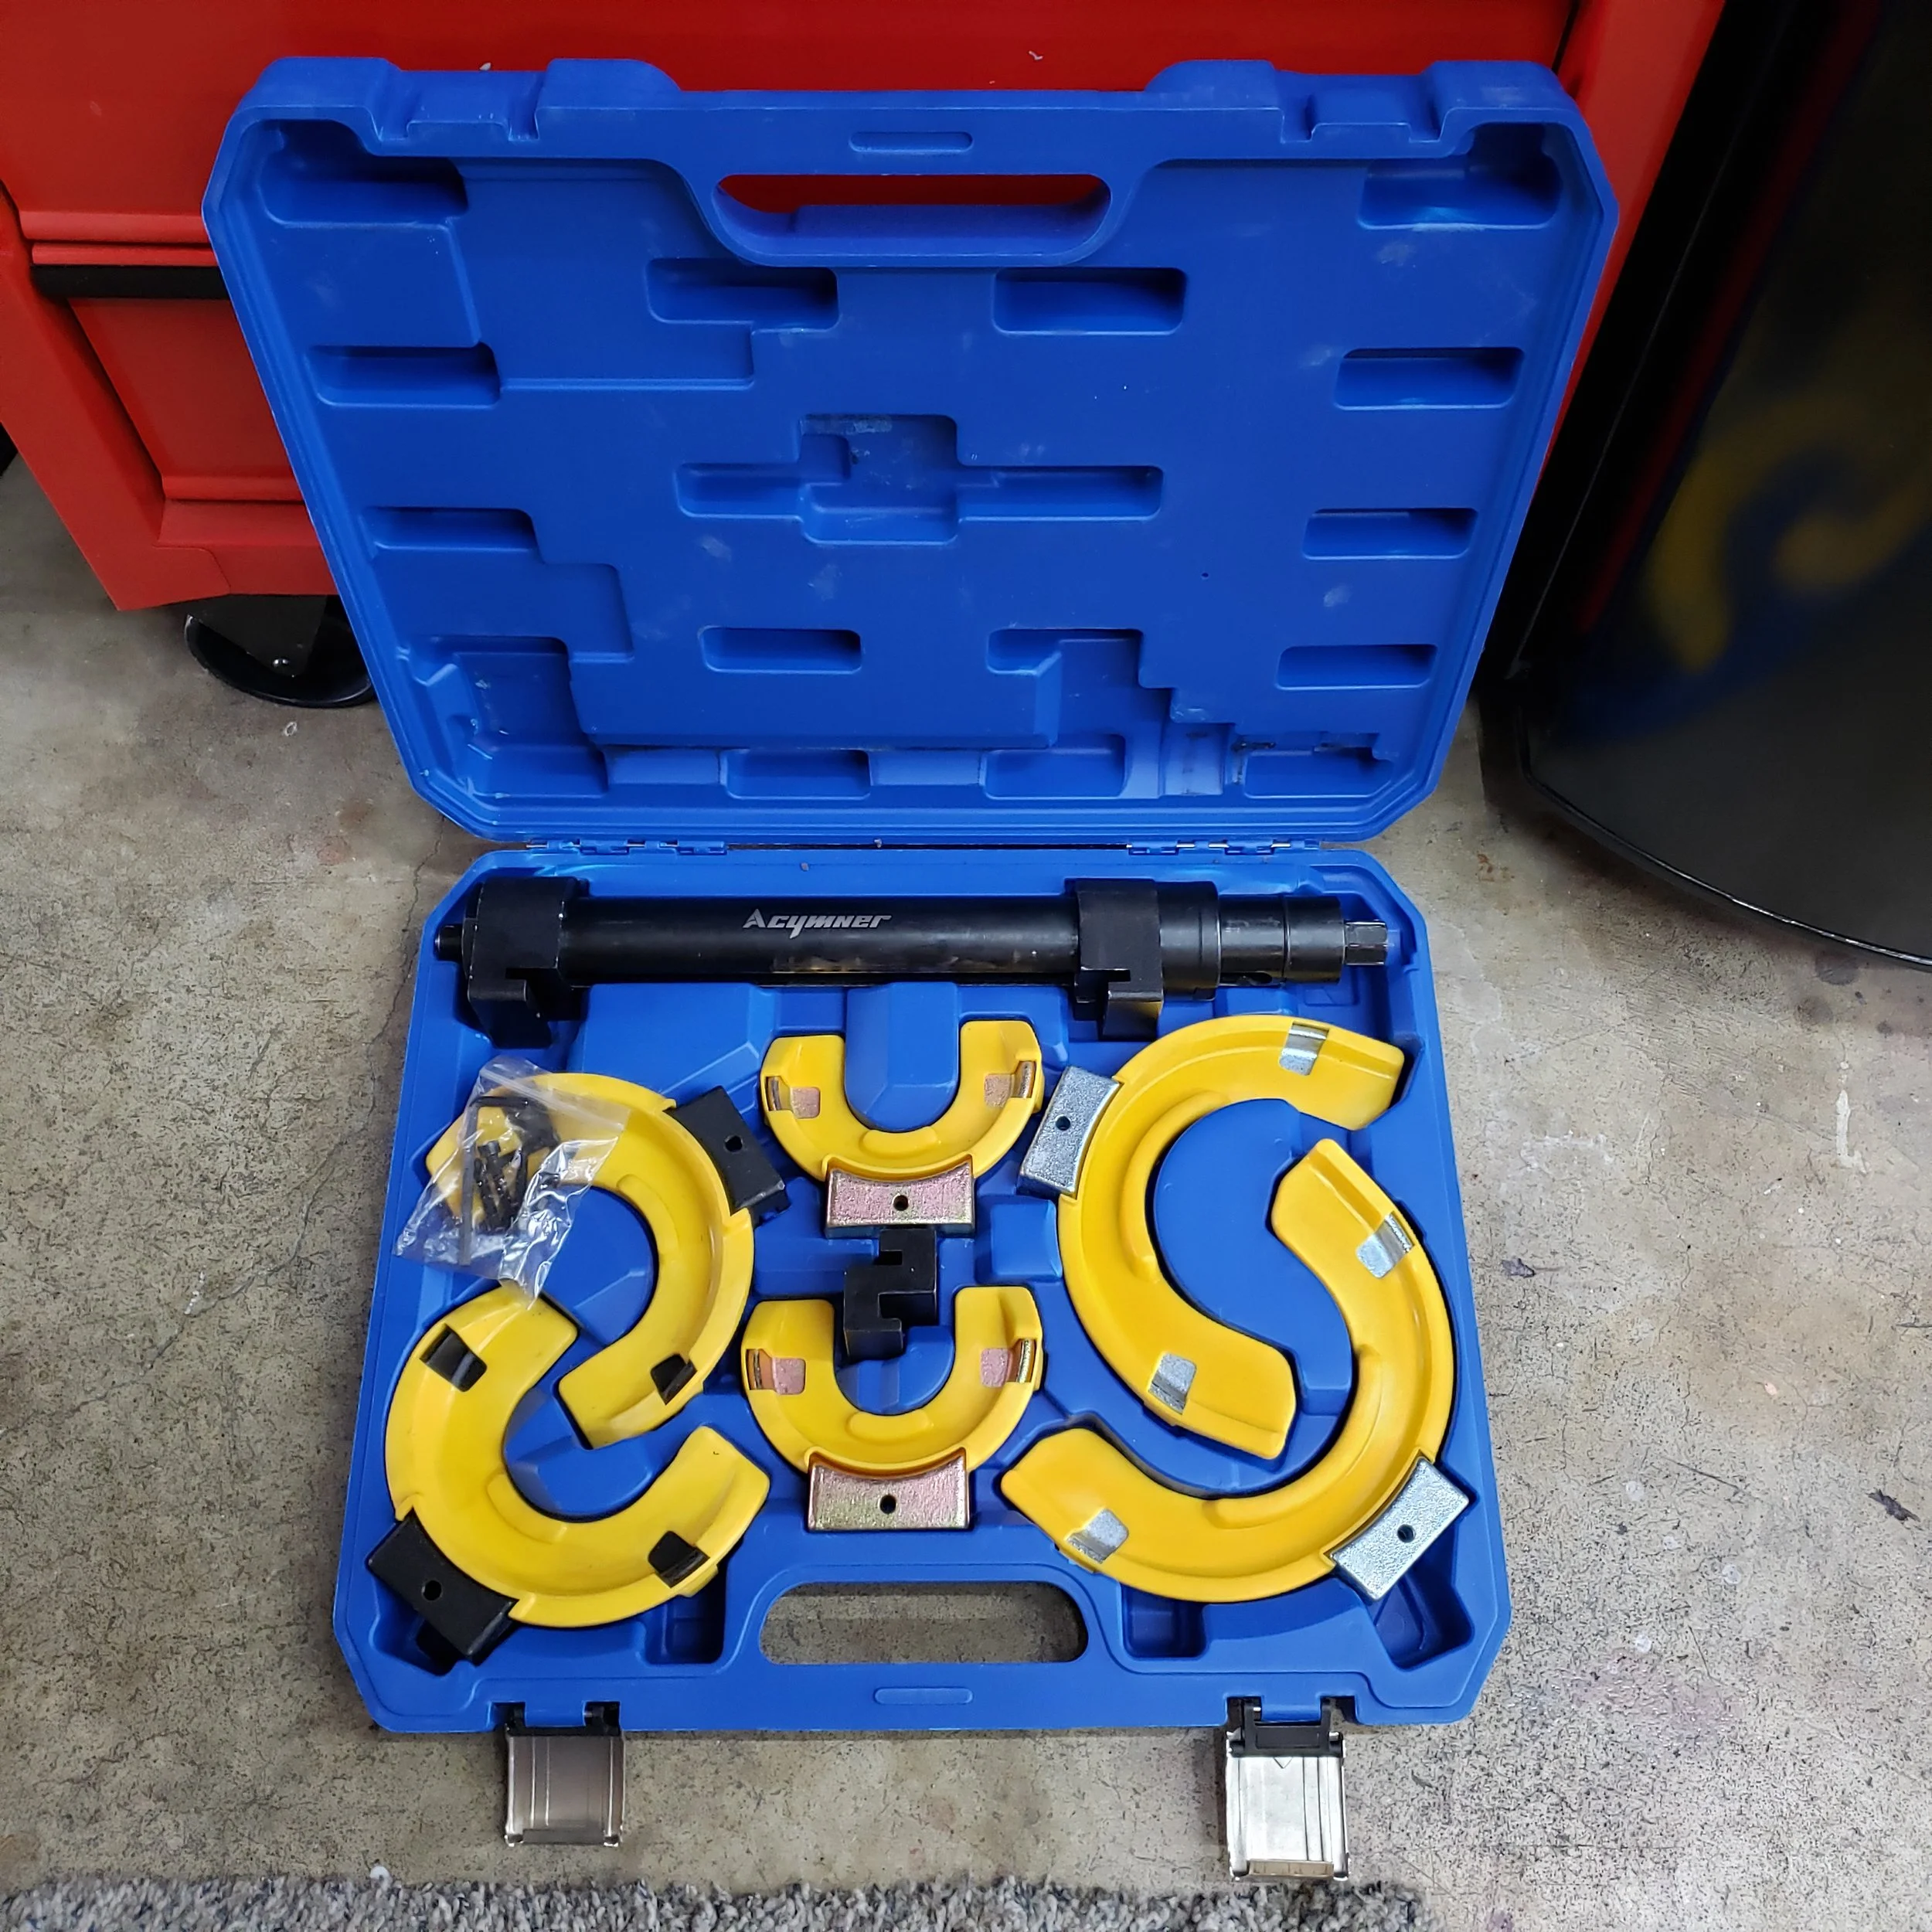
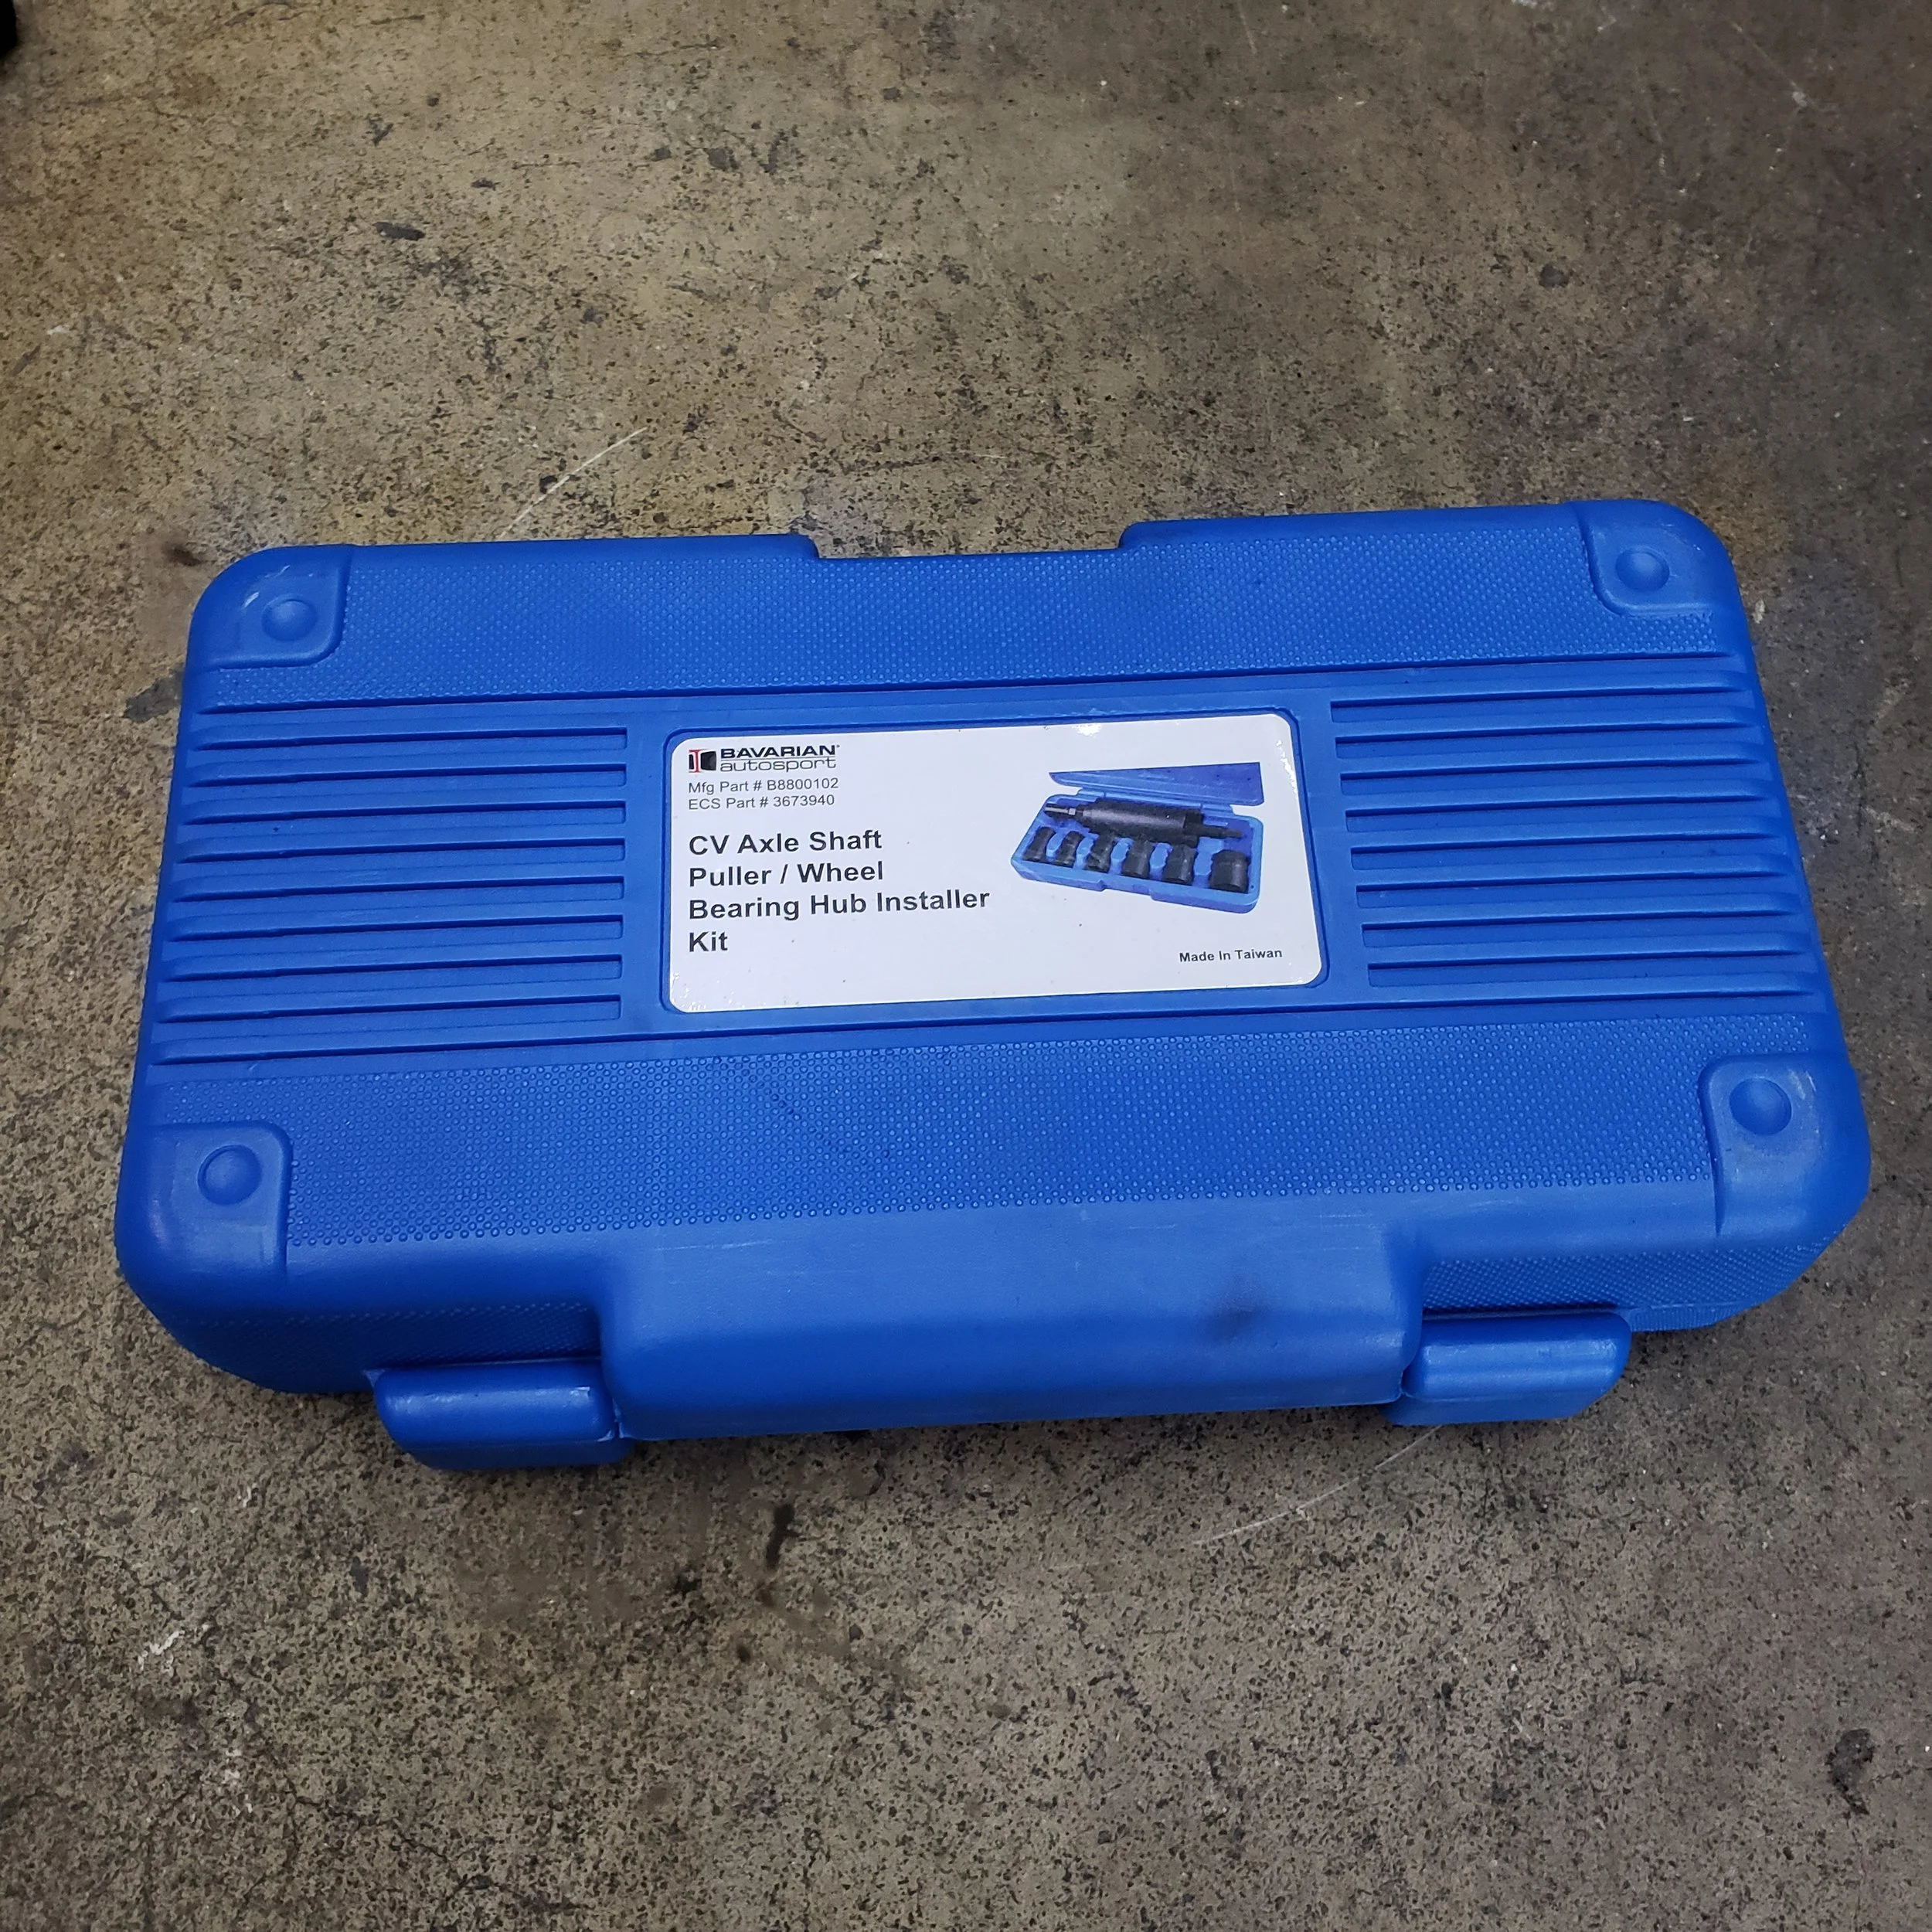
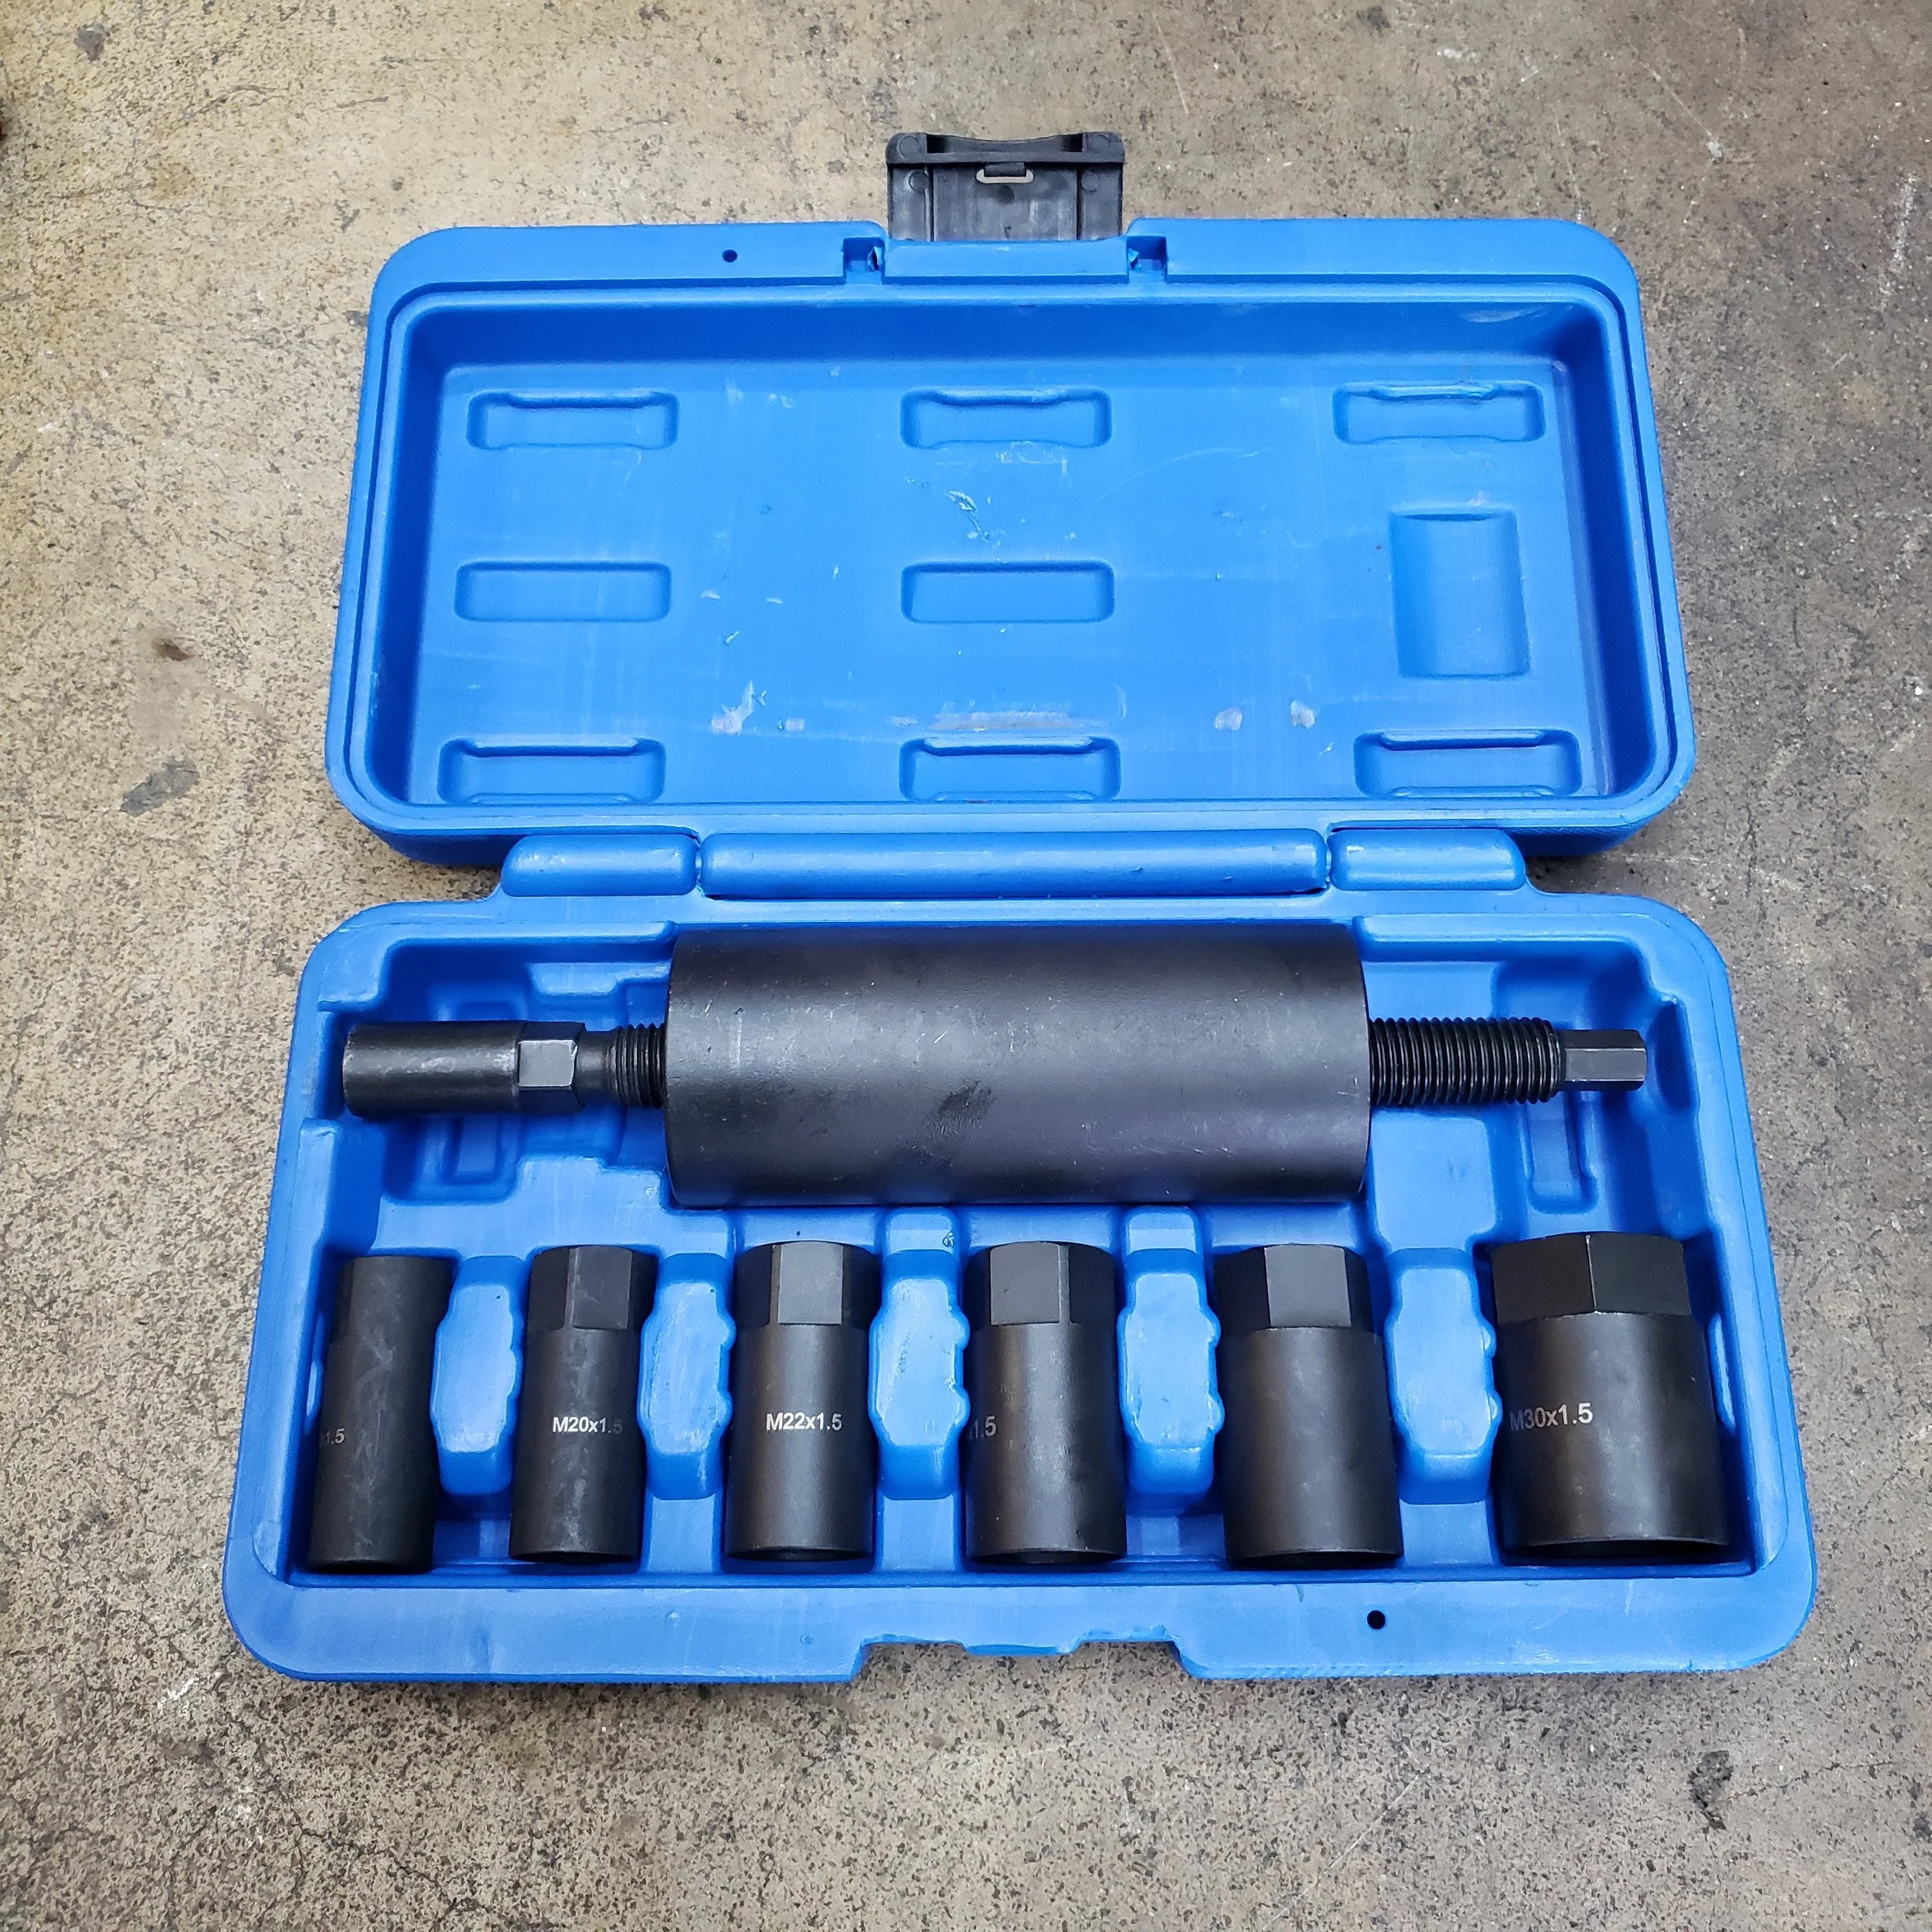
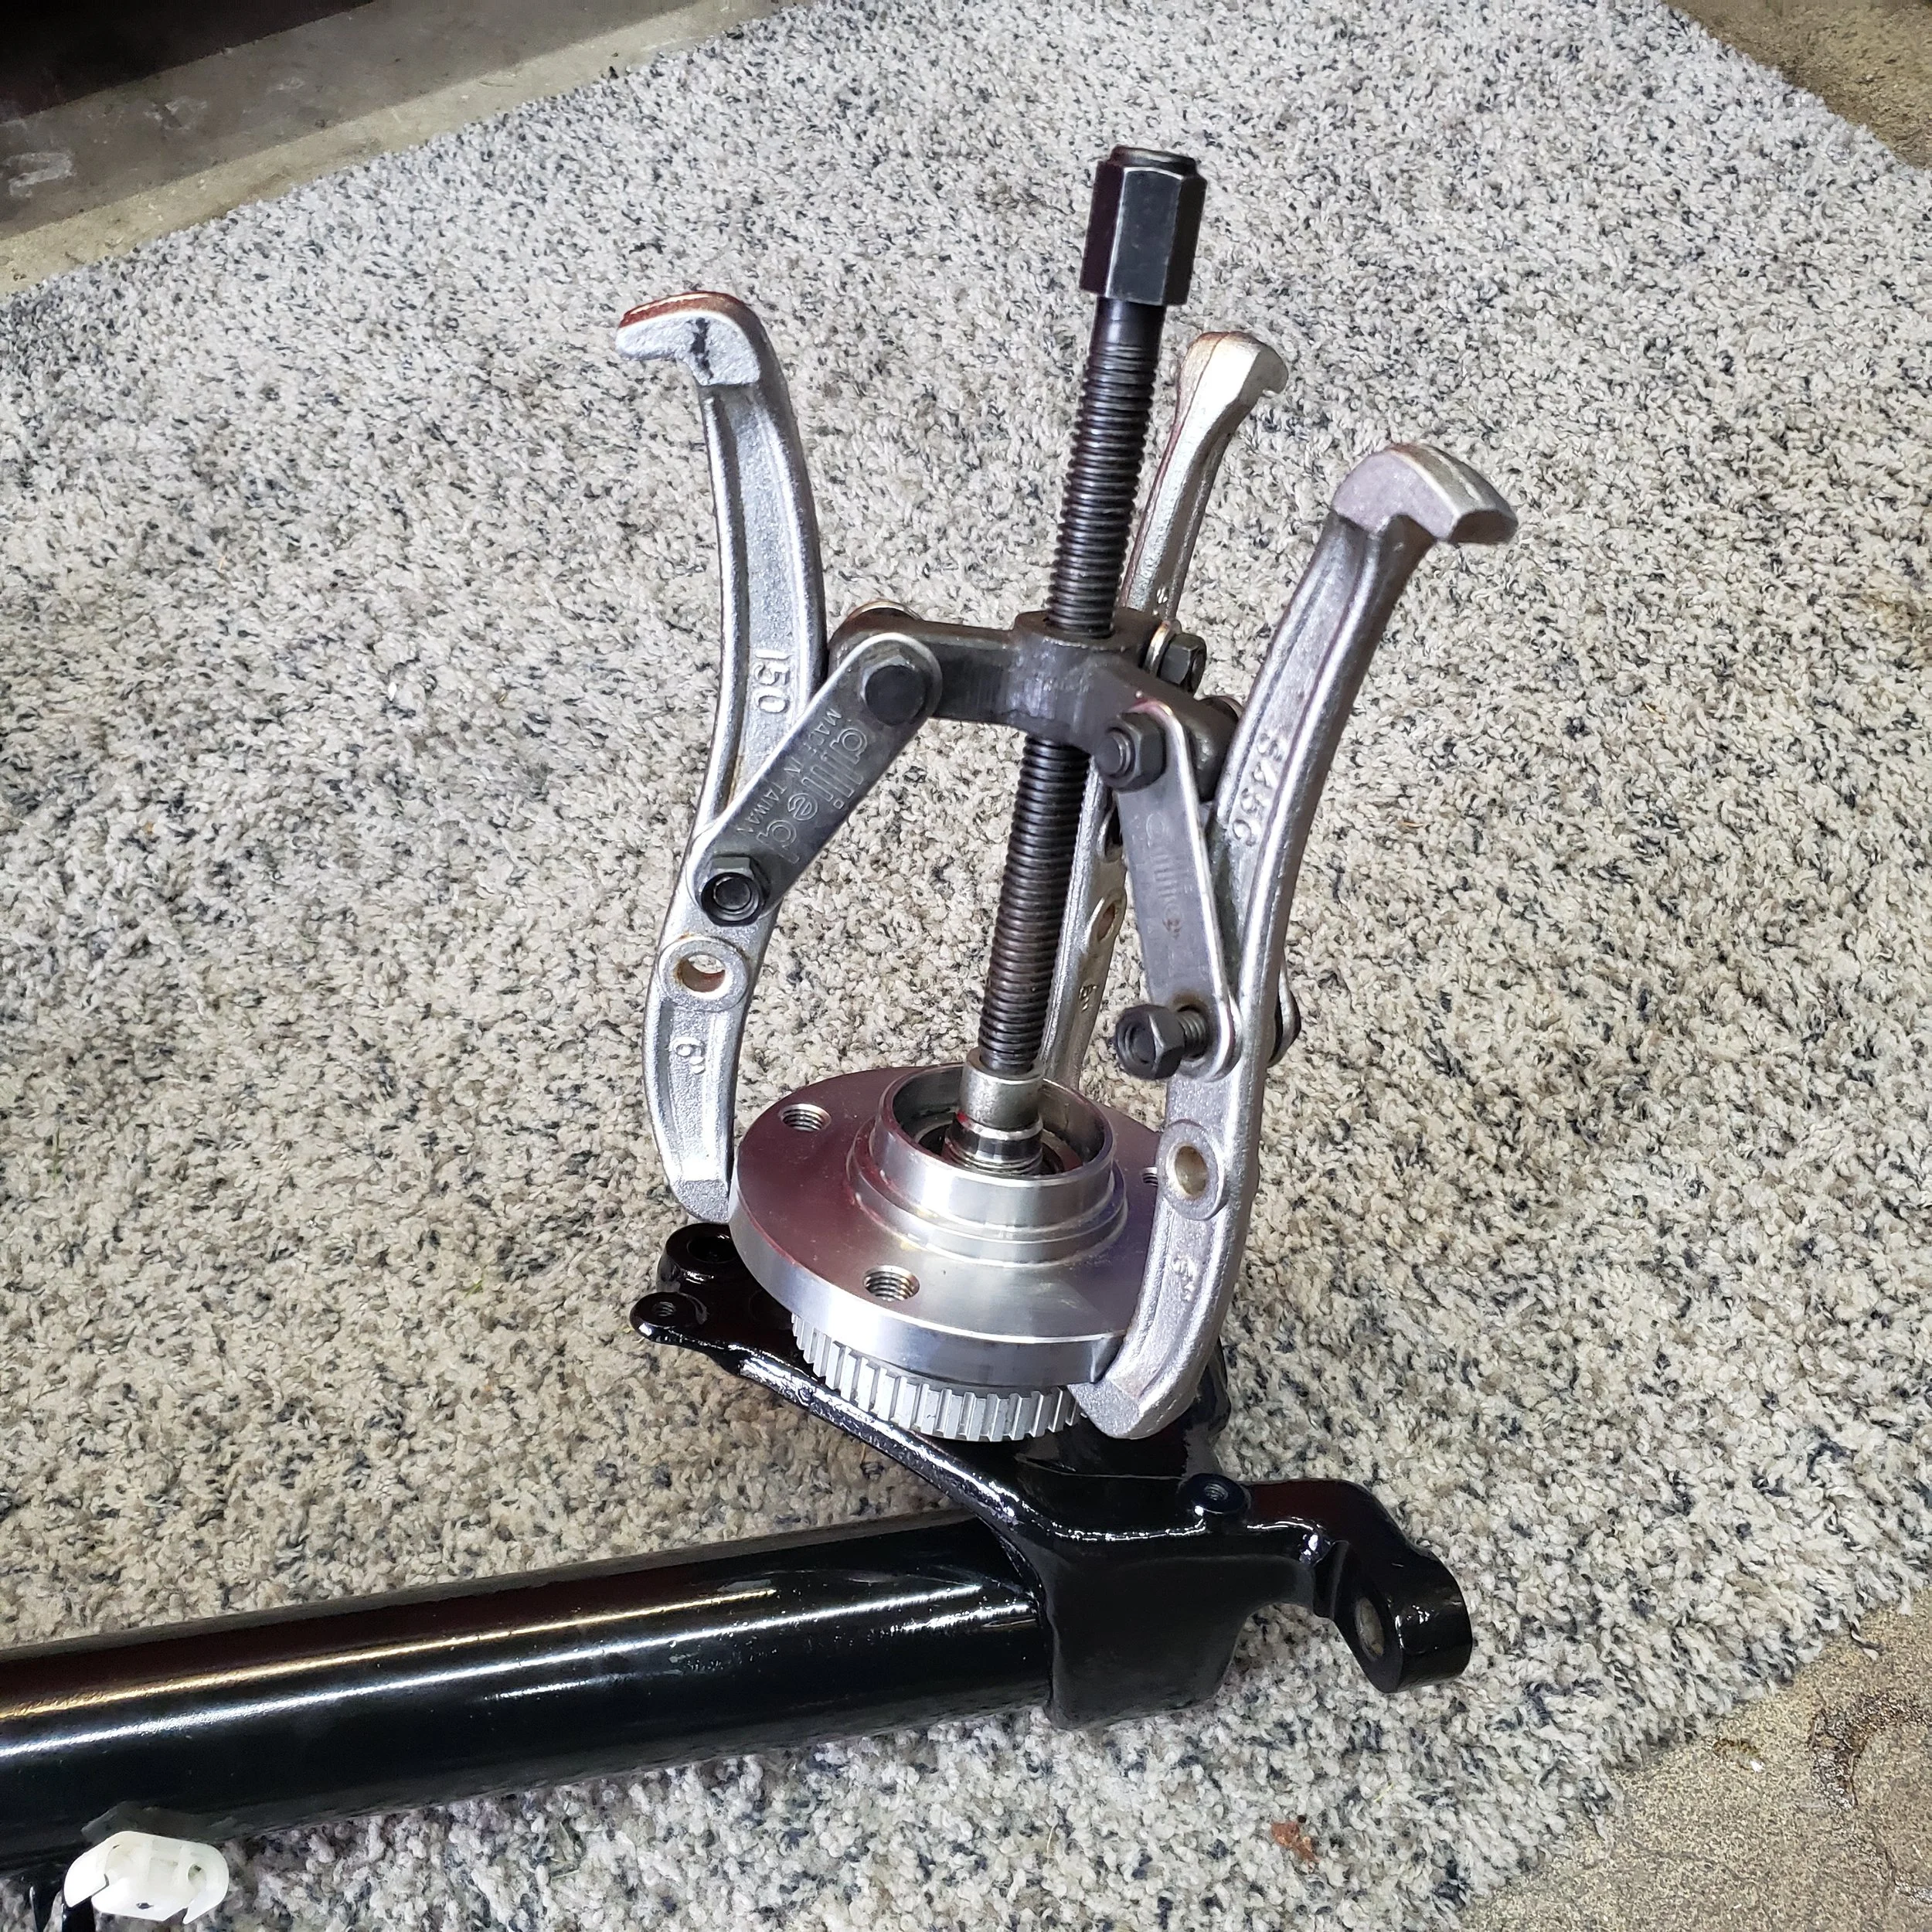
I brought the parts inside to help speed up the curing time. It took nearly a week for the parts to fully cure, but the results we achieved by putting down multiple heavy coats were worth the wait. At last, it was time to reassemble everything. I did use a couple of specialty tools in this process. Of course, a spring compressor kit for the springs (purchased on Amazon) and a wheel bearing hub installation kit made by Bavarian Autosport. If my memory serves me right, I purchased that online as well at ECS Tuning. Unfortunately, I didn’t take any photos of this process. I will try to do better in the future about pausing work to take more pictures. Well, I did take one picture... I wanted to highlight that I installed one of the wheel bearings before the brake dust shield went on... Whoops. Perhaps by me sharing this, it will help someone not make the same mistake. No big deal — just had to bust out the 3-jaw puller, remove it, install the shield, and try again.
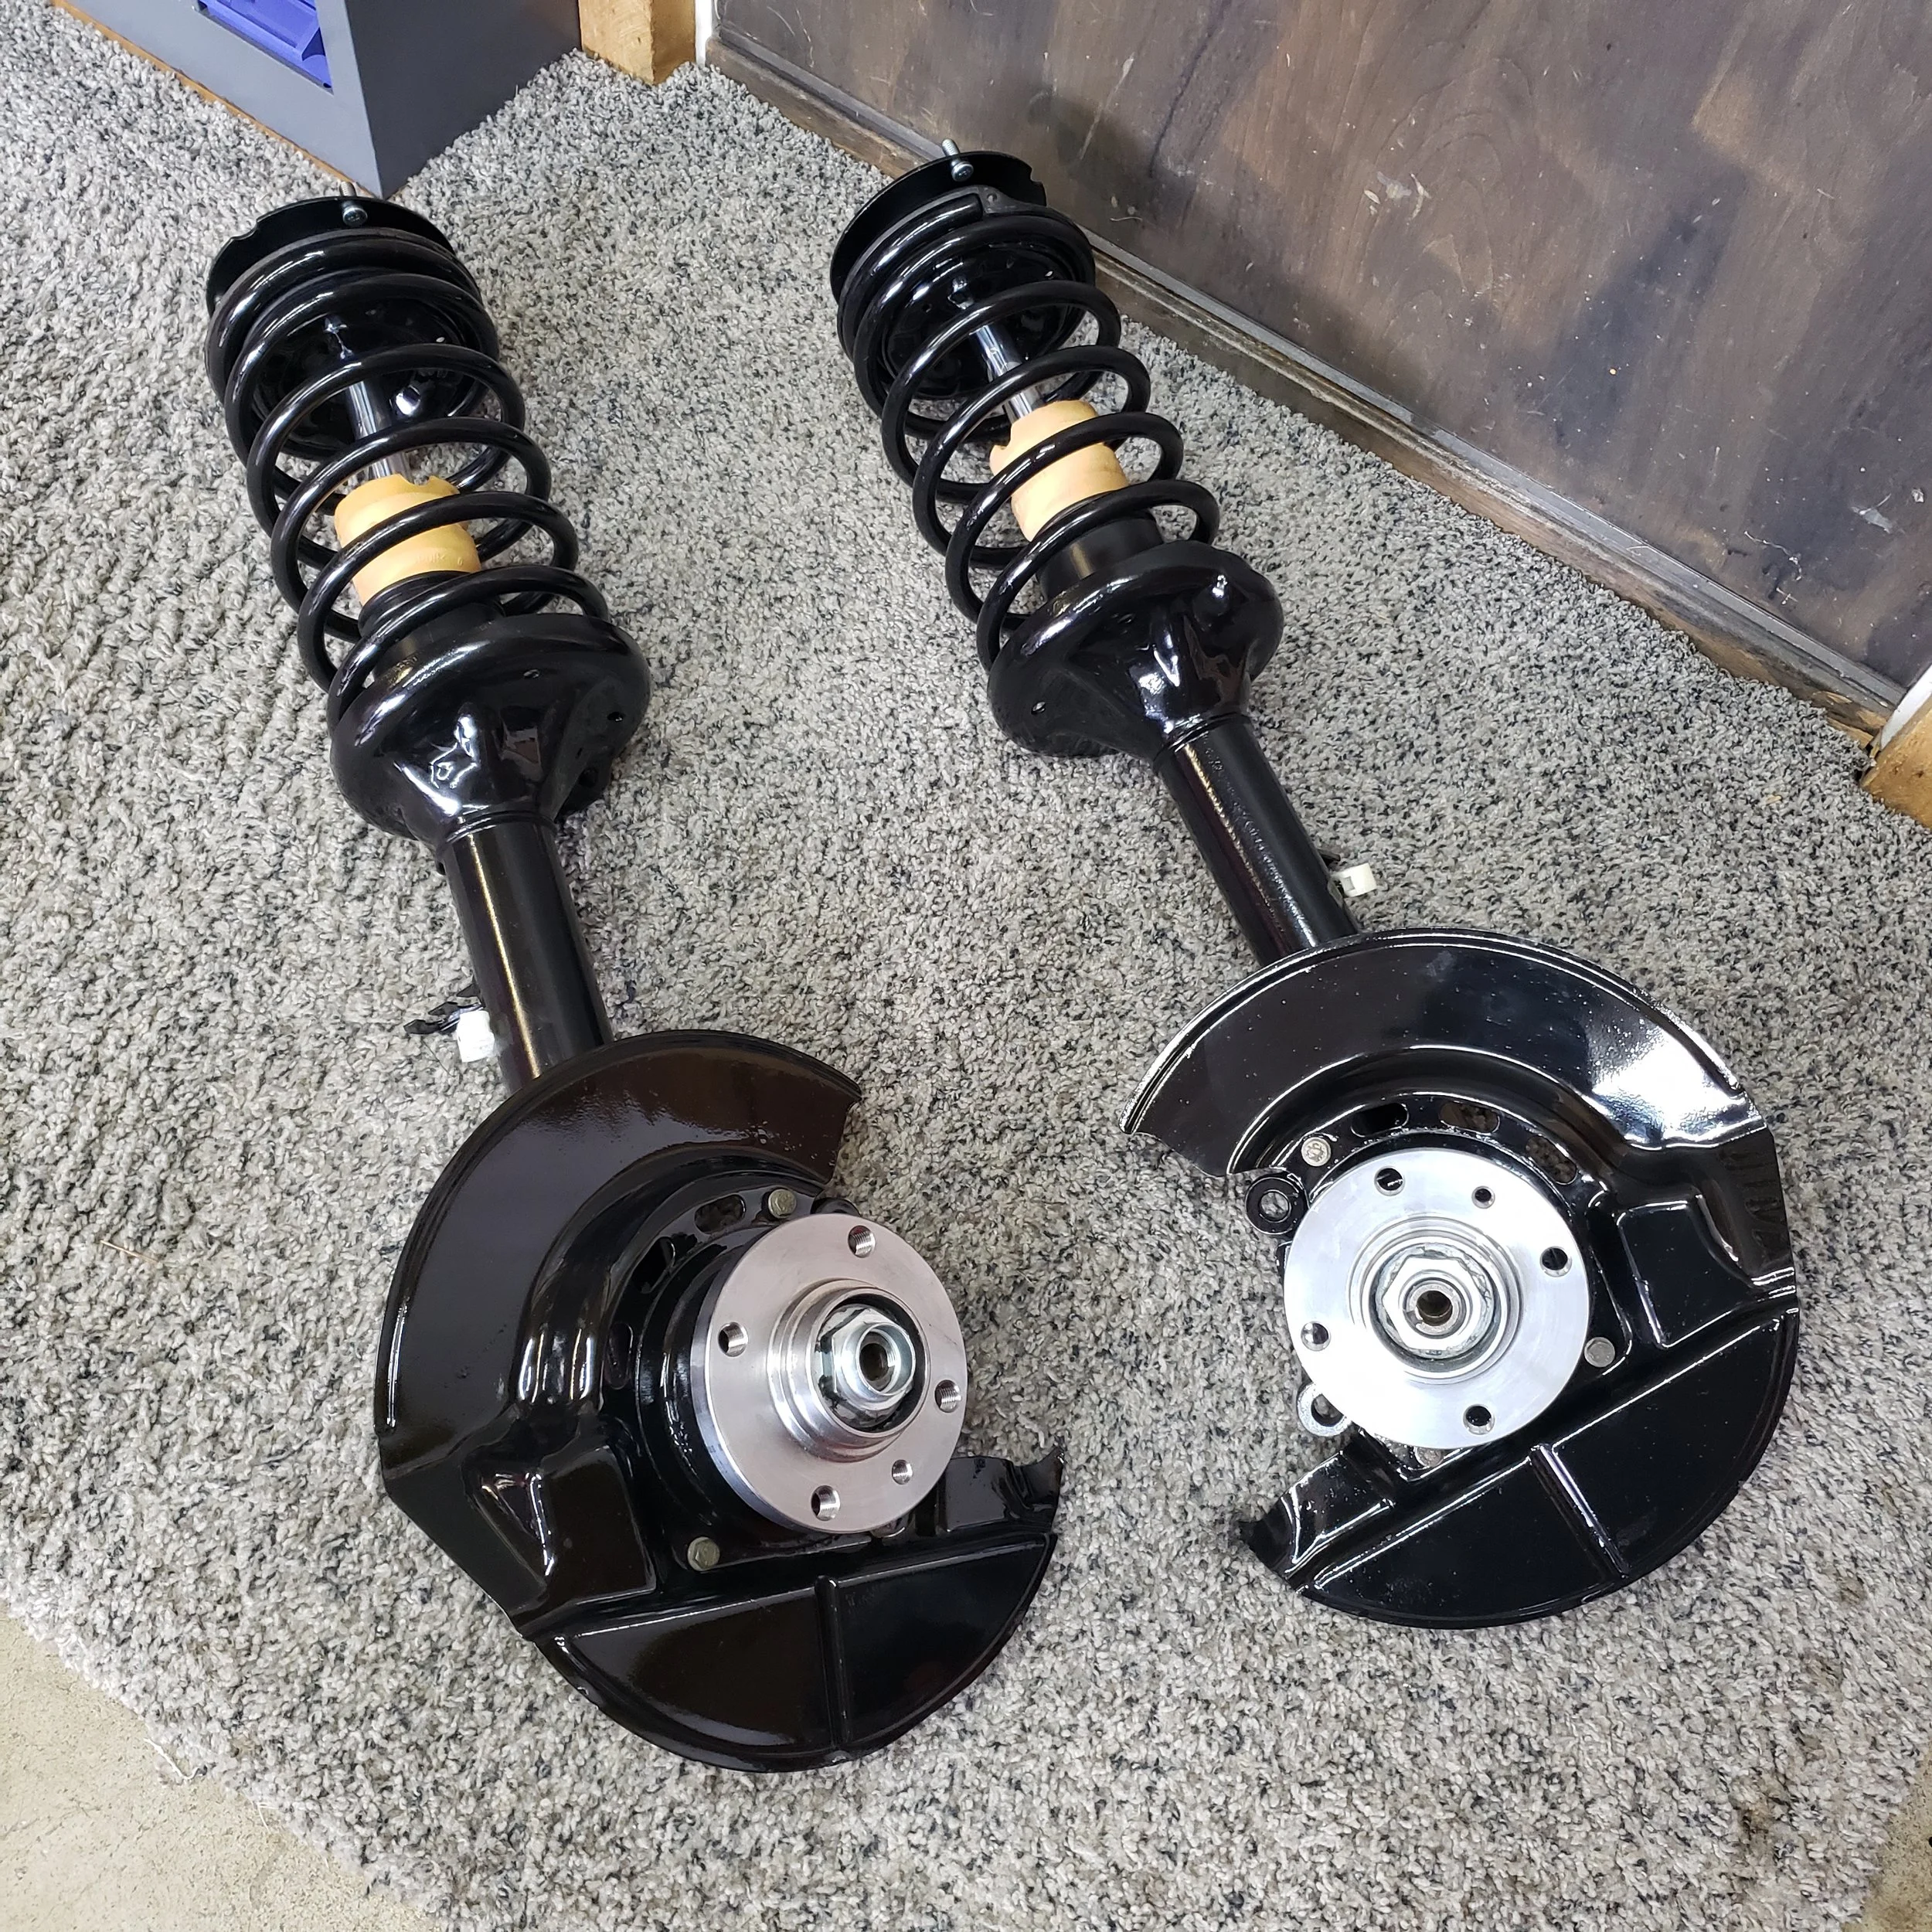
I managed to tighten one of the wheel bearing nuts to spec with the parts out of the car. Being that the torque spec is 215 ft-lbs, it was a challenge. I decided I would do the other side after the strut assembly was installed back on the car.
The Home Stretch:
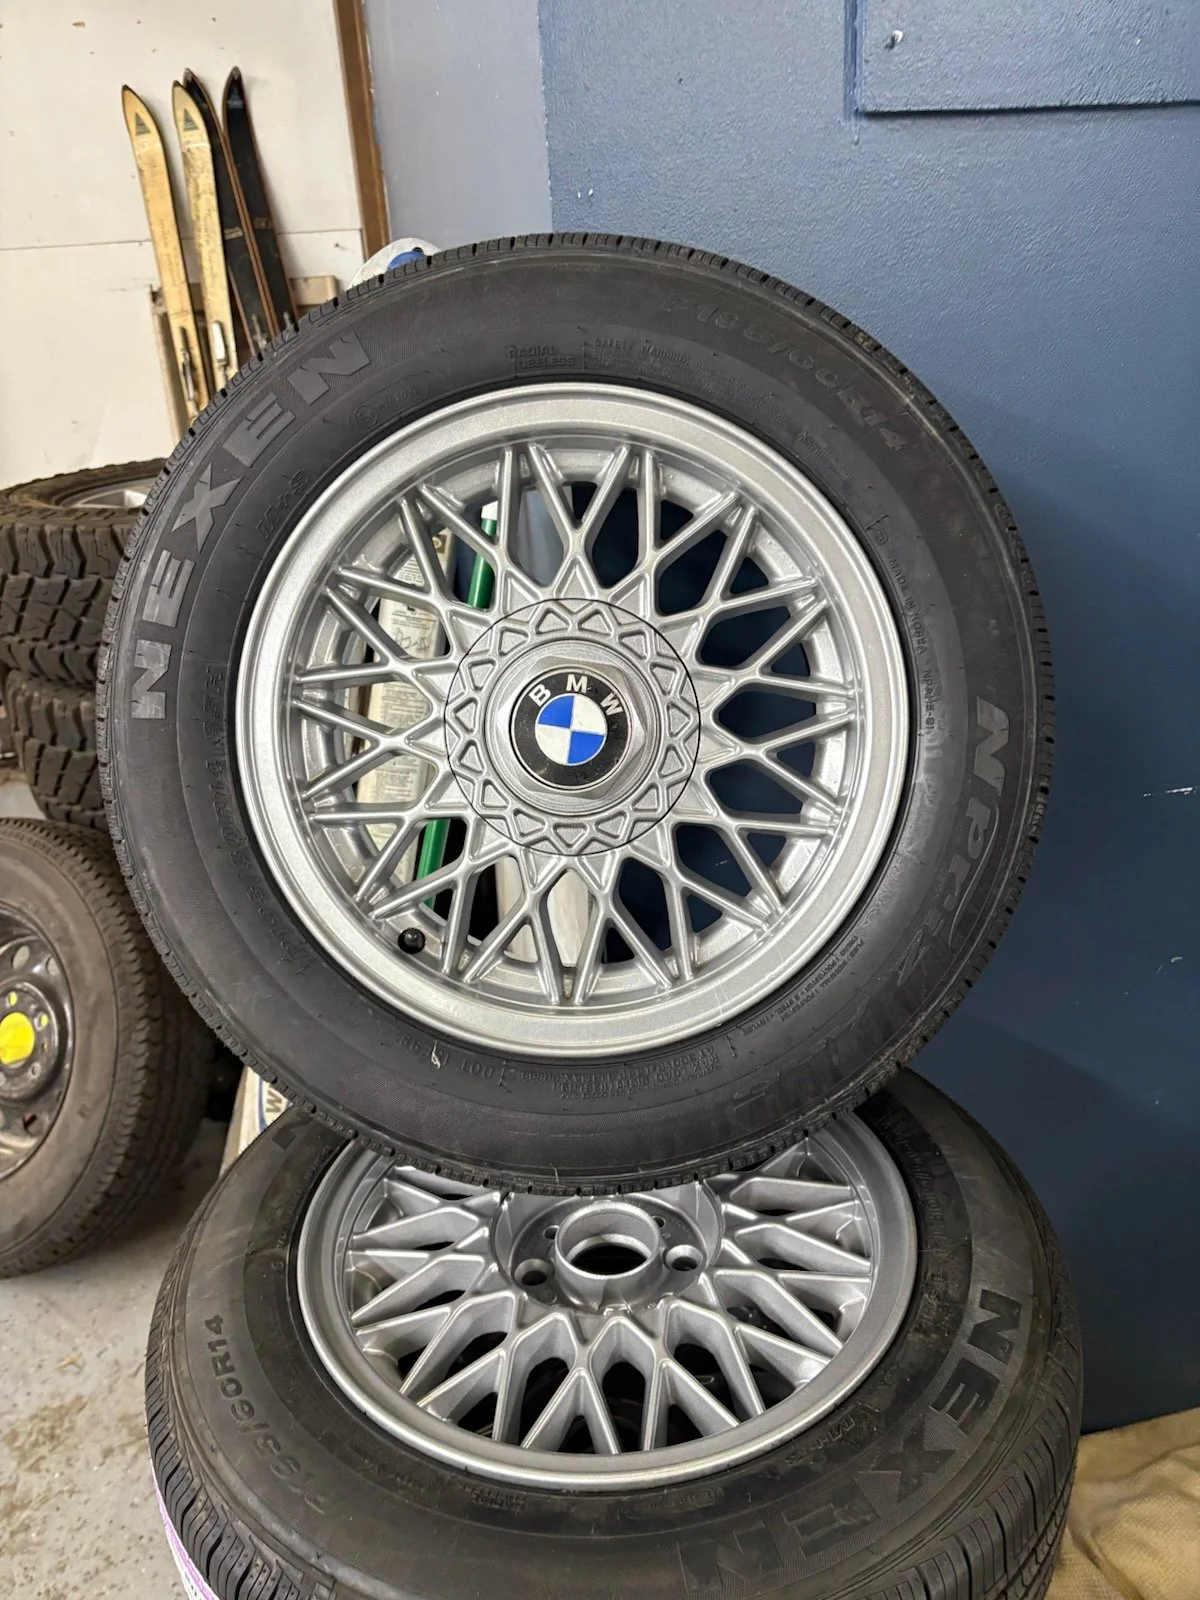
As we discussed earlier, the subframe and steering rack went back in first. Now it was just a matter of quickly reinstalling both strut assemblies and getting everything bolted back together. So I thought.. Everything went back together nice and smooth up until it was time to install the front sway bar bushings. Man, do I hate installing those. I remember them being difficult, but nothing like this. With a little finesse — I mean, none whatsoever — a can of silicone spray, a jumbo set of channel locks, vise grips, and enough F-bombs to get me through an entire week, I was able to get the bolts in and torque them down. Finally, it was time to put the wheels back on. Though we didn’t put the OEM E30 bottle caps back on. The owner sourced the correct set of wheels for the car and had them refurbished — an original set of BBS Style 5 14” basketweaves with new tires, of course.
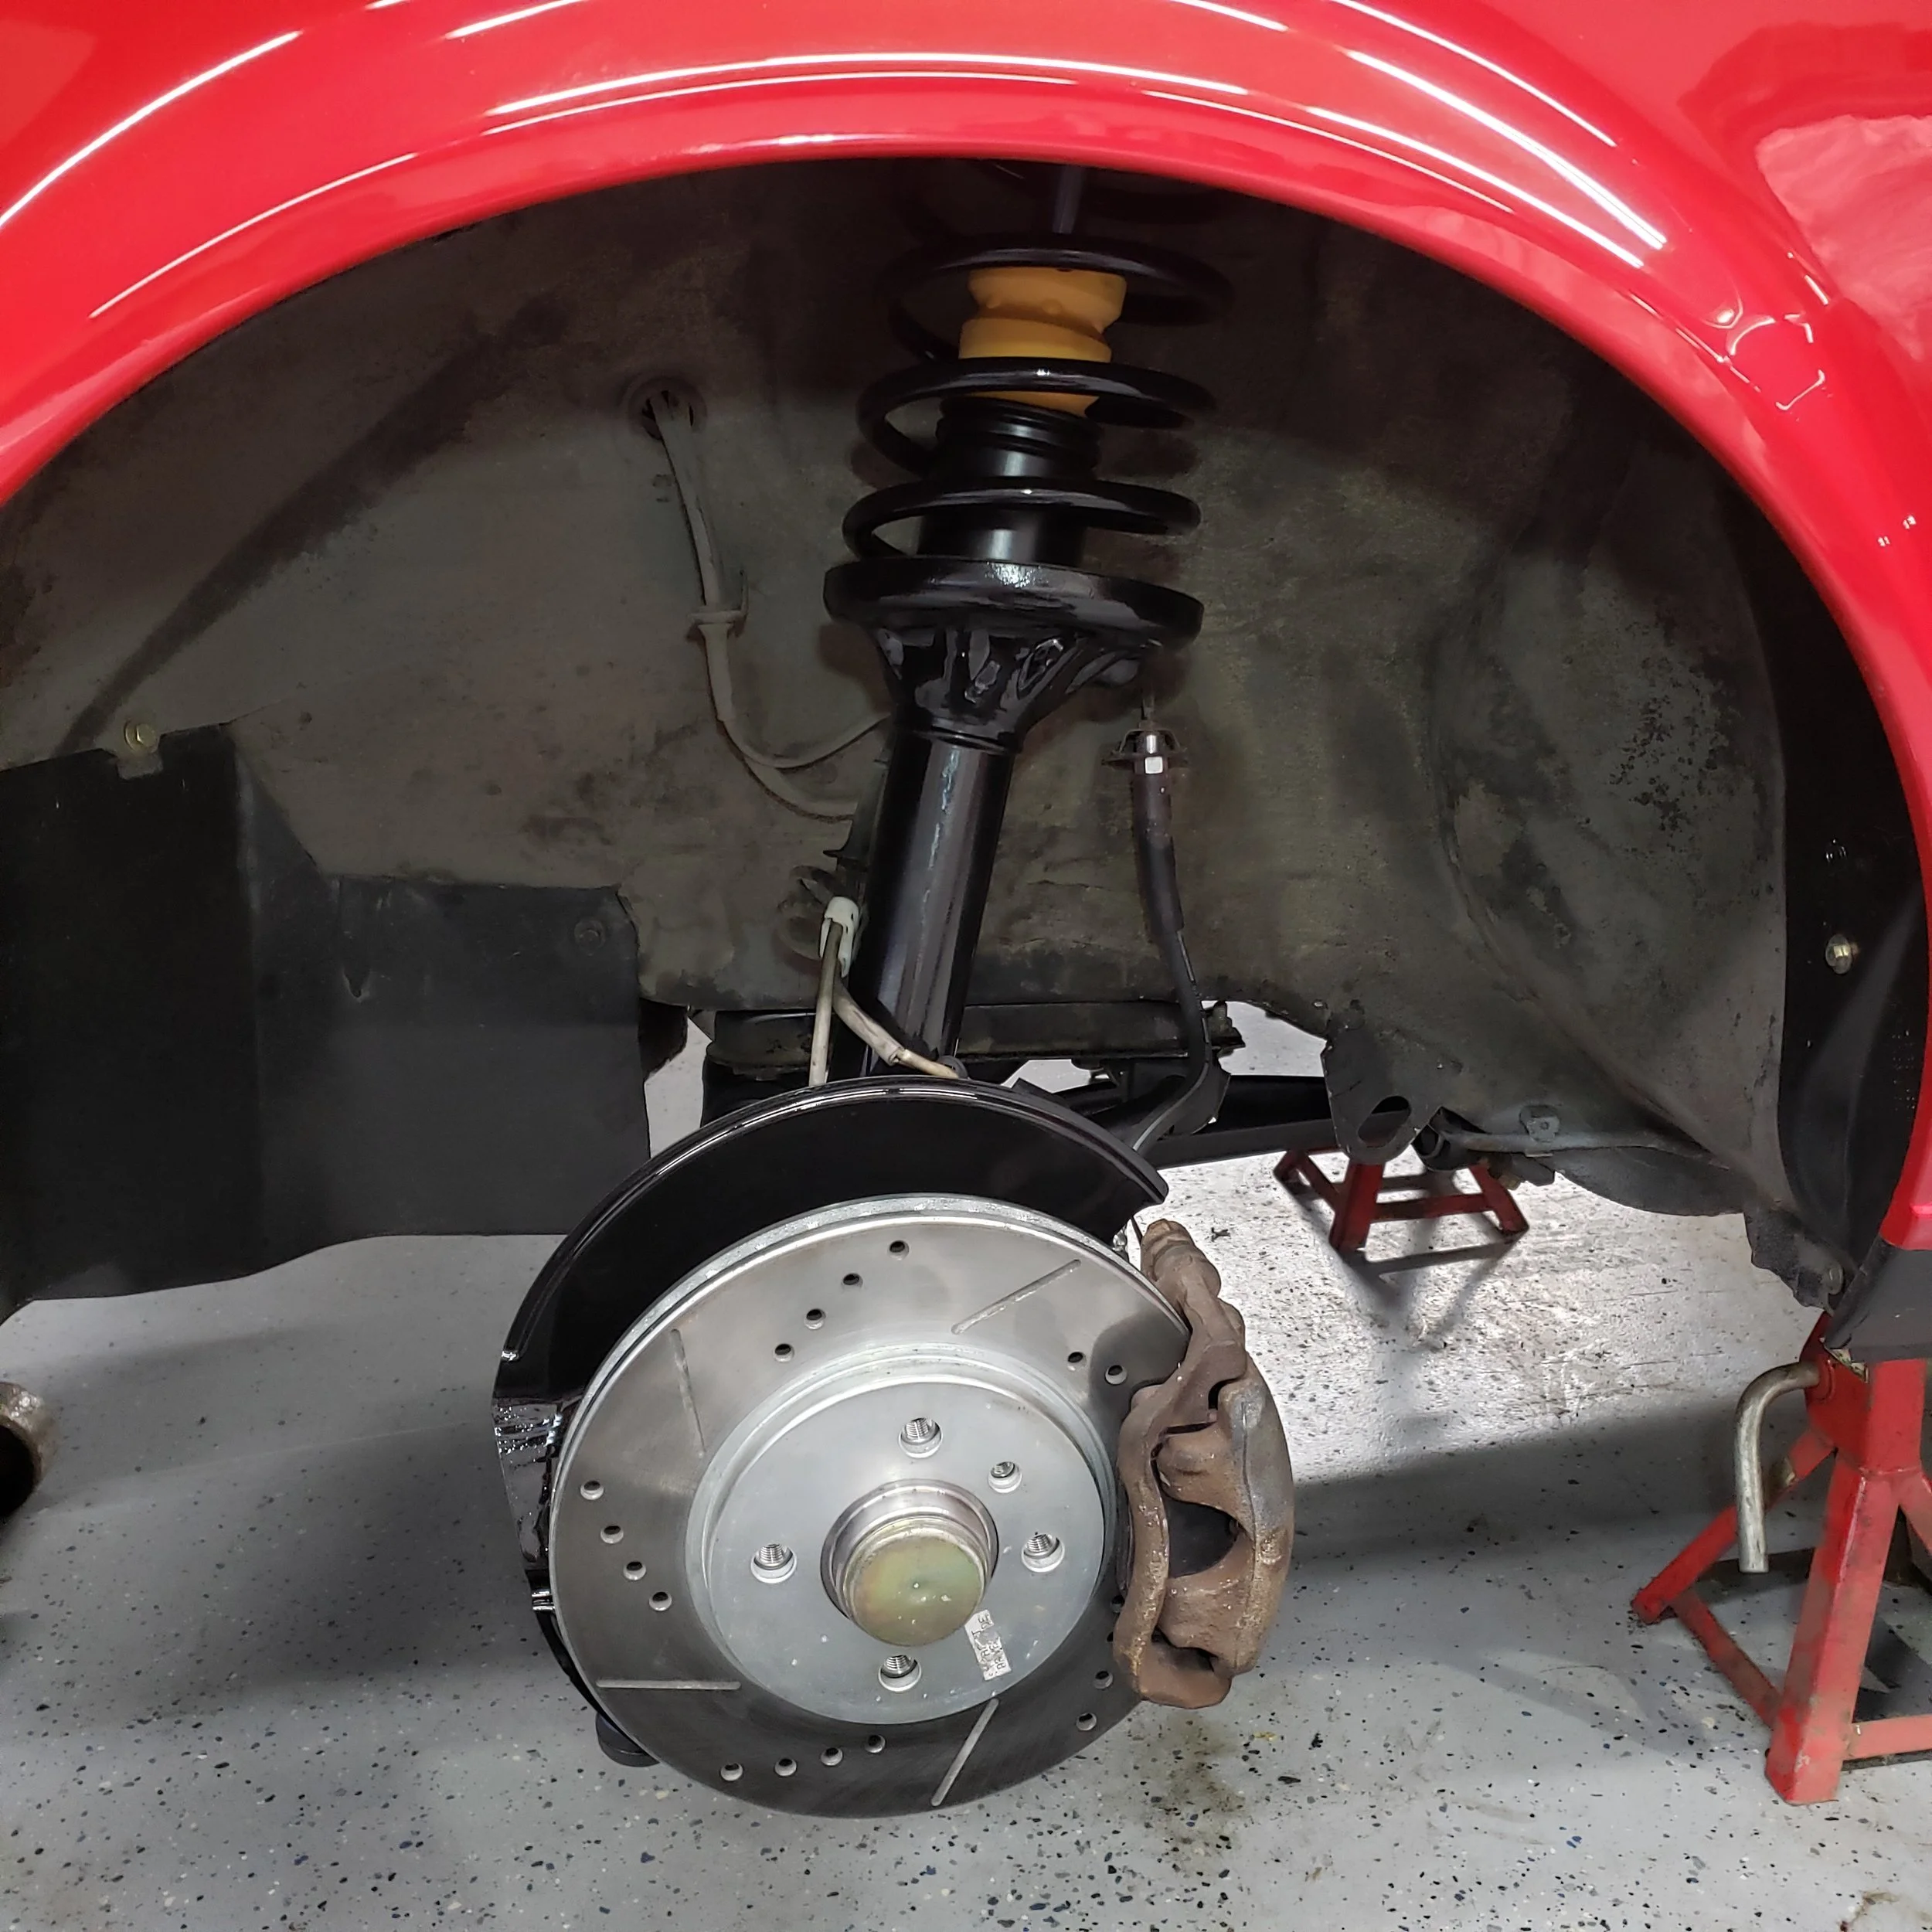
Ready to head to the shop for an alignment.
Final Thoughts:
The job took longer than originally anticipated, but we got it done in a thorough fashion. I’m happy to have this project wrapped up, and I’m sure the owner is even happier to have his car back. It always feels good to work on these classic cars, keeping them happy and healthy so they can live on — hopefully forever.
Thank you for reading my first blog post. Your time and attention mean a lot, and I truly appreciate it. If you enjoyed this kind of content, stay tuned—there’s plenty more on the way. Until next time, cheers.
Aaron Smith
11/25/2025